

Travel photography is more than just snapping pictures of beautiful landscapes or iconic landmarks—it's about capturing the essence of a place, its people, and the stories that make it unique. Whether wandering through the bustling streets of a new city, exploring serene natural landscapes, or immersing yourself in a different culture, photography allows you to freeze those moments in time and share them with others. In this post, we'll dive into essential tips and techniques to help you elevate your travel photography so you can return home not just with pictures but with stories that resonate. Whether you're a seasoned photographer or just starting, these tips will inspire you to see the world through a new lens and make the most of every adventure. Let's embark on this visual journey!
Research Your Destination
- Importance of understanding the culture, landmarks, and hidden gems.
- Highlighting unique angles and perspectives for iconic locations.
- Using local guides, blogs, or Instagram for inspiration.
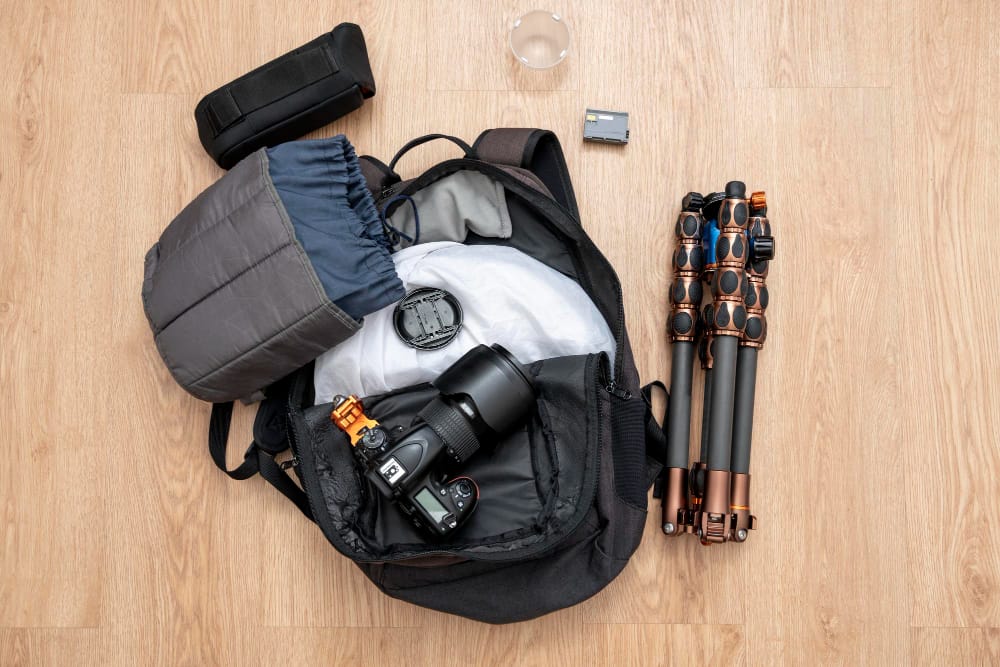
Pack Light, But Smart
- Choosing the right gear: camera body, lenses, tripod, etc.
- A versatile setup is important to avoid overpacking.
- Recommended accessories: extra batteries, memory cards, cleaning kits.
Focus on Lighting
- Best times to shoot: golden hour and blue hour.
- Tips for adjusting to harsh sunlight or low-light situations.
- How natural light can enhance mood and tone.
Best Times to Shoot
- Golden Hour: This is the period shortly after sunrise and before sunset when the light is soft and warm. It enhances colors and creates long, flattering shadows, making it ideal for landscapes and portraits.
- Blue Hour: Just before sunrise and after sunset, the blue hour offers a cool, serene light that can add a magical quality to urban and landscape photography. It's perfect for capturing cityscapes with illuminated buildings.
Adjusting to Harsh Light
- Shooting in Midday Sun: If you must shoot during the harsh midday sun, seek out shaded areas or use diffusers to soften the light. Alternatively, focus on details and close-ups rather than broad landscapes.
- Using Shadows Creatively: Embrace the strong contrasts and shadows that midday light can create. Play with patterns formed by shadows to add interest to your composition.
Low-Light Situations
- Techniques for Low Light: When shooting indoors or at night, increase your camera's ISO to allow for faster shutter speeds. Use a wider aperture (smaller f-number) to let in more light.
- Stabilization: If you're shooting in very low light, consider using a tripod to prevent camera shake. Alternatively, use a higher ISO and a fast lens to maintain image quality.
Natural Light Manipulation
- Reflectors and Diffusers: Carry a small reflector to bounce light onto your subject, which can help fill in shadows and enhance facial features in portraits. A portable diffuser can soften harsh light.
- Backlighting: Experiment with backlighting to create silhouettes or highlight translucent subjects like leaves or flowers. Position your subject between the light source and your camera for striking effects.
Experimenting with Artificial Light
- Using Flash: A speedlight or external flash can provide additional light when natural light is insufficient. Use it off-camera for more dynamic lighting and to avoid harsh shadows.
- Continuous Lighting: Consider portable LED lights for consistency in lighting during shoots. They allow you to see the effect of your lighting setup in real time.
Post-Processing Adjustments
- Adjusting Exposure: In post-processing, fine-tune exposure, contrast, and highlights to enhance the overall look of your images. Editing software can help correct lighting issues from the shoot.
- Color Grading: Experiment with color grading to achieve the mood you want. Warmer tones can evoke comfort, while cooler tones can create a sense of tranquility.
By understanding and harnessing the power of light, you can significantly enhance your travel photography, making your images more dynamic and visually appealing. Being aware of how different lighting conditions affect your shots will allow you to capture the essence of your travels in a compelling way.
Master Composition
- Rule of thirds, leading lines, and framing techniques.
- Incorporating local elements to add depth (people, architecture, nature).
- Creative compositions using reflections, patterns, and perspectives.
Rule of Thirds
Grid Method: Divide your frame into a 3x3 grid, creating nine equal sections. Position key elements along these lines or at intersections to create a balanced and engaging composition.
- Dynamic Framing: Placing subjects off-center often creates a more dynamic image, drawing the viewer's eye and encouraging them to explore the entire scene.
Leading Lines
- Natural Lines: Use paths, roads, rivers, or architectural elements to guide the viewer's eye through the image. Leading lines create depth and can draw attention to the main subject.
- Curved Lines: Incorporate curves to create a sense of movement or flow within your composition, making the image more inviting and exciting.
Framing Techniques
- Natural Frames: Look for opportunities to use natural elements (like branches, doorways, or arches) to frame your subject. This can create depth and focus attention on the main element.
- Layering: Include foreground elements to add depth to your images. Layering creates a three-dimensional feel and invites viewers to explore the scene more thoroughly.
Use of Space
- Negative Space: Incorporating negative space (the empty area around your subject) can enhance the impact of your main subject. It provides breathing room and draws attention to the focal point.
- Balance and Symmetry: Experiment with balanced, symmetrical compositions, especially in architecture and landscapes. Symmetrical images can be visually striking and convey harmony.
Creative Angles and Perspectives
- High and Low Angles: Changing your shooting angle can dramatically alter the mood of an image. Get low to the ground for a unique perspective, or shoot from above for an overview of a scene.
- Unconventional Framing: Don't be afraid to break the rules. Experiment with off-kilter angles, extreme close-ups, or wide shots to find your style and add uniqueness to your work.
Incorporating People
- Human Element: Adding people to your images can create a sense of scale and context. Capture candid moments or posed shots that showcase local life, enhancing the storytelling aspect of your photos.
- Interaction with Environment: Show how people interact with their surroundings. This can reveal cultural insights and add a dynamic element to your compositions.
Practise and adopt
Study Other Photographers: Analyze the work of photographers you admire. Pay attention to their composition techniques and try to incorporate similar strategies into your own photography.
- Review and Reflect: After each shoot, review your photos to identify what worked and what didn't in composition. Use this feedback to improve your future shots.
By mastering composition techniques, you'll enhance the visual impact of your travel photography, creating more compelling and memorable images that resonate with viewers and capture the essence of your experiences.
Capture Candid Moments
- Engaging with locals for authentic portraits.
- Importance of being patient and observant.
- Tips on shooting discreetly to capture natural moments.
Tell a Story
- Shooting with a narrative in mind to convey the essence of the place.
- Building a photo series that highlights different aspects of the journey.
- Combining landscapes, street scenes, and portraits to tell a complete story.
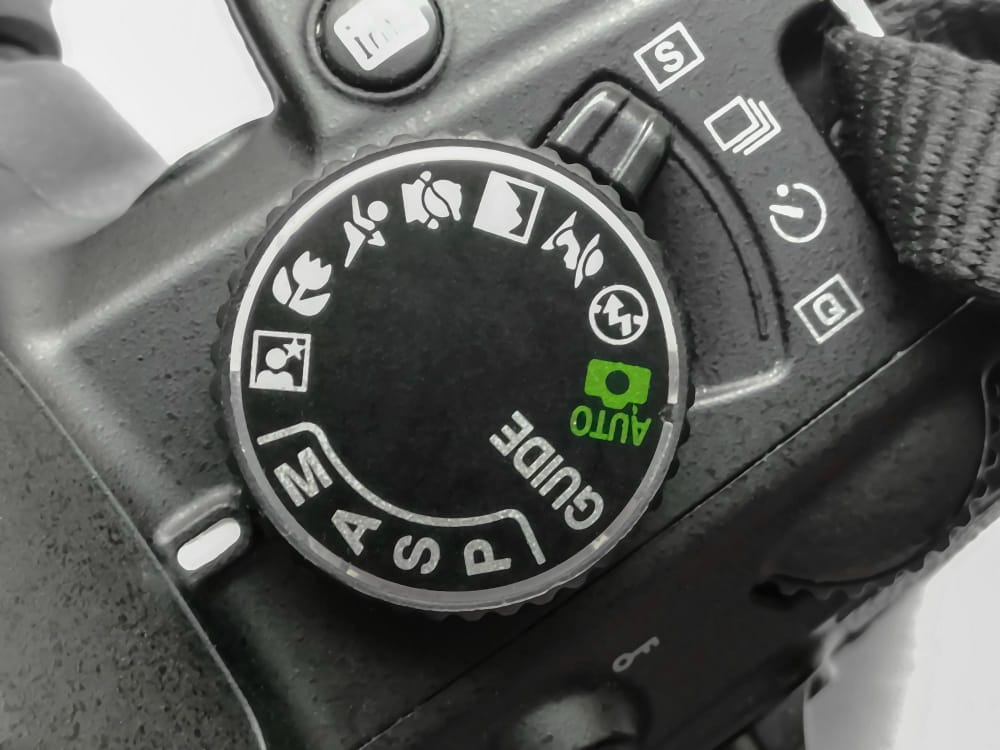
Use the Right Camera Settings
- General settings for travel photography (ISO, shutter speed, aperture).
- Explaining how to adjust settings for specific scenarios (low-light, fast movement).
- Shooting in RAW for flexibility during post-processing.
Keep an Eye for Details
- Importance of photographing small, unique details that represent the culture.
- Close-up shots of textures, colors, and everyday objects.
- Complementing wide landscape shots with intimate detail shots.
Post-Process Thoughtfully
- Basic editing tips to enhance colors, contrast, and sharpness.
- Avoid over-editing to maintain the authenticity of the image.
- Recommended editing software: Lightroom, Photoshop, mobile apps.
Be Respectful of People and Places
- Ethical considerations in travel photography (asking permission for portraits).
- Being mindful of the cultural significance of places and respecting local customs.
- Following rules at heritage sites or wildlife areas.
Conclusion:
Travel photography is a powerful way to capture the world's magic, diversity, and beauty. It’s not just about taking pictures—it’s about telling stories, evoking emotions, and preserving memories of the places and people that shape your journey. By honing your skills, being mindful of your surroundings, and embracing both technical and creative approaches, you can elevate your travel photos from simple snapshots to meaningful works of art.
As you explore new destinations, remember that every corner holds potential for a great shot. Whether it’s the vibrant colors of a local market, the intricate details of ancient architecture, or a candid moment shared with a stranger, your camera can be a window into unique experiences. So, pack your gear, stay curious, and use these travel photography tips to document your adventures with purpose and passion. The world is waiting to be seen through your lens!
Thank you for visiting our site and being part of this journey with us! We rely on the generous support of visitors like you to continue providing high-quality. Your donation, no matter the size, helps us maintain the website and create more valuable resources for everyone.