Affordable food photography lighting kits for beginners: Essential gear to elevate your culinary shots
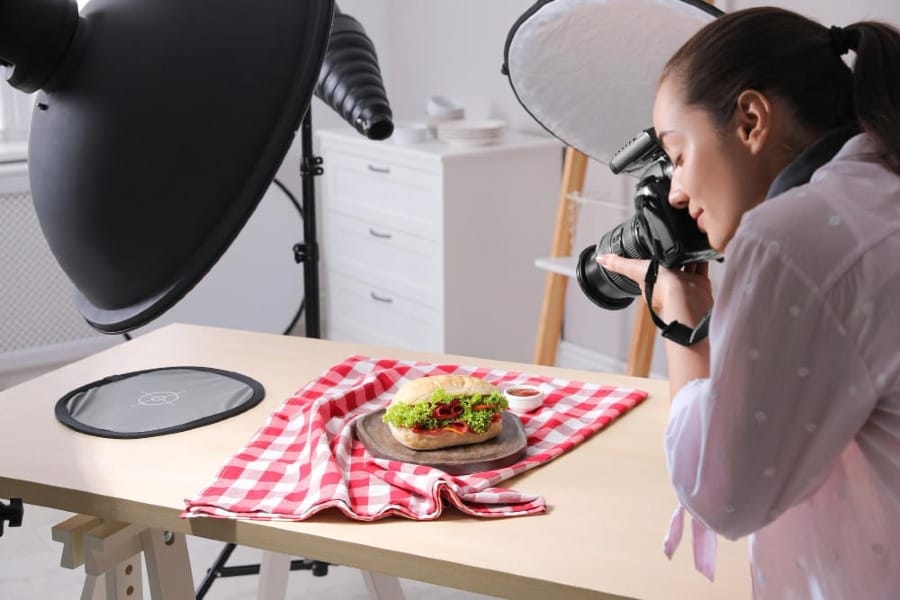
Good lighting is key for taking great food photos. As a beginner, you don't need to spend a lot on expensive equipment. There are many affordable lighting kits that can help you capture mouthwatering images.
You can get started with food photography lighting for under $100. Simple setups like a halogen work light or small LED panels can produce impressive results. These budget-friendly options let you experiment with different lighting techniques without breaking the bank.
Choosing the right beginner kit depends on your specific needs. Some kits include multiple lights, stands, and diffusers. Others offer a single versatile light source. No matter which you pick, practicing with basic lighting gear will help you build skills and create eye-catching food photos.
Understanding Food Photography Lighting
Good lighting is key for great food photos. It brings out textures, colors, and details that make dishes look their best. Let's explore the basics of food photography lighting.
The Role of Light in Food Photography
Light shapes how food looks in photos. Soft light creates gentle shadows and even tones. It's great for most food shots. Hard light makes strong shadows and high contrast. This can work for some dramatic effects.
You can play with light direction, too. Side lighting shows textures well. Backlighting makes food glow. Top lighting is good for flat lay shots. The right light makes food look fresh and yummy.
Light also affects mood. Bright light feels cheerful. Dim light can be cozy. Cool light tones work for fresh foods. Warm light makes comfort foods more inviting.
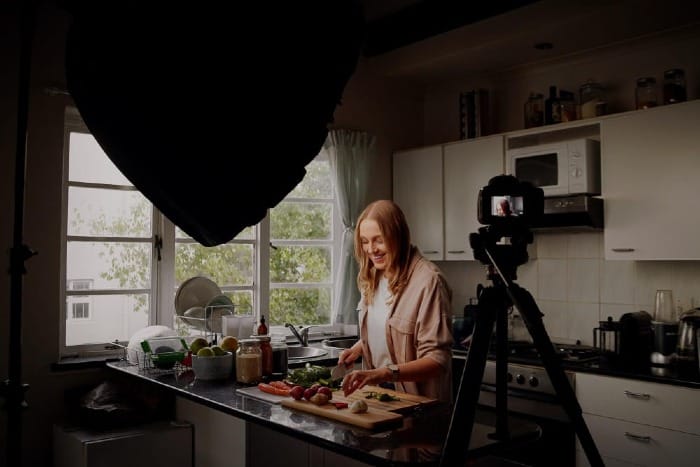
Natural Light vs. Artificial Light
Natural light from windows is popular for food photos. It's free and looks natural. Cloudy days give soft, even light. Sunny days create stronger shadows.
You can use natural light all year. But it changes with the weather and time. You may need to move your setup as the sun moves.
Artificial lights give you more control. You can use them anytime. They stay the same all day. Popular options include:
Artificial lights let you match the look of natural light. Or you can create your own style. They're great when you need to work fast or at night.
Both natural and artificial light can make food look good. The best choice depends on your needs and style.
Basics of Lighting Setup
Good lighting is key for food photography. A basic setup uses three lights and diffusion to create soft, flattering light on your dishes.
Three-Point Lighting Fundamentals
Three-point lighting uses a key light, a fill light, and a backlight. The key light is your main light source. Place it on one side of your food at about a 45-degree angle. The fill light goes on the opposite side to soften shadows. It should be less bright than the key light. The backlight goes behind the food to add depth and separate it from the background.
You can use studio lights or natural window light as your key. For fill, try a white reflector or a weaker light. A small LED panel works well as a backlight.
Diffusing Light for Softer Shadows
Diffusers soften harsh light and reduce strong shadows. Place a diffuser between your light source and the food. You can buy a professional diffuser or use a white sheet or frosted shower curtain.
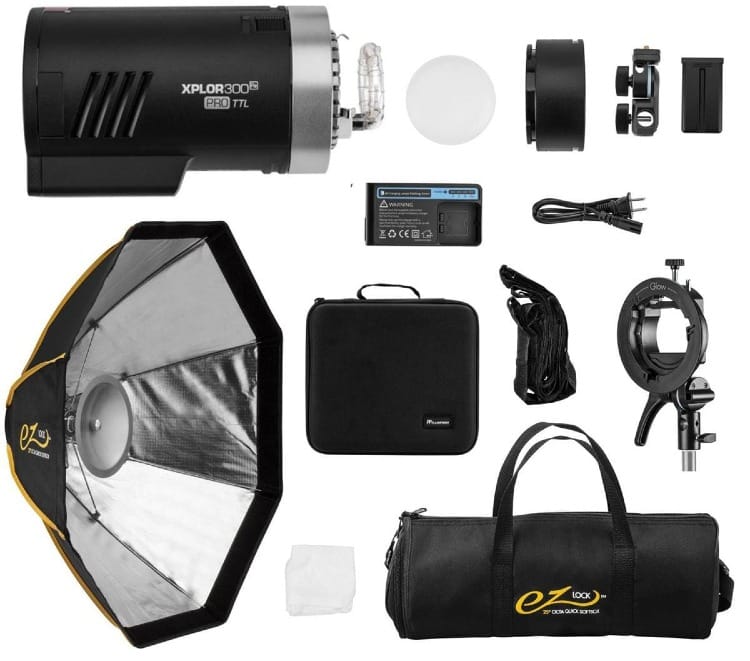
Softboxes are great diffusers for artificial lights. They create a large, soft light source. For window light, hang a sheer curtain. You can also bounce light off a white wall or ceiling to diffuse it.
Try different diffusion strengths to find the right balance of soft light and appealing shadows for your style of food photography.
Choosing Affordable Lighting Kits
Affordable lighting kits can improve your food photos without breaking the bank. You have options like continuous lighting kits and ring lights to get started.
Continuous Lighting Kit Options
Continuous lighting kits are a good choice for beginners. You can see how the light affects your food as you shoot.
If you're on a tight budget, look into DIY options. A 500W halogen work light from a hardware store can work well for food photos. Place it near your setup and diffuse the light with a white sheet.
Getting Started with a Ring Light Kit
Ring lights are great for food close-ups and social media content. They create even, flattering light and are easy to use. Many affordable ring lights come with adjustable color temperatures from 3200K to 6500K.
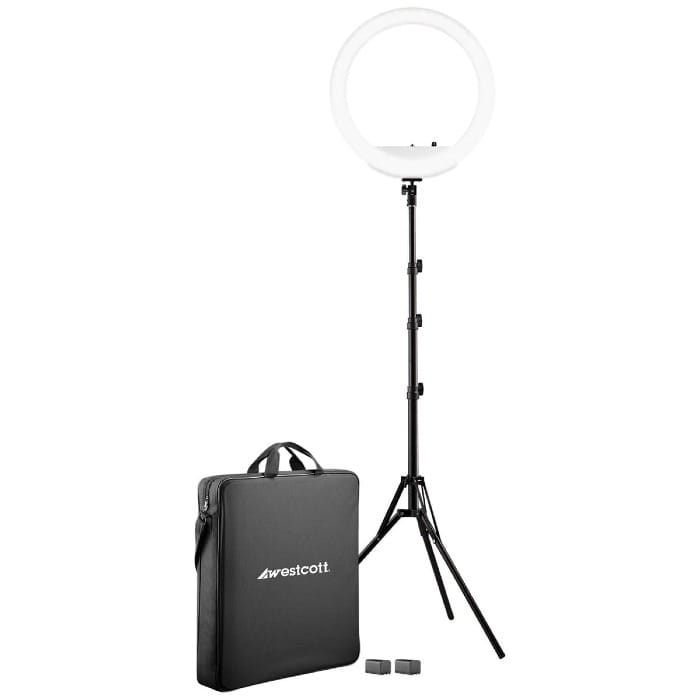
Look for an 18-inch LED ring light with a stand. These often cost under $50 and include a phone holder. This setup works well for overhead food shots or video recipes.
Some ring lights have multiple lighting modes. You can switch between white, soft, and warm light to match your food's mood. Start with the brightest setting and adjust as needed.
Remember to place your ring light slightly above and in front of your food. This angle reduces harsh shadows and makes your dishes look more appealing.
Lighting Accessories for Enhanced Effects
The right accessories can take your food photography to the next level. They help shape light, reduce harsh shadows, and create eye-catching images.
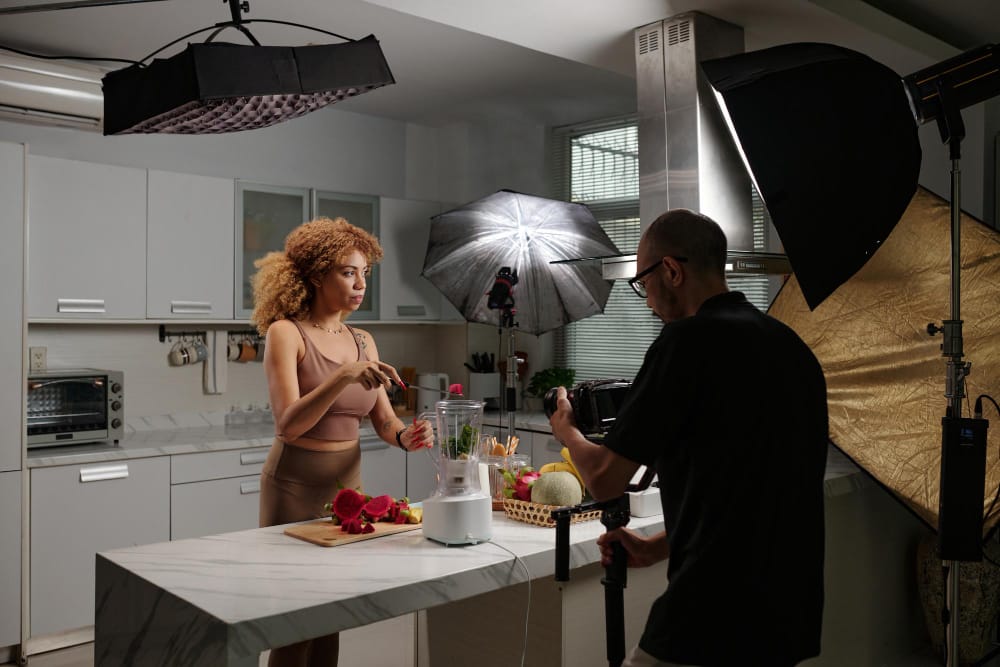
The Importance of Light Stands and Modifiers
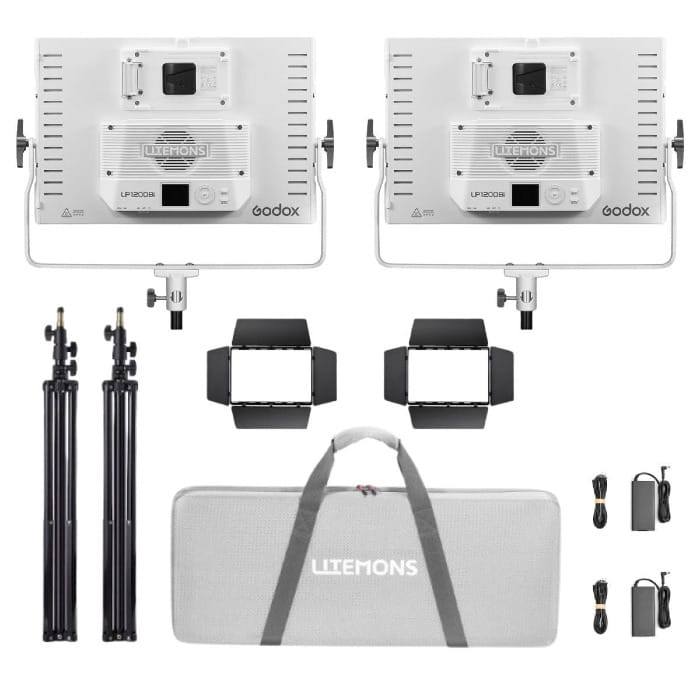
Light stands are key for positioning your lights. They let you adjust height and angle for the perfect shot. Get sturdy stands that won't tip over easily. Modifiers change how light hits your food. Softboxes spread light evenly and reduce glare. Umbrellas bounce light for a softer look. Snoots focus light on specific areas.
Try different modifiers to see what works best for your style. A basic kit with a softbox and umbrella is a good start. As you grow, add more options like grids or barn doors. These let you control the light spread precisely.
Using Reflectors and Diffusers Correctly
Reflectors bounce light back onto your subject. They fill in shadows and add highlights. White reflectors give soft, natural light. Silver ones create brighter, more dramatic effects. Gold reflectors add warm tones to food.
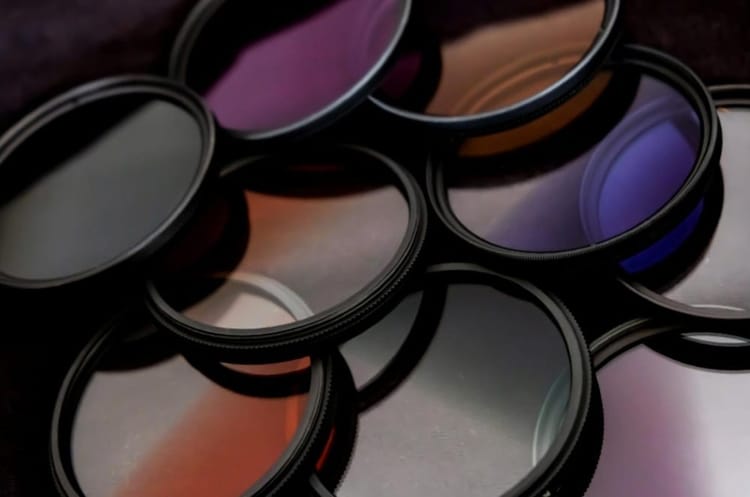
Diffusers soften harsh light sources. Place them between your light and the food. This creates a soft, even glow. It's great for reducing glare on shiny surfaces.
For the backlight, put a diffuser behind your food. This creates a nice glow around the edges. Use a reflector in front as a fill light to balance the shot. Experiment with angles to find the most flattering look for your dish.
Camera Settings for Perfect Food Photos
The right camera settings can make or break your food photos. Key aspects to focus on are white balance, color temperature, and DSLR settings. These elements work together to create appetizing, professional-looking images.
White Balance and Color Temperature
White balance ensures your food looks its best in photos. Set it to match your light source. For natural light, use the daylight setting. Under artificial lights, choose the tungsten or fluorescent option. You can also set a custom white balance by photographing a white card.
Color temperature affects the warmth or coolness of your images. Warmer tones (around 3000K) add a cozy feel, while cooler tones (5000K+) create a crisp look. Adjust this in-camera or during editing to fine-tune your food's appearance.
Try different white balance and color temperature settings to see what works best for your style and lighting conditions.
Choosing the Right DSLR Camera Settings
For food photography, use manual mode on your DSLR. This gives you full control over your settings. Start with ISO 100 for the clearest images. Set your aperture between f/2.8 and f/5.6 to create a soft background blur. Use a shutter speed of 1/80 second or faster to avoid camera shake.
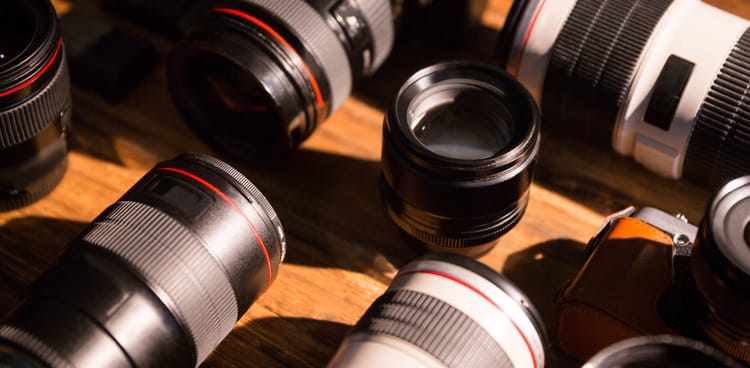
Your 18-55mm kit lens can work well for food shots. Set it to around 50mm for a natural perspective. If possible, invest in a prime lens like a 50mm f/1.8 for sharper images and better low-light performance.
Experiment with these settings:
- ISO: 100-400
- Aperture: f/2.8-f/5.6
- Shutter speed: 1/80-1/200 second
Adjust as needed based on your lighting and desired effect. Practice and refine your technique to create stunning food photos.
Setting Up Your Food Photography Studio
A proper studio setup is key for great food photos. The right lighting and equipment will help you capture appetizing images consistently.
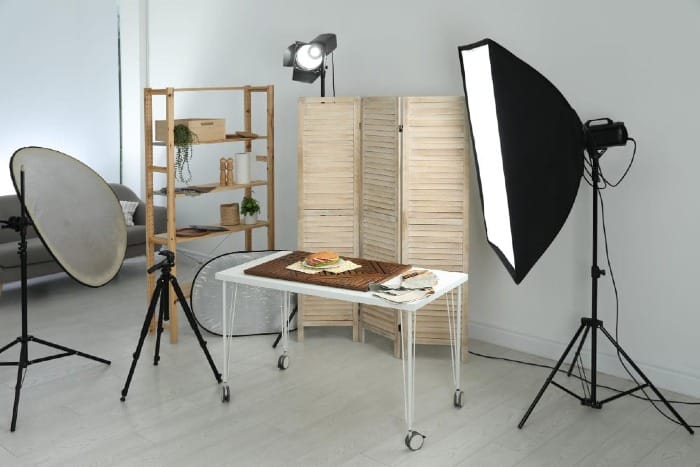
The Essentials of Photography Lighting Setup
Start with a window for natural light. Place your food near it, using a white foam board to bounce the light back. For artificial lighting, get a daylight-balanced LED panel or softbox. Put it at a 45-degree angle to your subject.
Use a tripod to keep your camera steady. This lets you use slower shutter speeds without blur.
A reflector helps fill in shadows. White poster board works well and is cheap.
Backdrops set the scene. Try plain white paper, wooden boards, or colorful fabrics.
Controlling Light for Consistent Results
Diffuse harsh light with a sheer curtain or white paper over the window. This softens shadows and reduces glare.
Block out unwanted light with black foam boards. These help direct focus to your subject.
Use a light meter to check exposure. This ensures even lighting across your shots.
Take test shots and adjust as needed. Move lights closer for more intensity or farther for softer light.
Consider color temperature. Match your lights to avoid odd tints in your photos.
Advancing from Beginners to Pros
Taking your food photography to the next level involves upgrading your gear and learning new techniques. Let's look at how to improve your skills and equipment.
Upgrading Your Photography Equipment
As you progress, you'll want better tools. Start with a DSLR or mirrorless camera if you haven't already. These offer more control over settings.
Next, invest in a quality lens. A 50mm or 100mm macro lens works well for food shots. These lenses let you get close-up details.
For lighting, consider a 2-3 light setup. Softbox lighting kits provide even diffused light. They're great for food photography.
A color checker and grey card help with white balance and color accuracy. These tools ensure your food looks true to life.
Tripods stabilize your camera for crisp shots. Look for one with a horizontal arm for overhead angles.
Practical Tips for Beginning Photographers
Practice is key to improving your skills. Set up a home studio space to experiment with lighting and compositions.
Learn to use manual mode on your camera. This gives you full control over exposure, aperture, and shutter speed.
Experiment with different angles. Try shooting from above, at eye level, and from the side. Each angle tells a different story.
Pay attention to food styling. Use props and backgrounds that complement your subject without distracting from it.
Edit your photos to enhance colors and contrast. Learn basic editing software like Lightroom or Photoshop.
Network with other food photographers. Join online communities to share tips and get feedback on your work.
Creative Use of Lighting in Food Photography
Lighting can make or break your food photos. The right techniques can bring out textures, highlight colors, and create eye-catching images.
Experimenting with Different Light Sources
Try various light sources to see what works best for your food shots. Natural light from a window often gives a soft, flattering look. Fluorescent bulbs can create a cooler tone, while LED bulbs offer adjustable color temperatures. USB LED lights are portable and great for on-the-go shoots.
For a budget-friendly option, use a work light from a hardware store. These provide bright, even lighting that's easy to control. You can also use household lamps to create interesting shadows and highlights.
Mix and match light sources to achieve different effects. A combination of natural and artificial light can add depth to your images.
Artistic Techniques for Unique Food Photos
Play with light direction to create mood and texture in your photos. Side lighting can emphasize the texture of foods like bread or meats. Backlighting works well for drinks, making them glow and appear refreshing.
Experiment with shadows to add drama. Use black foam boards to block light and create dark, moody shots. For a softer look, try diffusing your light source with a white sheet or paper.
Get creative with reflections. Use shiny surfaces like mirrors or metal trays to bounce light and add sparkle to your images. You can also create interesting patterns by shining light through textured objects like lace or leaves.
Conclusion
Getting started with food photography doesn't have to break the bank. Affordable lighting kits give you the tools to capture appetizing shots without spending a fortune.
With options like LED panels, softboxes, and even basic work lights, you can find setups that fit your budget and skill level. These kits let you control light and shadows to make your food look its best.
As you practice, you'll learn how different lights affect your photos. Soon, you'll be taking mouthwatering pictures that pop off the screen. The right affordable kit gives you room to grow your skills over time.
Remember, great food photos come from creativity and practice, not just expensive gear. Start with a simple, budget-friendly kit and focus on mastering techniques. Your skills will improve with each shoot.