Bird Photography Tips: Capturing Stunning Avian Images in the Wild
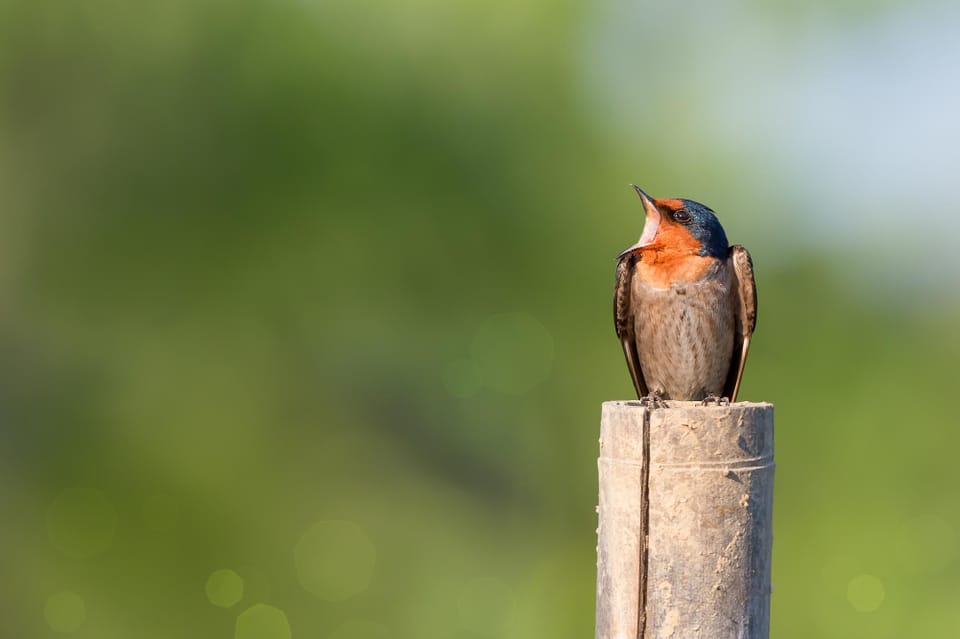
Bird photography can be a rewarding hobby that lets you capture the beauty of nature. With the right tips and techniques, you can take stunning photos of birds in their natural habitats.
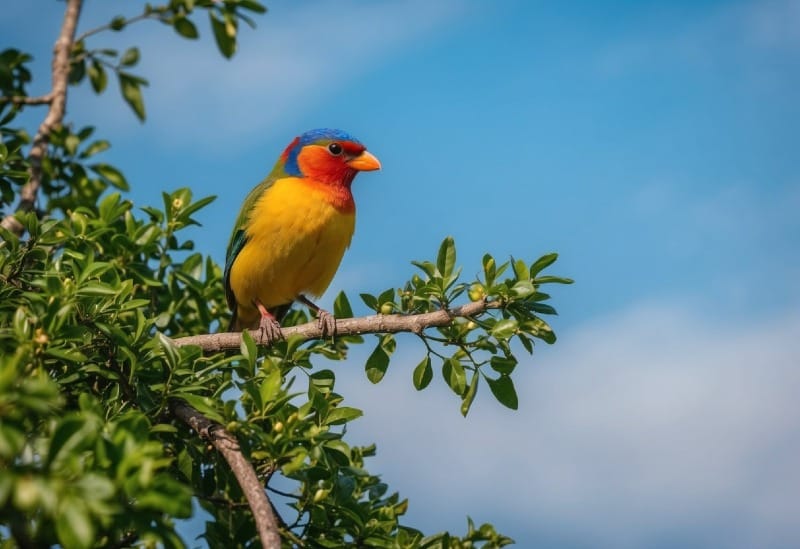
To get great bird photos, use a long lens, learn about bird behavior, and be patient.
A telephoto lens of at least 300mm helps you zoom in without disturbing the birds.
Knowing where and when different species are active allows you to find and anticipate good photo opportunities. And staying still and quiet increases your chances of birds coming close.
Good lighting is key for sharp, detailed bird images. The soft light of early morning and late afternoon works well.
Fast shutter speeds help freeze motion. It's also important to focus on the bird's eye to create an engaging photo.
With practice and the right approach, anyone can take beautiful photos of birds in flight, perched, or in action.
Equipment Essentials
Getting great bird photos requires the right gear. The key items are a good camera, the proper lens, and supporting equipment to keep everything steady.
Choosing the Right Camera
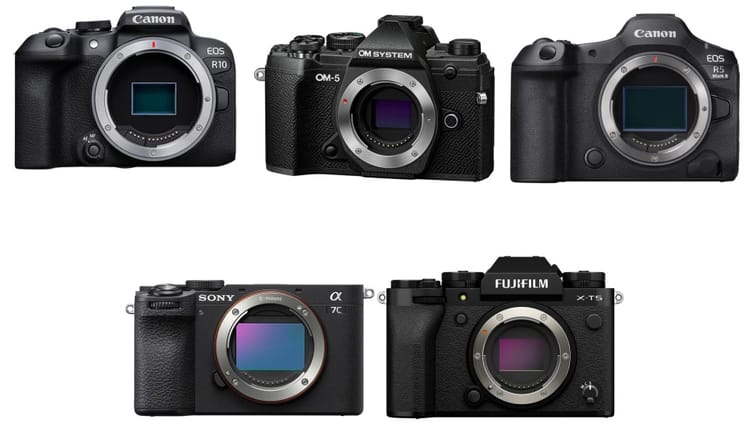
Many photographers opt for mirrorless cameras for bird photography. These cameras offer fast autofocus and high burst rates to capture birds in flight.
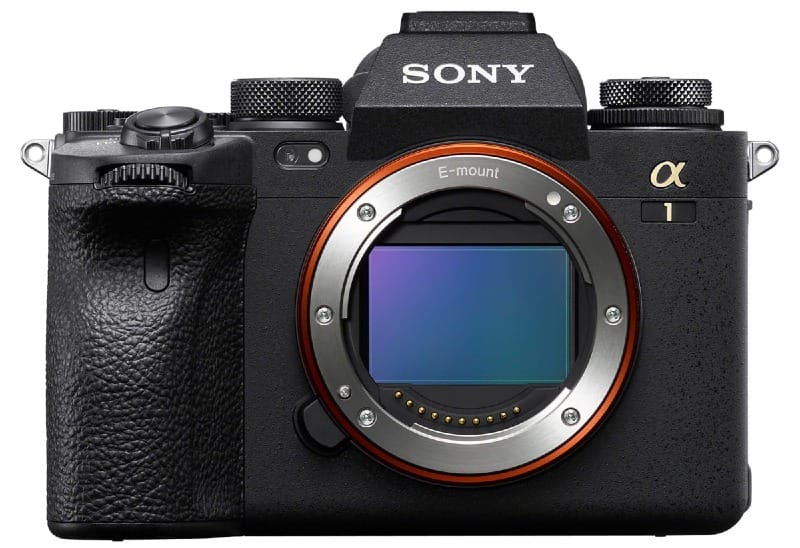
Look for models with at least 20 megapixels and good low-light performance.
DSLR cameras are another solid choice. They have a wide selection of lenses and often longer battery life than mirrorless options.
Key features to consider:
- Fast autofocus system
- High frames per second shooting
- Good ISO performance
- Weather sealing for outdoor use
Understanding Lenses
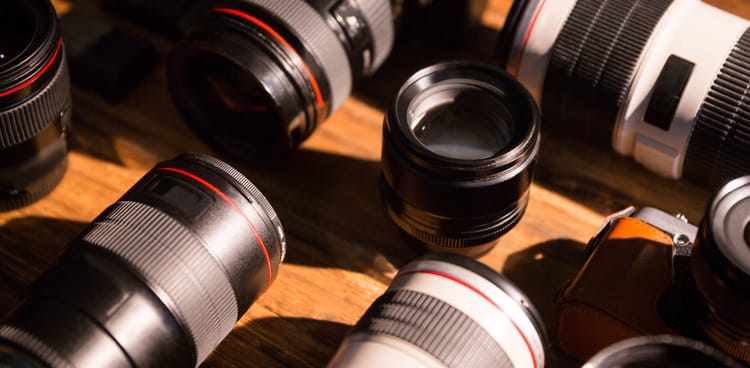
A telephoto lens is essential for bird photography. Focal lengths of 300mm to 600mm are ideal for most situations.
Longer lenses let you get close-up shots without disturbing the birds.
Prime lenses offer sharper images and wider apertures. Zoom lenses provide more flexibility in framing shots.
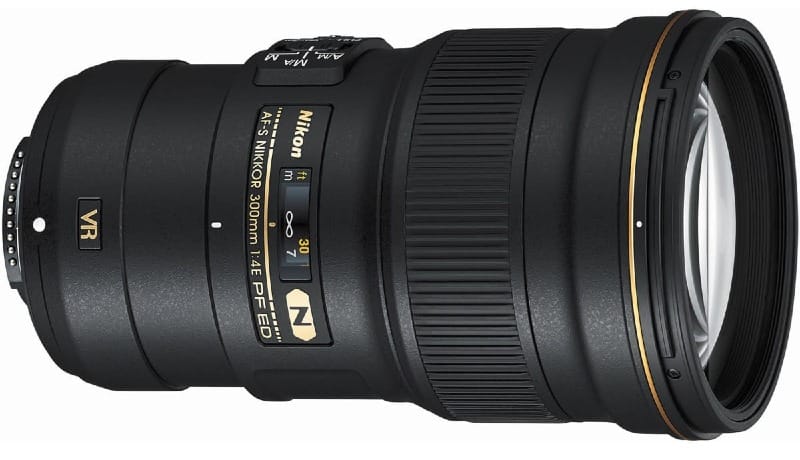
Important lens factors:
- Fast maximum aperture (f/4 or wider)
- Image stabilization
- Weather sealing
- Compatibility with teleconverters
Supporting Gear
A sturdy tripod is crucial for sharp images, especially with heavy lenses. Look for carbon fiber models to reduce weight.
A ball head or gimbal head allows smooth panning for tracking birds.
For more mobility, a monopod can be a good alternative. It's lighter than a tripod but still provides stability.
Other helpful accessories:
- Remote shutter release
- Extra batteries and memory cards
- Lens rain cover
- Binoculars for spotting birds
Camera Settings for Optimal Shots
Getting the right camera settings is key for capturing stunning bird photos. The perfect mix of shutter speed, aperture, and ISO will help you freeze motion, control depth of field, and manage light.
Mastering Shutter Speed
Fast shutter speeds are crucial for sharp bird photos. Aim for at least 1/1000th of a second to freeze movement.
For flying birds, go even faster - 1/2000th or higher.
In bright conditions, this is easy. But in low light, you'll need to balance shutter speed with other settings.
Use shutter priority mode to maintain control. This lets you set the speed while the camera adjusts aperture.
For action shots, try burst mode. It takes multiple photos in quick succession, increasing your chances of getting the perfect moment.
The Role of Aperture
Aperture affects both exposure and depth of field. A wide aperture (small f-number) lets in more light and blurs the background.
For bird portraits, try f/5.6 or f/4. This creates a soft, pleasing background while keeping the bird sharp.
For birds in flight or group shots, use a smaller aperture like f/8 or f/11. This increases the depth of field, keeping more of the scene in focus.
In low light, a wider aperture helps maintain faster shutter speeds.
ISO & Exposure
ISO controls your camera's light sensitivity. Higher ISO values brighten your image but can add noise.
Start with ISO 400 on bright days. In dim light, don't be afraid to go higher - modern cameras handle high ISOs well.
Use Auto ISO to let the camera adjust as light changes. Set a maximum ISO to prevent excessive noise.
Exposure compensation helps fine-tune brightness. For light-colored birds, add positive compensation. For dark birds, use negative values.
Monitor your histogram to ensure proper exposure. Aim for a balanced graph without clipped highlights or shadows.
The Art of Composition
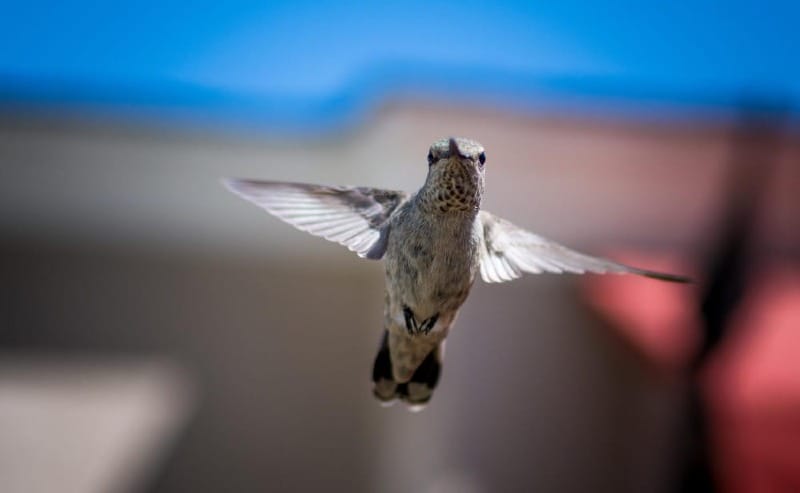
Good composition can make or break a bird photo. It's about arranging elements to create visually appealing images that draw the viewer in.
Framing the Perfect Shot
Framing is key to creating eye-catching bird photos. The golden hour provides soft, warm light that enhances colors and details.
Shoot at eye-level with birds for an intimate perspective. This creates a connection between the viewer and the subject.
Use natural elements like branches or leaves to frame the bird. This adds depth and context. For birds in flight, leave space in front of them to show movement.
Clean backgrounds help the bird stand out. Look for uncluttered areas or use a shallow depth of field to blur the background.
Understanding the Rule of Thirds
The rule of thirds is a basic composition technique. Imagine dividing the frame into a 3x3 grid. Place key elements along these lines or at their intersections.
For perched birds, position the eye at an intersection point. This creates visual interest. With flying birds, place them off-center, leaving space in front.
Don't always center the bird. Off-center placement often results in more dynamic images. It can show the bird's environment or capture a sense of motion.
Working with Backgrounds
Backgrounds play a crucial role in bird photography. A clean background makes the bird pop. Look for simple, uncluttered areas behind your subject.
Use a wide aperture to blur the background. This separates the bird from its surroundings. Soft, out-of-focus backgrounds can enhance the overall image.
Pay attention to colors. Complementary background hues can make the bird's colors more vibrant. Avoid bright or distracting elements that pull focus from the subject.
For action shots, ensure the background doesn't interfere with the bird's movement. A clear sky or uniform vegetation works well for birds in flight.
Light & Timing

Good lighting and timing are key to capturing stunning bird photos. These elements can make or break an image, affecting color, contrast, and mood.
Making Use of Natural Light
Natural light is a bird photographer's best friend. It brings out the colors and details of birds' feathers.
Soft, diffused light creates a pleasing effect. Avoid direct sunlight, as it can cause harsh shadows.
On cloudy days, the light is even and soft. This works well for close-up shots. Overcast skies act like a giant softbox, reducing contrast and shadows.
Sidelighting can add depth to bird photos. It highlights textures and creates a 3D effect. This type of light works best early or late in the day.
Backlighting can create dramatic silhouettes. It's tricky but can result in unique images. Be careful not to underexpose the bird's body.
Capturing Birds at the Golden Hours
The golden hours are prime time for bird photography. These occur just after sunrise and before sunset.
The light is warm and soft, casting a golden glow on subjects.
During these times, the sun is low in the sky. This creates long shadows and adds depth to images. Colors appear richer and more vibrant.
Many birds are active during these hours. They feed and sing, providing great photo opportunities. Be ready to capture birds in flight or perched on branches.
Early morning light is often cooler and bluer. Evening light tends to be warmer and more golden. Both can create stunning effects.
Dealing with Various Light Conditions
Midday sunlight can be challenging for bird photography. The harsh light creates strong shadows and high contrast. If possible, seek shade or wait for better light.
In bright conditions, use a reflector to fill in shadows. This helps balance the light on the bird's face and body.
For dark or shaded areas, increase your camera's ISO. This allows for faster shutter speeds to freeze bird motion.
Rainy or misty days can create moody images. Birds often appear more active just before or after rain. Water droplets on feathers can add interest to photos.
Catchlights are important in bird portraits. These are reflections in the bird's eye that add life to the image. Position yourself so the light creates a catchlight.
Behavior & Ethical Considerations

Bird photography requires respect for wildlife and an understanding of avian behavior. Ethical practices protect birds while allowing photographers to capture stunning images.
Studying Bird Behavior
Bird behavior knowledge is key for great photos. Learn common bird' habits in your area.
Watch how they feed, move, and interact. This helps predict actions for better shots.
Different species have unique behaviors. Some are shy, others bold. Know when birds are most active. Many sing and feed in the early morning or late afternoon.
Pay attention to breeding seasons. Birds often display courtship rituals then. But don't disturb nesting areas. Keep a safe distance.
Notice flight patterns and perching spots. This helps frame shots. Some birds have favorite branches or hunting perches.
Approaching Wildlife Respectfully
Ethical bird photography puts the animal's welfare first. Stay on trails and use blinds when possible.
Move slowly and quietly to avoid startling birds.
Use long lenses to keep your distance. This prevents stress on the birds. Never bait birds or use calls to lure them.
Be aware of your impact. Don't trample plants or disturb habitats. Leave no trace when you go.
Respect closures and protected areas. These safeguard critical habitats. Follow local laws and guidelines for wildlife areas.
Share location info responsibly. Rare bird sightings can draw crowds. This may harm the birds or their habitat.
Post-Processing & Final Touches
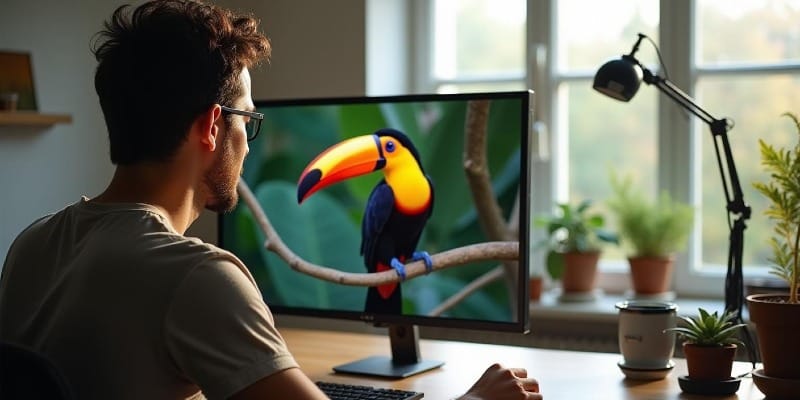
Good bird photos can become great with the right post-processing. Careful editing and use of professional software tools can make images pop while keeping them natural-looking.
Editing Like a Pro
Post-processing for bird photography requires a delicate touch.
Photographers should aim to enhance images without overdoing adjustments.
Key areas to focus on include:
• Exposure and contrast • Color balance and saturation
• Sharpening and noise reduction • Cropping for improved composition
It's important to maintain natural colors and textures when editing bird images. Skin, feathers, and eyes should look realistic.
Small tweaks often yield the best results. Subtle adjustments to shadows and highlights can add depth. Gentle sharpening brings out feather details.
Software Tools to Enhance Images
Popular editing software for bird photography includes Adobe Lightroom and Photoshop. These powerful tools offer precise control over image adjustments.
Lightroom excels at organizing and batch-editing large numbers of photos. Its development module provides essential editing features.
Photoshop allows for more advanced editing techniques:
• Selective adjustments • Complex retouching • Layer blending
Free alternatives like GIMP and RawTherapee also offer robust editing capabilities.
Many professional photographers use a combination of software to achieve stunning bird pictures.
Learning to use editing software effectively takes practice.
Photographers should experiment with different tools and techniques to develop their personal style.
Thank you for visiting our site and being part of this journey with us! We rely on the generous support of visitors like you to continue providing high-quality. Your donation, no matter the size, helps us maintain the website and create more valuable resources for everyone.

