
Locking layers in Photoshop helps protect your work from accidental changes while editing. This feature is useful when working on complex projects with many layers that need to stay in place. To lock a layer in Photoshop, click the lock icon in the Layers panel or use any of the four lock options: Lock All, Lock Position, Lock Image Pixels, or Lock Transparent Pixels.

Each lock type serves a specific purpose in protecting different aspects of your work. The Lock All option prevents any changes to the layer, while the Lock Position keeps the layer contents from moving. Lock Image Pixels stops painting and editing on the layer, and Lock Transparent Pixels protects clear areas while letting you edit the visible parts.
These simple yet powerful tools give artists and designers more control over their projects. Many professionals use layer locks as part of their workflow to maintain organization and prevent mistakes during the editing process.
Understanding Layers in Adobe Photoshop
Layers in Adobe Photoshop work like transparent sheets stacked on top of each other, letting users edit different parts of an image separately. The Layers panel provides essential tools to manage and organize these elements.
The Role of Layers in Editing
Each layer holds distinct image elements that can be edited without affecting other parts of the design. Users can add text, shapes, filters, and adjustments to separate layers.
Working with layers gives editors precise control over each element. A photo might have its background on one layer, text on another, and special effects on a third.
Layers can be hidden, shown, or adjusted in opacity to create different visual effects. This flexibility makes complex edits simple and reversible.
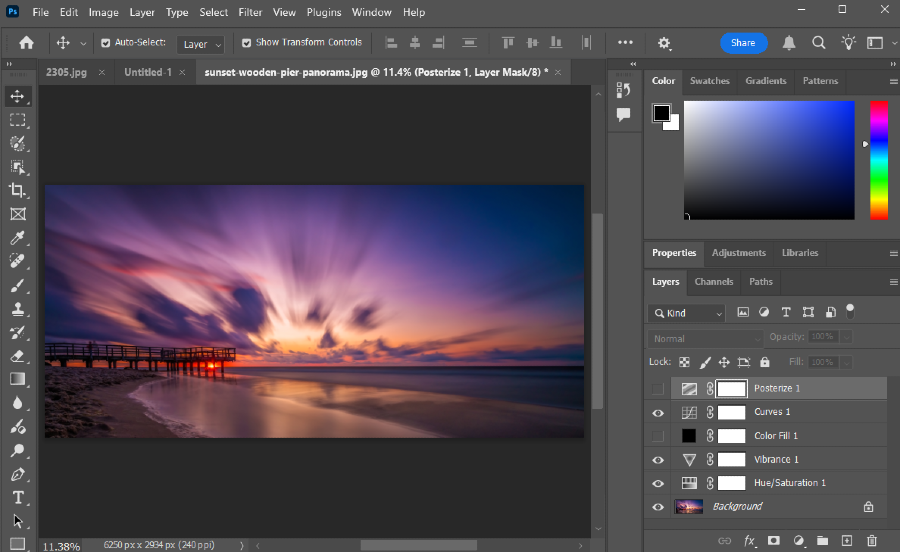
Layers Panel Overview
The Layers panel sits on the right side of the Photoshop workspace. It displays all layers in the current document, with the top layer in the panel appearing at the front of the image.
Key Layer Controls:
- Lock icons to prevent changes
- Eye icon to show/hide layers
- Opacity slider to adjust transparency
- Blend modes to control how layers interact
Users can drag layers to reorder them, create groups for organization, and add layer masks for precise editing. Each layer can be named for easy identification.
The panel includes tools for creating new layers, deleting layers, and duplicating existing ones. These features help maintain an organized workflow.
The Basics of Locking Layers
Locking layers in Photoshop adds protection and prevents unwanted changes to your work. The lock feature gives you control over what can be modified on each layer.
Why Lock a Layer
Locking layers keeps your work safe from accidental edits or changes. When working on complex projects, it's easy to select the wrong layer and make unwanted adjustments.
A locked layer displays a lock icon next to its name in the Layers panel. This visual indicator helps track which elements are protected.
Photoshop offers different types of locks for specific needs. You can lock transparent pixels, image pixels, or the layer's position.
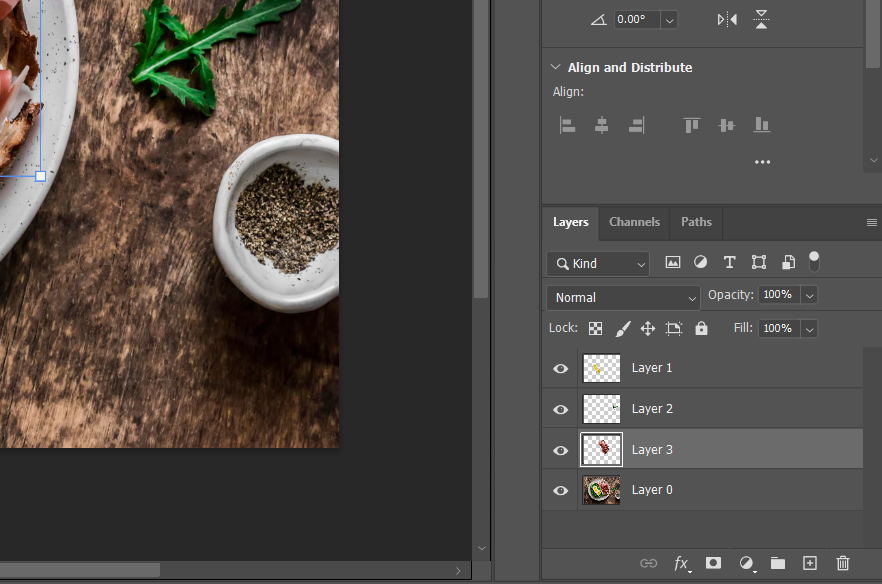
How to Lock and Unlock a Layer
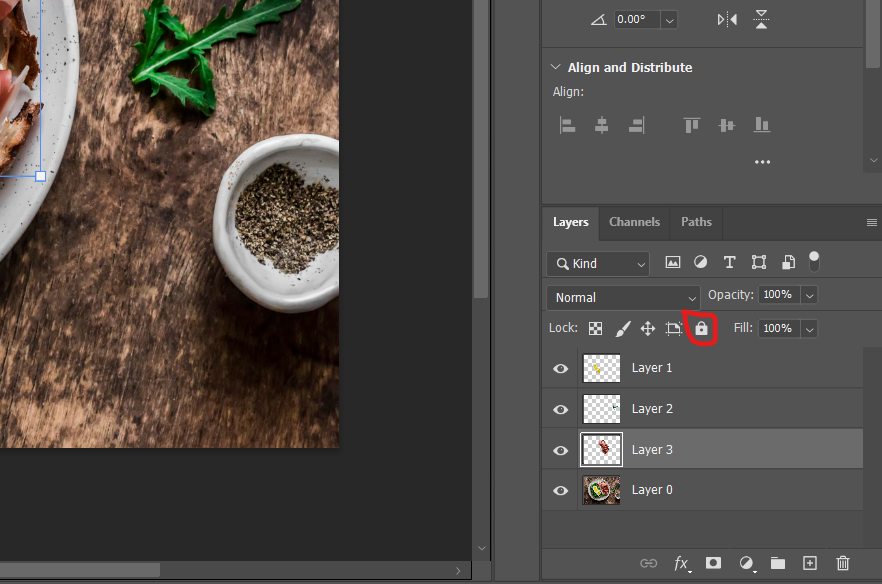
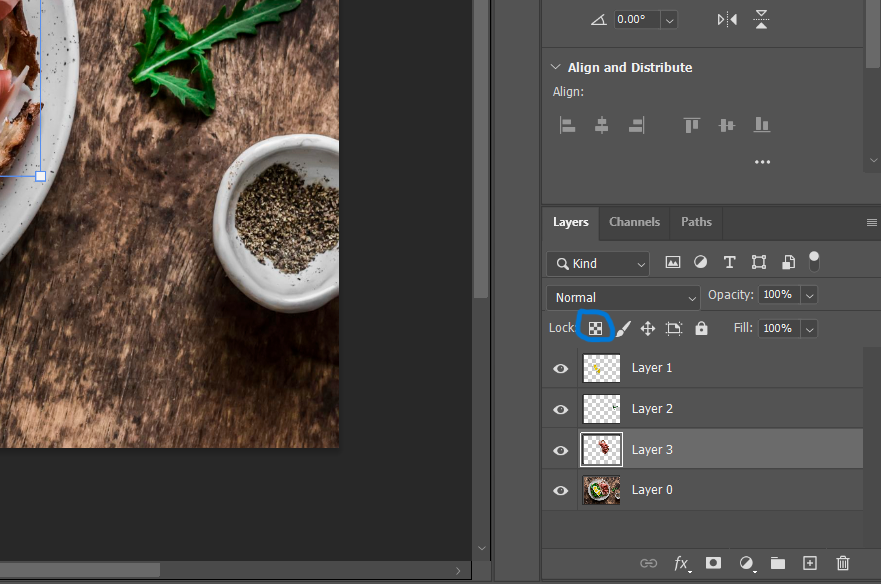
To lock a layer, select it in the Layers panel and click one of the lock options at the top of the panel. The lock options include:
- Lock transparent pixels (checkerboard icon)
- Lock image pixels (brush icon)
- Lock position (arrow icon)
- Lock all (padlock icon)
To unlock a layer, click the lock icon next to the layer name. You can unlock multiple layers at once by selecting them and clicking their lock icons.
The Creative Cloud version of Photoshop lets you lock layer groups, too. Select the group and use the same lock options as individual layers.
Advanced Layer Locking Techniques

Photoshop's layer-locking options give users precise control over what parts of a layer can be modified. These powerful tools protect specific aspects of layers while leaving others editable.
Locking Transparent Pixels
The transparent pixels lock prevents changes to clear areas of a layer. This option keeps the shape of elements intact while allowing edits to existing content.
To lock transparent pixels, click the checkerboard icon in the Layers panel. A lock symbol will appear next to the layer name.
This lock type lets users paint inside existing shapes without affecting the transparent areas around them. It's useful for coloring illustrations or adding effects to specific elements.
Locking Image Pixels
Image pixel locking stops any painting or editing of the actual pixels on a layer. The content stays protected while still allowing position changes and style adjustments.
Users can enable image pixel locking by clicking the brush icon in the Layers panel. The lock icon confirms the protection is active.
This option works well for finished artwork that needs positioning adjustments. Style effects like drop shadows and glows can still be modified even with pixels locked.
Moving and transforming remain possible with image pixels locked. Users can safely reposition elements without the risk of accidental painting or erasure.
Working with the Background Layer
The Background Layer in Photoshop starts as a locked layer that protects the original image. Users can modify its properties and lock status to make necessary edits while maintaining image safety.
Understanding the Background Layer
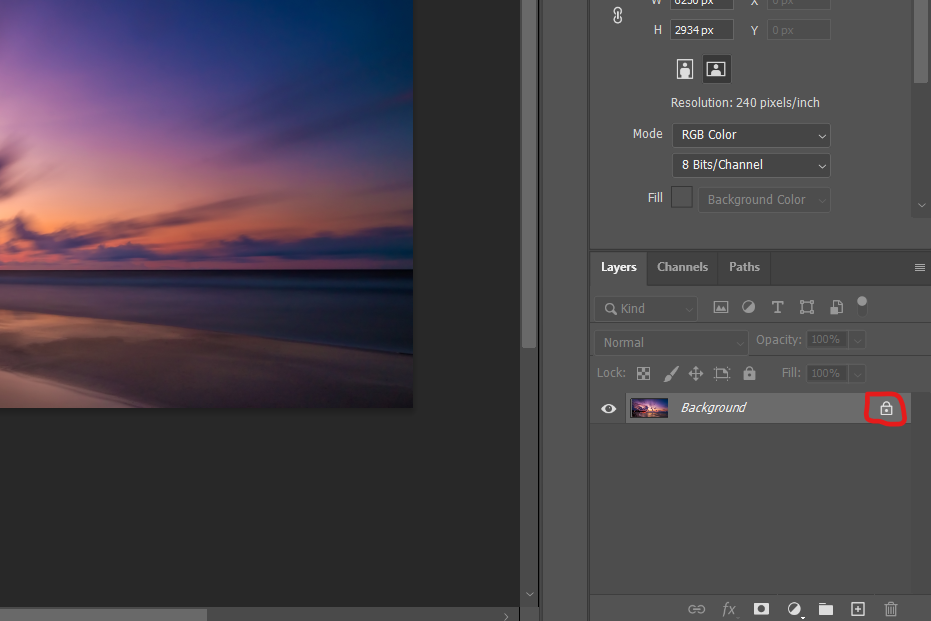
The Background Layer appears automatically when opening a new image in Photoshop. It shows up at the bottom of the Layers panel with a lock icon.
This special layer type prevents accidental transparency and maintains the base image intact. The lock stops users from moving, deleting, or changing the layer's position.
The Background Layer supports basic edits like color adjustments and filters while locked. Paint tools and erasers still work on the locked Background Layer.
Modifying and Locking the Background Layer
Double-clicking the Background Layer converts it to a regular image layer. This removes the default lock and enables all editing features.
To unlock the Background Layer:
- Double-click the layer name in the Layers panel
- Enter a new name in the dialog box
- Click OK
The converted layer can be locked again by clicking the lock icon in the Layers panel. Users can choose which properties to lock:
- Transparency: Prevents erasing pixels
- Image Pixels: Stops painting and filters
- Position: Keeps the layer from moving
- All: Blocks all changes
Efficiency Tips: Layer Locking Shortcuts
Quick keyboard commands speed up layer locking in Photoshop and help maintain a smooth workflow.
Using Keyboard Shortcuts
The fastest way to lock a layer is with the keyboard shortcut Ctrl + / on Windows or Cmd + / on Mac. This command instantly locks or unlocks the selected layer.
When working with multiple layers, select them all first by holding Shift while clicking each layer. Then, use the same shortcut to lock them together.
For a temporary lock, hold the / key while making adjustments. This creates a quick lock that releases when the key is released.
These shortcuts work on any layer type, including background layers, adjustment layers, and shape layers. The padlock icon appears next to locked layers in the Layers panel to show their status.
Conclusion

Locking layers in Photoshop gives users better control over their work and prevents unwanted changes. The lock options are easy to access through the Layers panel.
The lock feature offers multiple ways to protect layer content. Users can lock transparent pixels, image pixels, or layer positions based on their needs.
Each lock type serves a specific purpose. Transparent pixel locks keep clear areas safe while allowing edits to visible content. Image pixel locks prevent any painting or editing. Position locks stop layers from moving.
Locked layers display a lock icon for quick identification. Users can unlock layers at any time to make changes by clicking the lock icon again.
These tools help maintain image integrity during complex editing projects. Proper use of layer locks creates a more efficient and secure workflow in Photoshop.
Remember to test locked layers to ensure they behave as expected. This simple check helps avoid workflow disruptions later in the editing process.