How to Master Blue Hour Photography: A Simple Guide for Stunning Shots
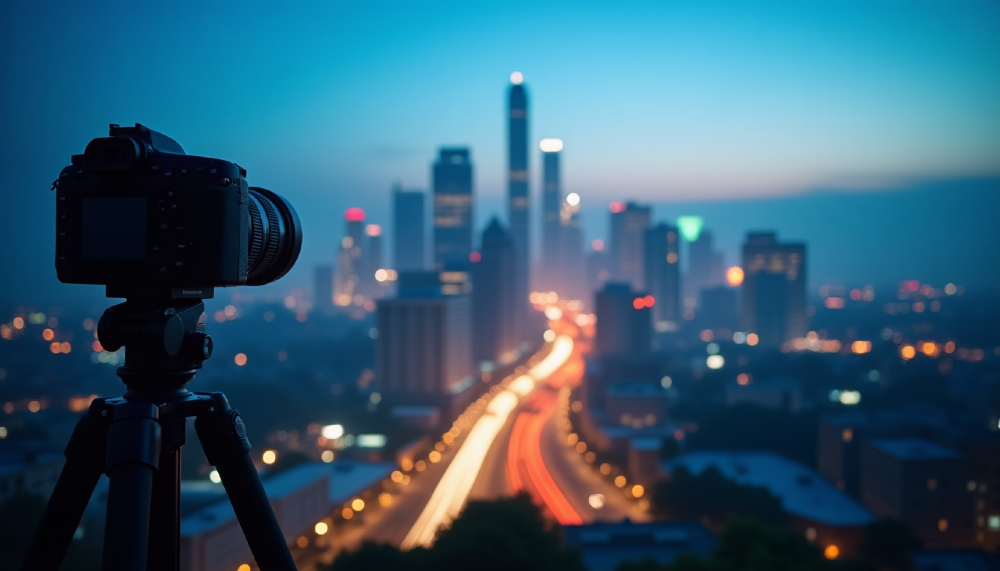
Blue hour occurs twice each day in 90% of countries worldwide. Many photographers miss these moments because they pack up their gear right after sunset.
This magical period gives you 20 to 40 minutes of shooting time. It happens when the sun sits 4 to 6 degrees below the horizon. City landscapes and natural scenes take on distinctive blue and purple hues that create mysterious atmospheres in photographs.
The right timing makes a big difference. You should reach your location at least 1 hour and 20 minutes before sunrise or after sunset to catch these stunning moments. Understanding the right techniques, timing, and tools will help you become skilled at blue hour photography.
Would you like to enhance your photos using the blue hour's beauty? Let's take a closer look at everything you need to know about capturing remarkable shots during this special time of day.
What is Blue Hour: Understanding the Magic Time
The French term l'heure bleue beautifully describes the blue hour - a magical time when deep, saturated blue tones fill our world. This natural wonder happens as the sun sits , giving photographers a chance to capture something truly special between 4 and 8 degrees below the horizon.
Defining Blue Hour in Photography
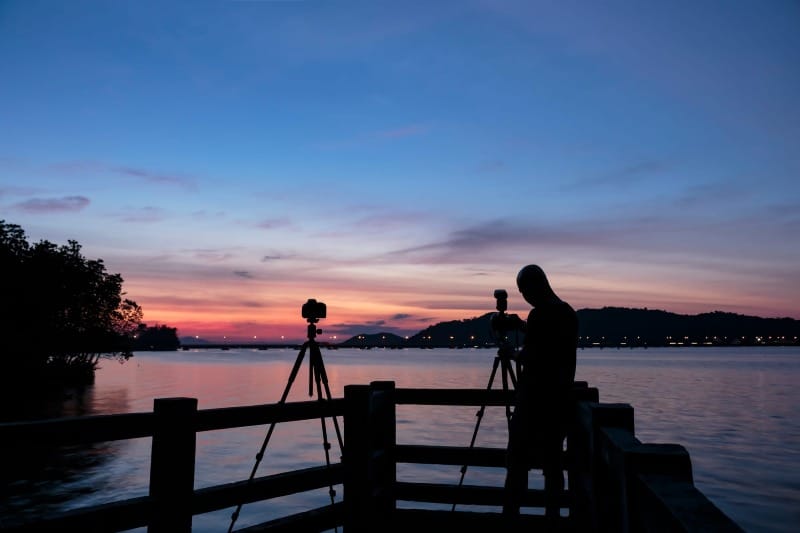
The blue hour comes alive through Chappuis absorption, a natural process that lets blue wavelengths take over the remaining sunlight. The sky shows off rich blue hues that sometimes mix with yellow, orange, and red tones in the right conditions.
When Does Blue Hour Occur
The blue hour visits us - just before sunrise and right after sunset twice daily in most locations. Your location on Earth affects how long it lasts:
· Places near the equator get about 20 minutes because of steep sun angles
· Mid-latitude regions enjoy 20-40 minutes of blue light
· The polar regions can see it stretch up to 96 minutes due to shallow sun angles
The air quality and changing seasons play a big role in the timing and how intense your blue hour looks.
Why Blue Hour Creates Stunning Photos
Blue hour photography has some amazing qualities that other times of the day just can't match. The soft, indirect sunlight creates even lighting with hardly any shadows, and the deep blue atmosphere adds mystery to your shots.
The real magic happens when natural and artificial light meet during this time. City scenes come alive with the contrast between cool blue skies and warm street lights. The unified blue tone makes it easy to create photos that tell a story and touch people's emotions.
Essential Gear for Blue Hour Photography
Blue hour photography needs good preparation and the right equipment. Let's look at the gear you need to capture amazing shots during this magical time.
Camera Equipment Checklist
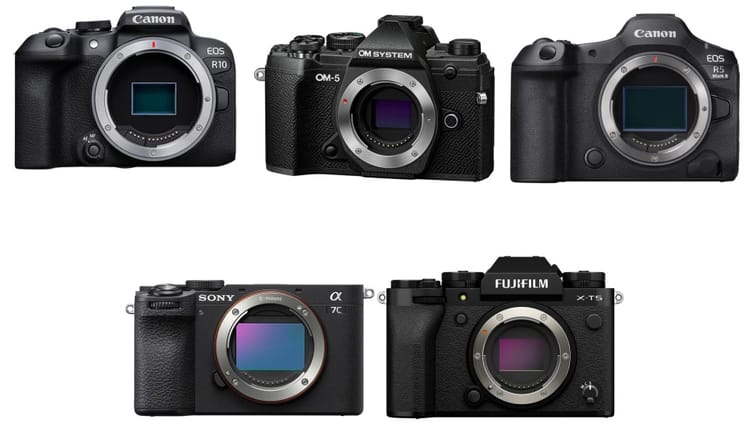
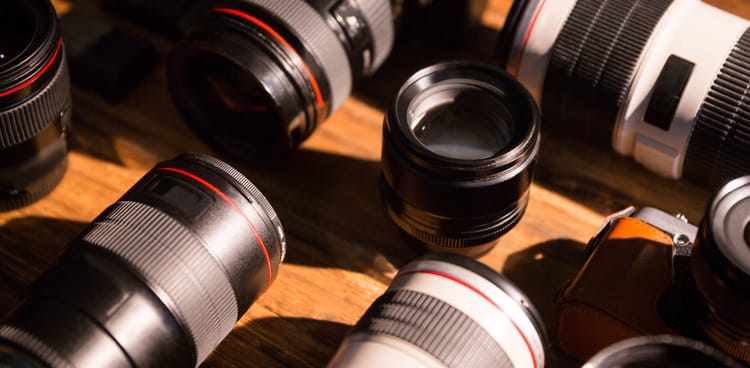
You need a camera with excellent low-light capabilities. A will give you more flexibility with ISO settings for full-frame DSLR or mirrorless cameras. The best results come from a fast lens with an aperture of f/2.8 or wider. Shooting in RAW format is vital because it preserves a wider range of colors and lets you adjust the white balance better.
Must-Have Accessories
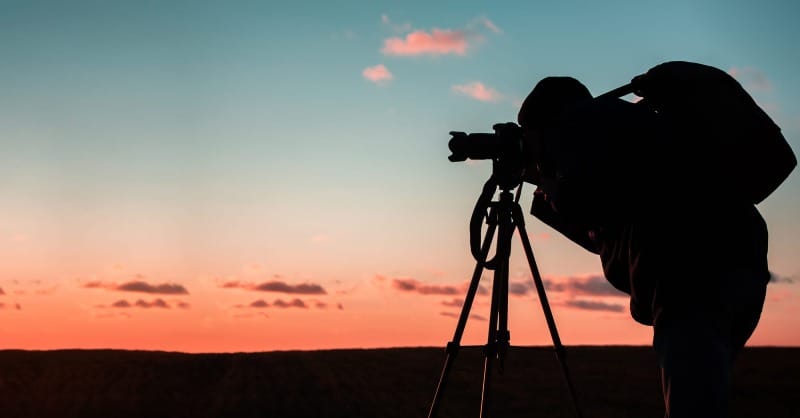
A sturdy tripod is your most important accessory for blue hour photography. Here's what you should think over:
· A heavy-duty tripod to stay stable in windy conditions
· Remote shutter release to avoid camera shake
· Camera bean bag as a light alternative to tripods
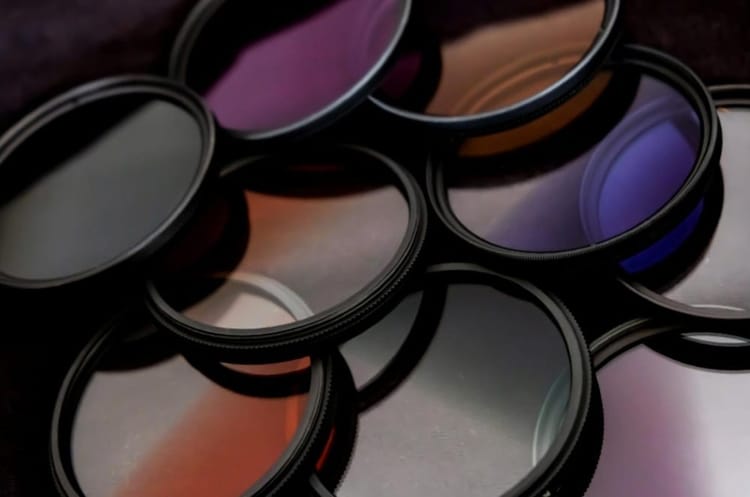
· Neutral density filters to extend exposure times
Using a remote trigger or self-timer keeps your camera still and makes sure your long-exposure shots stay tack-sharp.
Optional but Useful Tools
These additional tools are a great way to get better results in blue hour photography:
A reliable flashlight or headlamp helps you set up equipment in low-light conditions. Pack one that lets you work hands-free. A stopwatch helps track long exposures, especially when using Bulb mode.
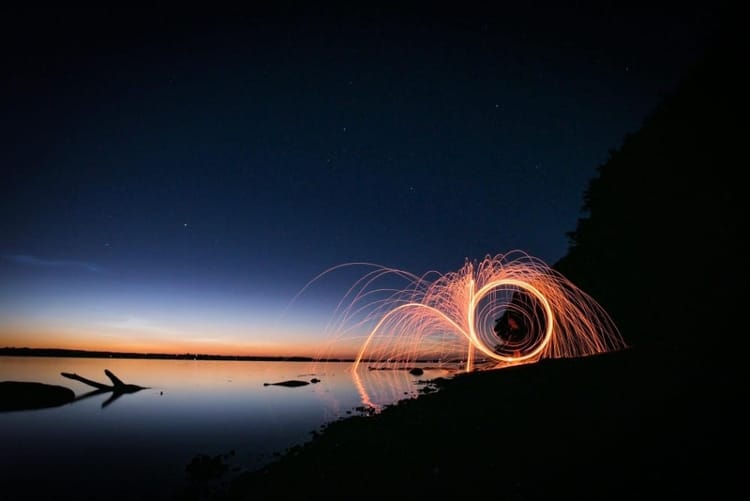
Neutral density filters give you creative options for cityscapes by letting you capture light trails and silky-smooth water effects. These filters help you get longer exposure times, even during blue hour's brighter phases.
Note that you should protect your gear with weather-resistant covers since blue hour often brings more humidity and dew. Extra batteries are important, too, as long exposures drain power faster than regular shooting.
Camera Settings for Blue Hour Success
You need to become skilled at camera settings to capture the subtle nuances of blue hourlight. Let's look at the best way to set up your camera for those ethereal twilight shots.
Optimal Exposure Settings
These baseline settings work best for tripod-mounted shots:
1. Set to minimize noise ISO to 100-400
2. Choose an aperture between f/8 and f/11 for depth and starbursts
3. Adjust shutter speed according to available light
4. Turn off long exposure noise reduction
When shooting handheld, you'll need to adjust these settings. Boost your ISO and use a faster shutter speed that matches your focal length (e.g., 80mm lens = 1/80 sec minimum shutter speed).
Focus Techniques in Low Light
Your camera might struggle to focus in dim conditions. These focusing methods work well:
· Use Live View and zoom in digitally to check focus accuracy
· Switch to manual focus for precise control
· Focus on distant lights or bright objects for landscape shots
· Your camera's AF assist beam helps with closer subjects
White Balance Considerations
The right white balance creates authentic blue hour colors. We used a for most blue hour scenes temperature between 4,000 to 5,000 Kelvin. The RAW format gives you more flexibility to adjust the white balance during post-processing.
Auto White Balance might neutralize the beautiful blue tones and change your image's mood. The Fluorescent white balance preset works best as it matches the recommended Kelvin range.
Your histogram should lean towards the left side, suggesting darker tones typical of the blue hour while keeping detail in the highlights. Use negative exposure compensation if you see overexposure to keep the scene's natural ambiance.
Planning Your Blue Hour Shoot
Good planning is what sets average blue hour shots apart from extraordinary ones. Let's look at how you can prepare to capture your next blue hour masterpiece.
Photography apps are now vital tools to nail the perfect blue hour timing. PhotoPills and The Photographer's Ephemeris lead the pack for both Android and iOS users . These apps give you:
· Exact blue hour start and end times
· Location-specific sunrise and sunset data
· Twilight phase tracking
· Moon phase information
You should get to your location at least one hour and 20 minutes before sunrise or after sunset. This extra time will give you the breathing room you need when the magic starts.
Location Scouting Tips
Scouting your location ahead of time is a vital part of success. Getting there early lets you:
Set up your gear without feeling rushed. This means getting your camera, tripod, and other equipment ready while you can still see what you're doing. You'll also need about 10-15 minutes to take test shots and dial in that perfect exposure.
To name just one example, see how morning shoots benefit from checking out your spot the day before. Finding good compositions in the dark can be tricky, so getting familiar with the location in daylight is a great way to get ahead.
Weather Considerations
Blue hour photography works well in a variety of weather conditions. The deep navy sky creates a beautiful backdrop, whatever the cloud cove. All the same, here's what you need to watch for:
City environments come with their own challenges - lights bouncing off clouds can turn that beautiful blue into a muddy brown. Check weather forecasts that focus on cloud coverage and visibility to get the best results.
Note that morning and evening blue hours each have their strong points. Evening shoots work better for cityscapes because building lights add to the scene. Morning sessions usually give you clearer air and less light pollution, which means sharper images.
Creative Composition Techniques
Light and shadow create unique opportunities for stunning compositions during blue hour. Without a doubt, becoming skilled at using these elements will lift your photography to new heights.
Working with Natural Light
Soft, diffused light during blue hour boosts details and textures in your subjects. This creates a dreamlike quality that you can't copy in studio conditions. The gentle light that lights up your scene reduces harsh shadows and lets you capture balanced exposures throughout your frame.
To get the most from natural light in your compositions:
· Position your subject to catch the remaining ambient light
· Look for reflective surfaces that bounce the blue light
· Frame your shot to include the deep blue sky as a backdrop
· Think about silhouettes against the luminous atmosphere
Incorporating Artificial Lights
One of blue hour's most compelling features shows in how it works with artificial lighting. Street lights, windows, and car headlights start to glow, which creates striking warm-cool contrasts in your frame. The balance between artificial warmth and natural cool tones produces images with remarkable depth and visual interest.
Warm lights from buildings and street lamps blend beautifully with the cool blue atmosphere. This mix of light sources adds dimension and intrigue to your compositions.
Leading Lines and Symmetry
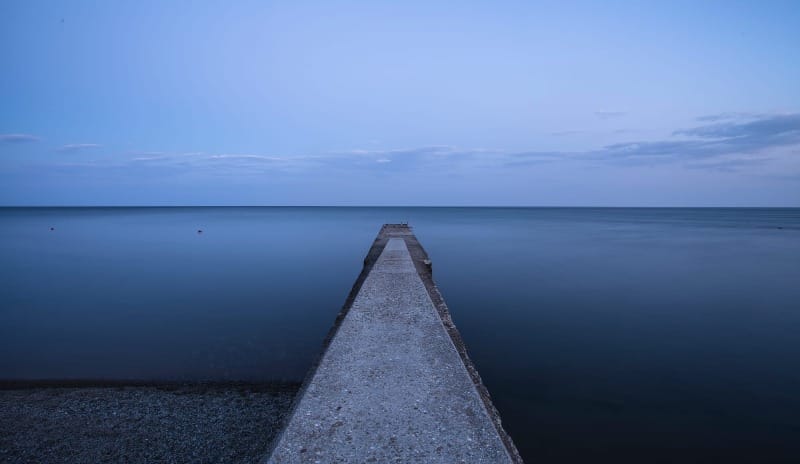
Your composition during blue hour can use several powerful techniques. Paths, rivers, or architectural elements guide viewers through your frame. These leading lines become more noticeable as artificial lights shine against the deepening blue sky.
These composition strategies work well:
· Use roads and pathways to create natural flow
· Incorporate architectural elements for framing
· Find reflective surfaces for symmetrical compositions
· Include foreground elements to add depth
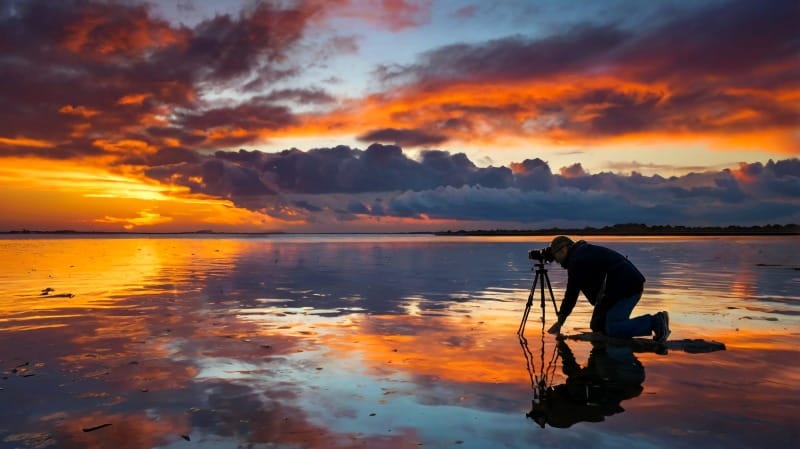
Bridges and urban structures make fascinating subjects for symmetrical shots. Their geometric patterns, combined with soft blue light, tell compelling visual stories. Water bodies during blue hour give you perfect chances for reflection shots that double your composition's effect.
The best results come when you try different angles while your camera stays steady on your tripod. The rule of thirds helps turn ordinary scenes into extraordinary compositions by placing key elements in strategic spots within your frame.
Clouds work great as natural leading lines or framing elements in your composition. They bring drama and interest to your blue hour photographs, especially when mixed with artificial lighting sources.
Conclusion
Blue hour photography gives you a chance to capture images with deep, rich colors and bold contrasts. You can turn everyday scenes into extraordinary photographs during these magical moments by preparing well, timing your shots right, and becoming skilled at the techniques.
The right gear and optimal camera settings will help your blue hour shots display a perfect blend of natural and artificial light. Your success depends on thoughtful planning. Getting there early, finding good spots, and checking weather conditions are vital steps to achieve amazing results.
Regular practice will help develop your unique style. Try different compositions and locations while expanding your creative ideas during morning and evening blue hours. Your commitment to capturing this special time of day will give you remarkable images that enhance your photography portfolio.
The unique mood of blue hour is ready for your creative touch. Take your tripod, adjust your camera settings, and welcome the peaceful beauty of twilight shots.
FAQs
Q1. What is the best time to capture blue hour photographs?
Blue hour occurs twice daily, about 20-40 minutes before sunrise and after sunset. For optimal results, arrive at your location at least 80 minutes before sunrise or after sunset to set up and prepare for the magical blue light.
Q2. What camera settings should I use for blue hour photography?
Start with ISO 100-400, aperture between f/8 and f/11, and adjust shutter speed based on available light. Use a tripod for stability, and consider setting your white balance to around 4,000 to 5,000 Kelvin for authentic blue hour colors.
Q3. How can I improve my blue hour compositions?
Experiment with leading lines, symmetry, and reflections. Incorporate both natural and artificial light sources to create contrast. Use elements like roads, bridges, or water bodies to add depth and interest to your shots.
Q4. What essential gear do I need for blue hour photography?
A camera with good low-light capabilities, a sturdy tripod, and a fast lens (f/2.8 or wider) are crucial. Additional helpful items include a remote shutter release, neutral density filters, and a flashlight for setup in low light conditions.
Q5. How long does it take to master blue hour photography?
Mastering blue hour photography, like any specialized technique, requires consistent practice and experimentation. While there's no set timeframe, regularly shooting during blue hour and applying the principles of composition, lighting, and camera settings will help you improve over time.

