How to Take Long Exposure Photos: A Complete Guide for Stunning Results
Long exposure photography creates stunning images that seem to bend time, showing movement in a still photograph. When you take a long exposure photo, your camera captures motion over several seconds or even minutes, turning flowing water into silky streams or busy streets into trails of light. To take long exposure photos, you need a camera with manual mode, a sturdy tripod, and the right settings—typically a slow shutter speed of at least several seconds.
The magic of long exposure shots happens when you allow your camera to collect light for an extended period. This technique works beautifully in various situations, from capturing star trails at night to smoothing ocean waves during the day. For daytime long exposures, you'll need a neutral density filter to prevent overexposure, as these special filters reduce the amount of light entering your lens.
Setting up for a long exposure requires some preparation but yields remarkable results. Start by mounting your camera on a tripod to eliminate the camera shake. Switch to manual mode, set a low ISO (typically 100-200), choose an aperture between f/8 and f/16, and then experiment with shutter speeds longer than 1 second. You might need to use your camera's bulb mode for exposures longer than 30 seconds, allowing you to create truly dramatic effects in your photography.
Understanding the Basics of Long Exposure
Long exposure photography creates magical images by capturing motion over time. This technique transforms moving elements into smooth, dreamy effects while keeping stationary objects sharp and defined.
Defining Long Exposure Photography
Long exposure photography involves keeping your camera's shutter open for an extended period—typically longer than 1/60 of a second. This technique allows more light to enter your camera, creating unique visual effects that can't be seen with the naked eye.
When you use a long exposure, moving elements like water, clouds, or traffic appear blurred or silky smooth, while stationary objects remain sharp. This contrast creates a compelling visual dynamic in your images.
Many beginners think these photos are heavily edited, but the magic happens in-camera. All you need is your camera, a tripod for stability, and sometimes neutral density (ND) filters to control light.
Exposure Triangle: Shutter Speed, Aperture, and ISO
The exposure triangle forms the foundation of photography, balancing three critical elements: shutter speed, aperture, and ISO.
Shutter Speed: Determines how long your camera's sensor is exposed to light. For long exposures, this ranges from 1/30 second to several minutes or even hours.
Aperture: Controls how much light enters through your lens. A smaller aperture (higher f-number like f/11 or f/16) reduces light intake and increases the depth of field—ideal for long exposures.
ISO: Represents your camera sensor's sensitivity to light. For long exposures, use the lowest possible ISO (usually 100-200) to minimize digital noise in your images.
Balancing these three settings is crucial. When extending the shutter speed, you'll typically need to decrease ISO and use a smaller aperture to avoid overexposure.
Utilizing Shutter Speed for Creative Control
Shutter speed gives you powerful creative control over how motion appears in your photos.
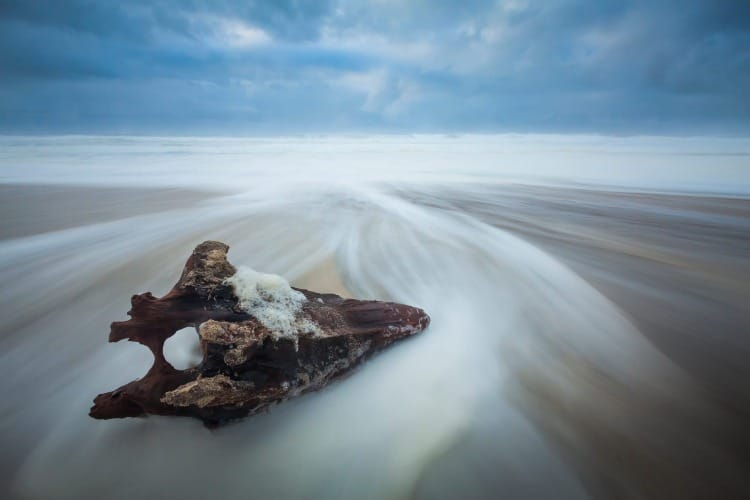
For waterfalls or rivers, try 1/15 to 1 second to create silky water effects while maintaining some texture. For completely smooth water or dramatic cloud movement, extend to 30 seconds or longer.
Different subjects require different shutter speeds:
- Traffic lights: 10-30 seconds creates light trails
- Star trails: 15+ minutes captures the Earth's rotation
- Flowing water: 0.5-2 seconds creates smooth but textured water
- Clouds: 1-4 minutes shows dramatic movement
Remember that extremely long exposures require neutral density filters during daylight hours. These dark filters reduce light entering your lens, allowing longer exposures without overexposing your image.
Using bulb mode lets you keep the shutter open beyond your camera's standard limits—perfect for exposures longer than 30 seconds.
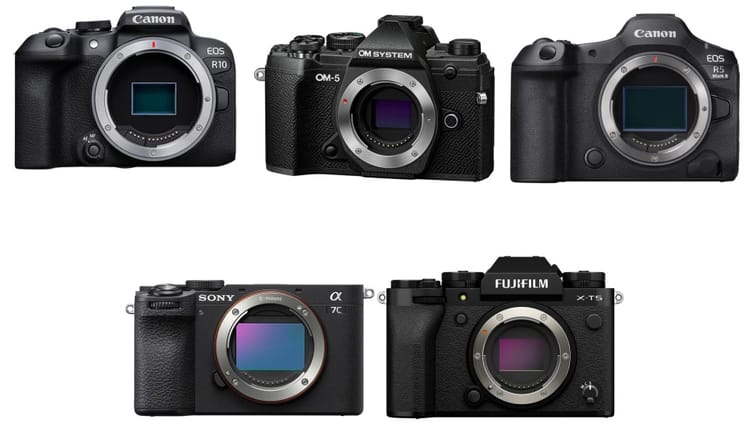
Equipment Essentials for Successful Long Exposures
Taking stunning long exposure photos requires specific gear that helps you capture those silky water effects and light trails. The right equipment makes all the difference between a blurry mess and a breathtaking image.
Choosing the Right Tripod
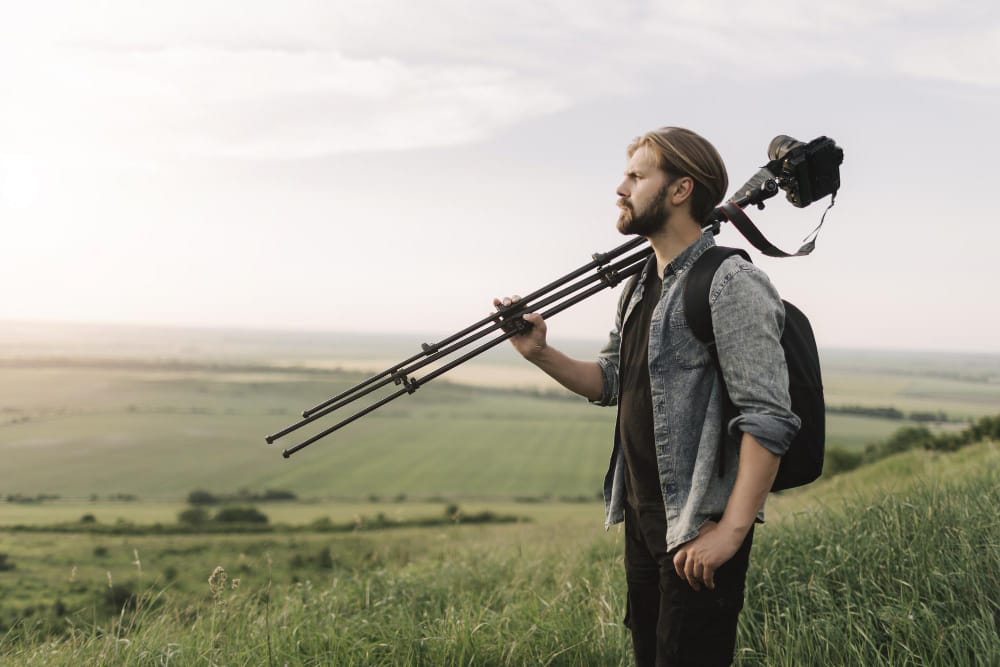
A sturdy tripod is absolutely essential for long exposure photography. You'll be keeping your shutter open for seconds or even minutes, making hand-holding impossible.
Look for a tripod that offers:
- Weight capacity at least 1.5× heavier than your camera setup
- Stability features like hooks for hanging weight
- Leg locks that are easy to adjust but won't slip
- Weather resistance for outdoor shooting
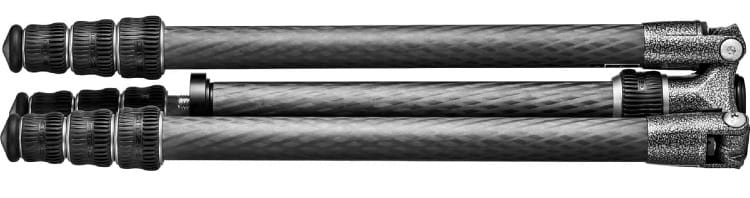
Carbon fiber tripods provide excellent stability with less weight than aluminum models, though they cost more. For windy conditions, choose a tripod with shorter, thicker legs rather than fully extended tall ones.
Don't skimp here—a flimsy tripod will ruin your long exposures with subtle vibrations.
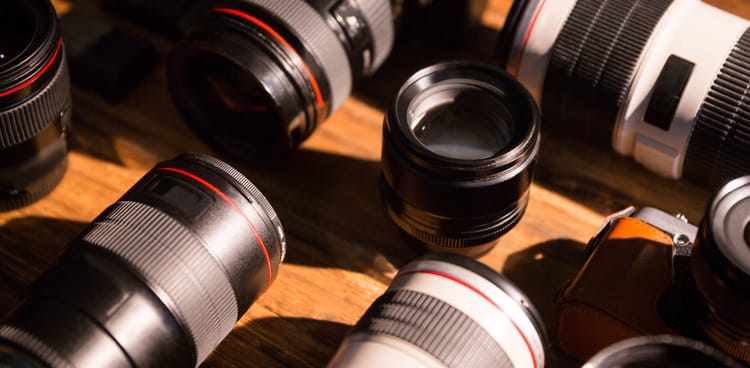
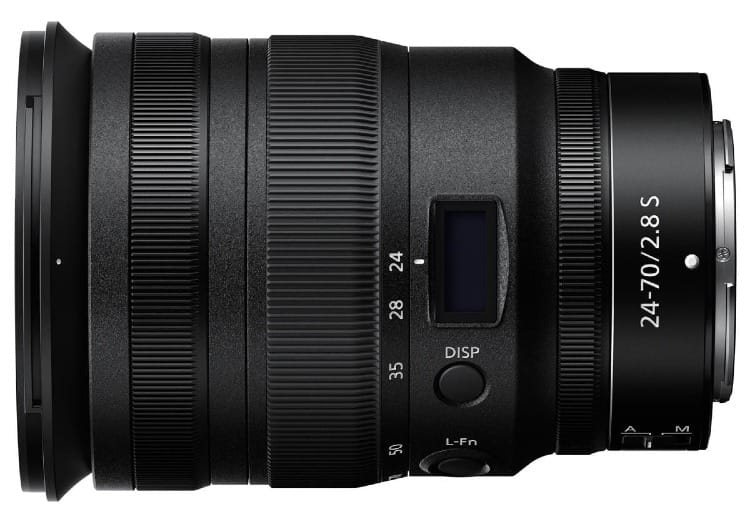
Selecting Appropriate Lenses
The lens you choose significantly impacts your long exposure results. Wide-angle lenses (16-35mm) are popular for landscape long exposures as they capture more of the scene.
Key lens considerations:
- Image stabilization: Less critical when using a tripod
- Weather sealing: Important for outdoor night photography
- Sharpness: Prime lenses often outperform zooms
- Filter compatibility: Front thread size matters for ND filters
Mid-range zoom lenses (24-70mm) offer versatility for various compositions. For urban long exposures with light trails, a 50mm prime can produce exceptional results with less distortion.
Remember to disable any automatic lens features like image stabilization when mounted on a tripod.
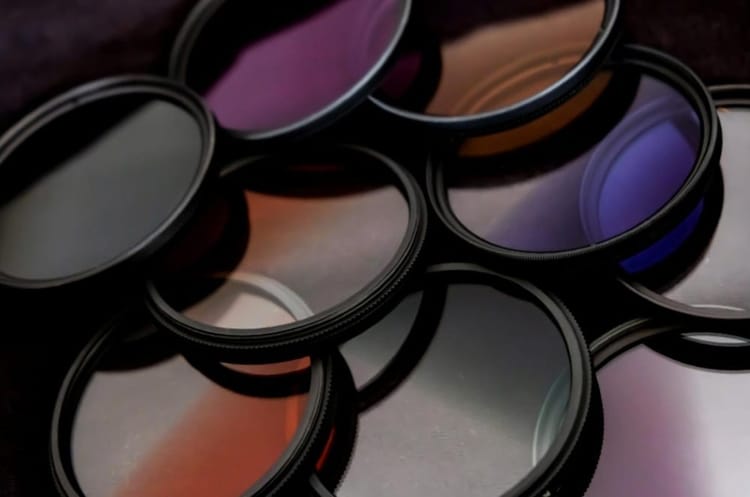
Importance of Neutral Density Filters
Neutral density (ND) filters are dark pieces of glass that reduce light entering your lens, allowing longer exposures even in bright conditions.
ND filters come in various strengths:
| Filter Type | Light Reduction | Extended Exposure |
|---|---|---|
| 3-stop ND | Reduces by 8× | Good for slight blur |
| 6-stop ND | Reduces by 64× | Smooth water motion |
| 10-stop ND | Reduces by 1000× | Removes people from scenes |
Circular screw-on filters are convenient but size-specific to your lens. Square filter systems cost more but can be used across different lenses with adapter rings.
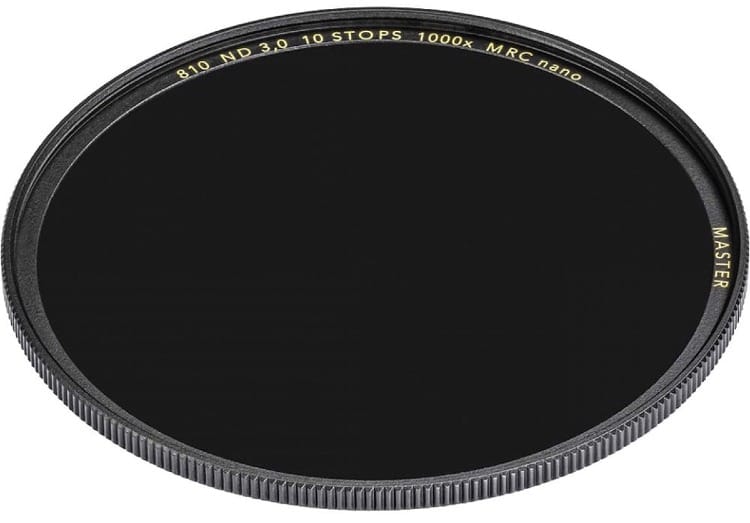
Quality matters with ND filters—cheap ones introduce color casts. Brands like Lee, NiSi, and Breakthrough Photography make reliable options that preserve image quality.
Techniques for Capturing Stunning Long Exposures
Taking impressive long exposure photos requires both technical skills and artistic vision. The right techniques can transform ordinary scenes into extraordinary images that capture movement and time in unique ways.
Mastering Composition for Impactful Images
Composition remains crucial in long exposure photography. Look for strong foreground elements that anchor your image while providing context for the motion blur effects.
Rule of thirds still applies - position key elements along the grid lines for balanced compositions. This creates a natural visual flow through your image.
Leading lines become even more powerful in long exposures. Rivers, roads, and light trails naturally guide viewers through your frame when captured with extended shutter speeds.
Consider negative space carefully. Areas of calm (like smooth water or blurred clouds) contrast beautifully with sharp, stationary elements.
Try these composition ideas:
- Frame motion against static objects
- Include reflections when shooting water
- Use natural frames to highlight movement
- Balance bright light trails with darker areas
Exploring Bulb Mode and Remote Releases
Bulb mode gives you complete control over exposure times beyond your camera's standard settings. It keeps the shutter open as long as you hold the button down.
A remote release is essential for serious, long exposure work. It prevents camera shake and enables exposures longer than 30 seconds without touching your camera.
Types of remote releases:
- Cable releases (physical connection)
- Wireless remotes (Bluetooth/infrared)
- Smartphone apps (for compatible cameras)
For exposures over several minutes, use the locking function on your remote release. This lets you start the exposure and lock it without holding down the button continuously.
Some advanced remotes include timers and intervalometers. These tools allow precise timing of your long exposures without guesswork.
Maximizing Image Quality with Camera Settings
Start with the lowest native ISO your camera offers (usually 100-200). This reduces noise that becomes especially visible in long exposure shadows.
Use your histogram to check exposure accuracy. Aim for a balanced distribution without clipping highlights or shadows.
Set your aperture based on the scene. For landscapes, f/8 to f/16 provides good depth of field without diffraction issues. For light trails, try f/11-f/16 to create star effects from light sources.
Best file format: Always shoot RAW for maximum editing flexibility. Long exposures often need white balance and contrast adjustments.
Consider enabling your camera's long exposure noise reduction if available. This takes a second "dark frame" to identify and remove sensor noise automatically.
Use manual focus with focus peaking or live view magnification for precise control. Autofocus may struggle in low light conditions typical of long exposure photography.
Creative Approaches to Long Exposure Photography
Long exposure photography allows you to capture scenes in ways the human eye cannot perceive. This technique transforms ordinary environments into magical compositions through the deliberate use of time and motion.
Chasing the Perfect Light: Golden Hour to Blue Hour
The quality of light dramatically affects long exposure photos. Golden hour occurs shortly after sunrise and before sunset, providing warm, soft light that enhances landscapes. During this time, even a modest 5-10 second exposure can create smooth water or cloud movement while maintaining the golden glow.
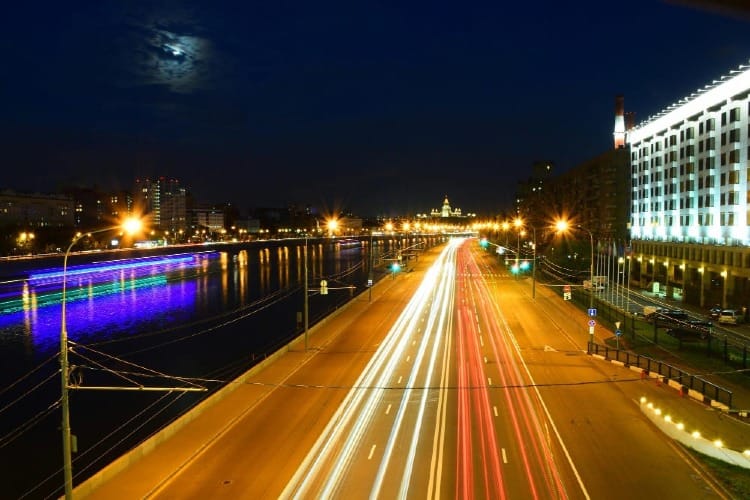
Blue hour happens just before sunrise and after sunset when the sky takes on rich blue tones. This period is ideal for city shots, as artificial lights contrast beautifully with the deep blue sky. Try exposures between 15-30 seconds to capture light trails from cars while maintaining detail in buildings.
Sunrise and sunset transitions offer unique opportunities. Position yourself to capture the sun's movement across the frame with exposures of 1-2 minutes to show subtle color shifts.
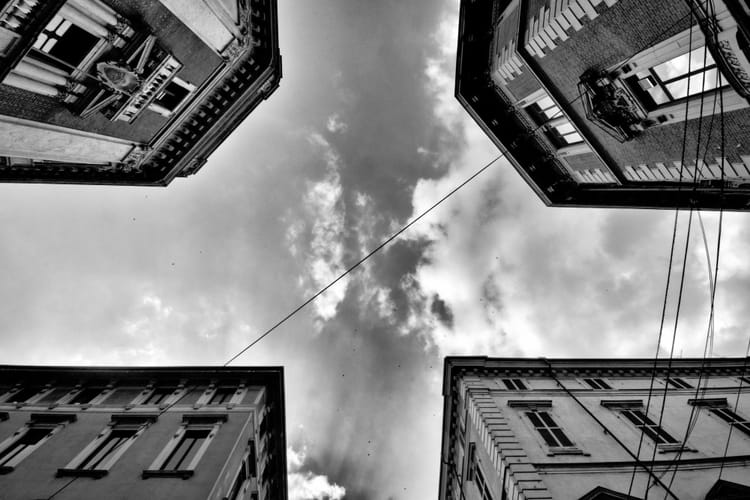
Incorporating Motion: Rivers, Waterfalls, and Star Trails
Moving elements create compelling long exposure subjects. Waterfalls transform from chaotic splashes to silky streams with exposures of 1-4 seconds. Use a neutral density filter in daylight to achieve this effect without overexposing.
Rivers offer similar opportunities. Position your camera near bends or obstacles where water creates interesting patterns. Experiment with different exposure times – shorter for some texture, longer for glass-like smoothness.
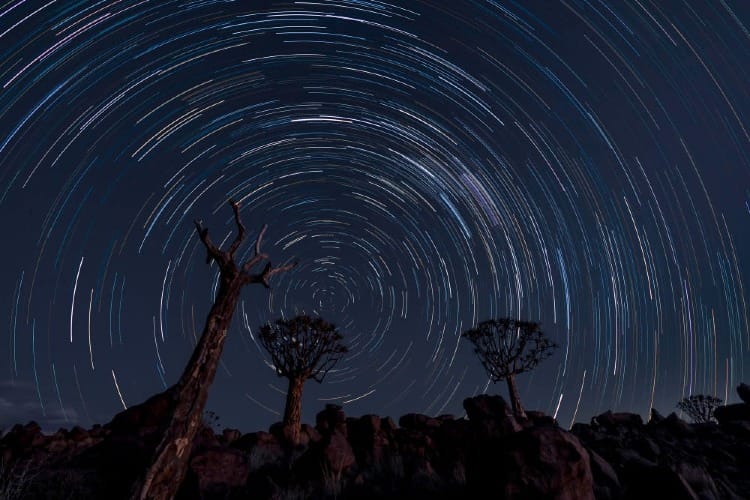
Star trails require much longer exposures. Set up your camera on a sturdy tripod and use exposures of 15+ minutes or stack multiple 30-second exposures. Point toward Polaris (North Star) for circular trails or in other directions for arcing patterns.
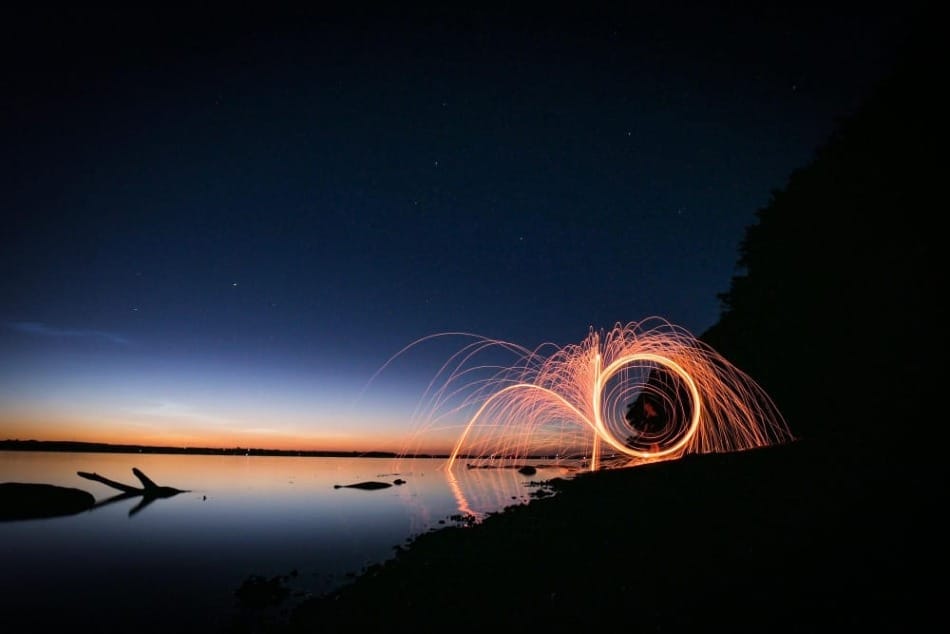
Try light painting by using flashlights or LED tools during your exposure to add colorful elements to your composition.
Nightscapes and Astrophotography Considerations
Astrophotography requires specific technical approaches. For basic Milky Way shots, use the "500 rule" – divide 500 by your lens focal length to determine the maximum exposure time before stars show movement.
During meteor showers, set up wide-angle compositions and use continuous shooting with 15-30 second exposures. Be patient – you might need hundreds of frames to capture spectacular meteors.
Urban night photography offers endless creative possibilities. Try exposures between 10-30 seconds to capture traffic light trails while maintaining detail in buildings. Position yourself at elevated viewpoints for dramatic cityscapes.
Camera settings matter tremendously. Use low ISO (100-400) for daytime long exposures to reduce noise. At night, higher ISOs (800-3200) become necessary, but balance this with aperture to maintain image quality.
Advanced Techniques and Settings for Superior Results
Once you've mastered the basics of long exposure photography, these advanced techniques will help you create truly exceptional images. The right combination of technical skills and creative vision can transform ordinary scenes into breathtaking photographs.
Achieving Sharp Focus with Hyperfocal Distance
Hyperfocal distance is a powerful technique that maximizes your depth of field. When you focus on the hyperfocal distance, everything from half that distance to infinity appears sharp.
To find your hyperfocal distance:
- Use an app like PhotoPills or a hyperfocal chart
- Set your aperture to f/8 - f/11 for optimal sharpness
- Focus on the calculated distance
For landscape photography, try this method: focus about 1/3 into the scene, use a narrower aperture (f/11-f/16), and check your results with image preview and zoom. This technique is especially valuable in low light when perfect focus becomes challenging.
Remember to disable autofocus after achieving focus. Manual focus prevents your camera from hunting in the dark and potentially ruining your long exposure shot.
Intervalometer and Multiple Exposures for Dynamic Images
An intervalometer opens up exciting possibilities for long exposure photography. This device triggers your camera automatically at set intervals, perfect for creating star trails or time-lapse sequences.
For star trails:
- Set your intervalometer to take continuous 30-second exposures
- Use manual mode with settings around f/2.8, ISO 1600-3200
- Continue for 1-2 hours
- Stack images in software like StarStaX
Multiple exposure techniques blend several images to create one dynamic photograph. This approach works well for capturing moving subjects like crowds or wildlife.
Conclusion
Long exposure photography transforms ordinary scenes into magical images by capturing movement over time. With practice, you'll be able to create stunning photos that show motion in a unique way.
Remember to always bring your tripod for stability. Neutral density filters are your best friends for daytime long exposures, allowing you to use slower shutter speeds even in bright conditions.
Start with familiar locations and gradually experiment with new techniques. Try different shutter speeds to see how they affect your final image.
Don't be discouraged by early failures. Every photographer faces challenges when learning long exposure techniques. Keep practicing and reviewing your results.
Beyond technical skills, develop your creative vision. Look for moving elements like water, clouds, or traffic that can create interesting streaks and patterns.
Finally, share your work with other photographers. Getting feedback helps you improve faster and discover new approaches to long exposure photography.