Long Exposure Waterfall Photography: Mastering the Art of Silky Smooth Cascades

Waterfall photography captures the beauty and power of cascading water. Many photographers aim to create dreamy, silky-smooth water effects in their images. This effect is achieved through long exposure techniques, which blur the motion of flowing water over time.
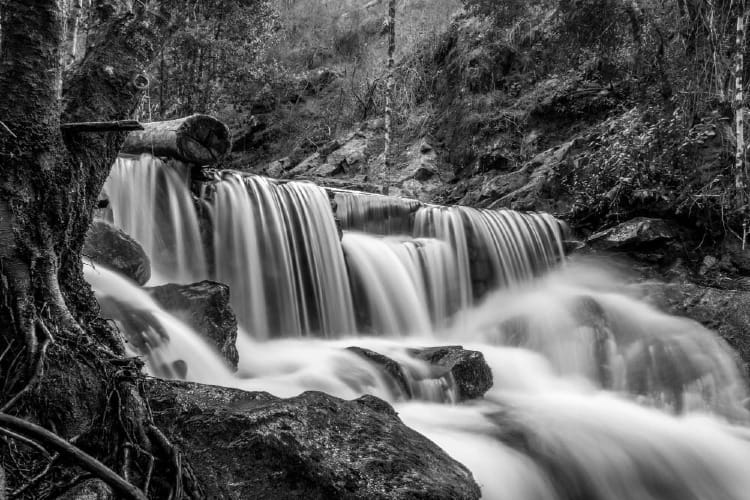
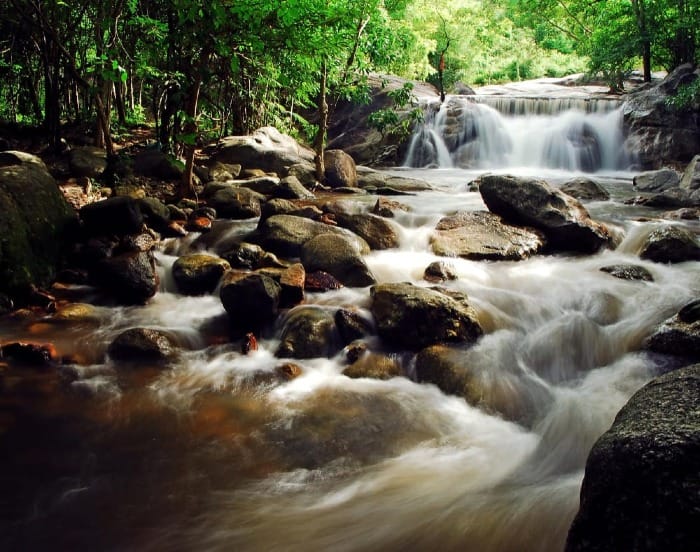
Long exposure waterfall photography involves using slow shutter speeds to capture water movement. Photographers typically use shutter speeds of 1/2 second or longer to create the desired smooth effect. This technique transforms rushing water into a soft, misty appearance that contrasts with sharp, static elements in the scene.
To get started with long exposure waterfall shots, photographers need some basic gear. A camera with manual controls, a sturdy tripod, and neutral density filters are key tools. Proper camera settings and composition also play important roles in creating stunning waterfall images. With practice, photographers can master this rewarding technique and produce captivating waterfall photos.
Understanding Long Exposure Photography
Long exposure photography uses slow shutter speeds to create striking images. It captures movement and light in unique ways. This technique is popular for photographing waterfalls and other flowing water.
Essence of Long Exposure
Long exposure photography is all about capturing motion over time. It uses slow shutter speeds to blur moving elements while keeping stationary objects sharp. This creates a dreamy, ethereal effect.
The key is to keep the camera stable with a tripod. Exposure times can range from a fraction of a second to several minutes.
Long exposures work well for:
- Smoothing water in rivers and waterfalls
- Showing cloud movement in the sky
- Creating light trails from cars at night
- Blurring crowds in busy places
The magic of long exposure lies in its ability to show the passage of time in a single frame.
Light and its Role in Long Exposures
Light is crucial in long exposure photography. It affects the exposure time and the final image look.
In bright conditions, photographers use neutral density filters. These dark pieces of glass reduce light entering the lens. This allows for longer exposures, even in daylight.
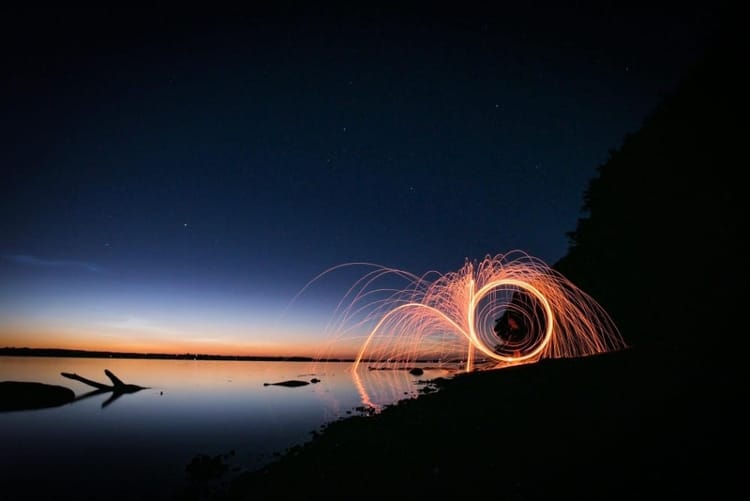
At night, long exposures can capture more light than the human eye sees. This reveals details in dark scenes. It can make nighttime photos look like they were taken in daylight.
The quality of light matters, too. Soft, even light works best for most long exposures. The harsh midday sun can create overly contrasty images.
Shutter Speed Fundamentals
Shutter speed is the heart of long exposure photography. It controls how long the camera's sensor is exposed to light.
For waterfalls, shutter speeds between 1/2 second and 2 seconds often work well. This creates a soft, silky effect on the water.
Slower shutter speeds:
- Blur motion more
- Let in more light
- Require a steadier camera
Faster shutter speeds:
- Freeze motion
- Let in less light
- Are easier to handhold
The right shutter speed depends on the subject and the desired effect. Experimentation is key to finding the perfect balance.
Aperture and Depth of Field
Aperture plays a supporting role in long exposure photography. It affects the depth of field and the amount of light entering the camera.
A smaller aperture (higher f-number) increases the depth of field. This keeps more of the scene in focus. It also reduces the amount of light, allowing for longer exposures.
For waterfalls, an aperture between f/8 and f/16 often works well. This provides good depth of field while still allowing enough light for proper exposure.
Aperture also affects image sharpness. Most lenses are sharpest around f/8 to f/11. Going too small can introduce diffraction, softening the image.
ISO Settings
ISO is the camera's sensitivity to light. In long exposure photography, it's best to keep ISO as low as possible.
Low ISO settings (like 100 or 200):
- Produce less noise
- Have better image quality
- Require longer exposures
Higher ISO settings:
- Allow for faster shutter speeds
- Introduce more noise
- Can reduce image quality
For most long exposure waterfall shots, use the camera's base ISO. This is usually 100 or 200. Higher ISOs are rarely needed unless shooting in very dark conditions.
Low ISO combined with a small aperture often requires a tripod. This ensures sharp images even with slow shutter speeds.
The Essentials of Waterfall Photography
Capturing stunning waterfall photos requires a mix of technical skills and artistic vision. Key elements include understanding waterfalls, mastering composition, and selecting the right camera settings.
Understanding Waterfalls
Waterfalls come in many shapes and sizes. Some tumble down rocky cliffs, while others cascade gently over smooth stones. The flow rate varies with seasons and rainfall.
Fast-flowing falls create dramatic scenes with lots of white water. Slower flows allow for more detail in the water's texture.
The time of day affects the lighting on the falls. Early morning or late afternoon often provide softer, more flattering light. Overcast days can work well too, reducing harsh contrasts.
Consider the surrounding environment. Lush greenery or autumn colors can enhance the scene. Rock formations and fallen logs may add interesting elements to the composition.
Composition Techniques
Framing is crucial in waterfall photography. Use the rule of thirds to place the falls off-center for a more dynamic image.
Include foreground elements like rocks or flowers to add depth. This creates a sense of scale and draws the viewer into the scene.
Try different angles:
- Low angle: Emphasizes the power and height of the falls
- High angle: Shows the flow of water downstream
- Side view: Captures the width and shape of the cascade
Use leading lines to guide the eye. A winding stream or path can direct attention to the main subject.
Experiment with vertical and horizontal orientations. Vertical often works well for tall, narrow falls. Horizontal can capture wider scenes and show more context.
Camera Settings and Modes
For silky smooth water effects, use long exposures. Start with shutter speeds of around 1/6 to 2 seconds. Adjust based on water flow and desired effect.
To achieve longer exposures in daylight:
- Use a low ISO (100-200)
- Set a small aperture (f/11-f/16)
- Add a neutral density filter
For sharp images, use a tripod to keep the camera steady during long exposures.
In low light, manual mode gives full control. Aperture priority mode can work well in brighter conditions. It allows you to set the desired depth of field while the camera adjusts shutter speed.
Focus on a point about 1/3 into the scene for good overall sharpness. Use a small aperture (high f-number) to keep more of the scene in focus.
Equipment and Gear Selection
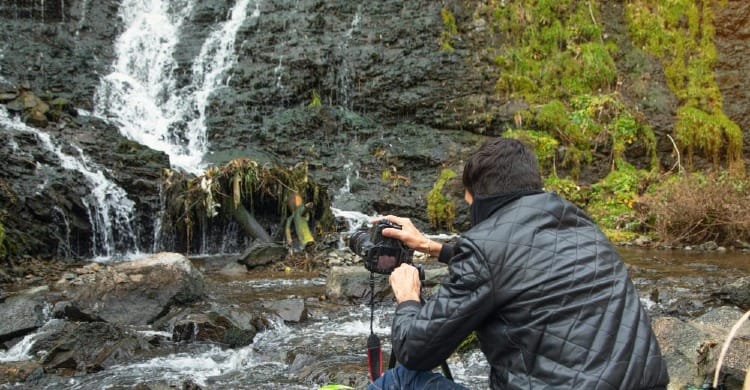
Picking the right gear is key for great waterfall photos. The right tools help capture smooth water and sharp details.
Choosing the Right Tripod
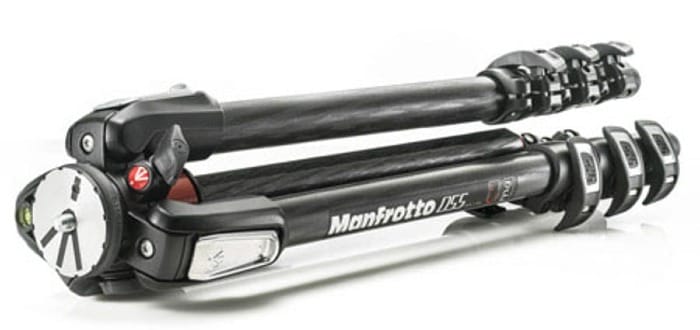
A sturdy tripod is vital for long exposure shots. Look for one that's strong enough to hold your camera steady, even in flowing water. Carbon fiber tripods are light and stable, perfect for hiking to waterfalls.
Aluminum tripods work well, too, and cost less. Make sure the legs can spread wide for uneven ground. A hook under the center column lets you hang a bag for extra stability.
Pick a tripod tall enough to stand in the water. This helps frame shots without getting your feet wet.
Filters for Waterfall Photography
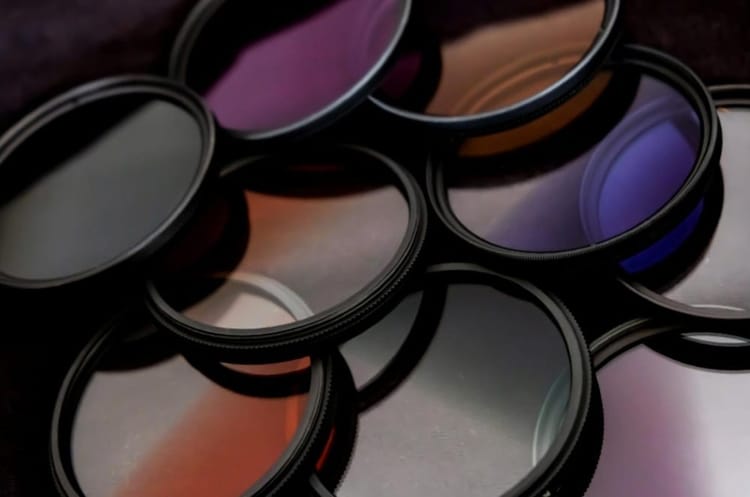
Filters are crucial for controlling light in waterfall scenes. Neutral Density (ND) filters cut down light, allowing longer exposures even in bright conditions.
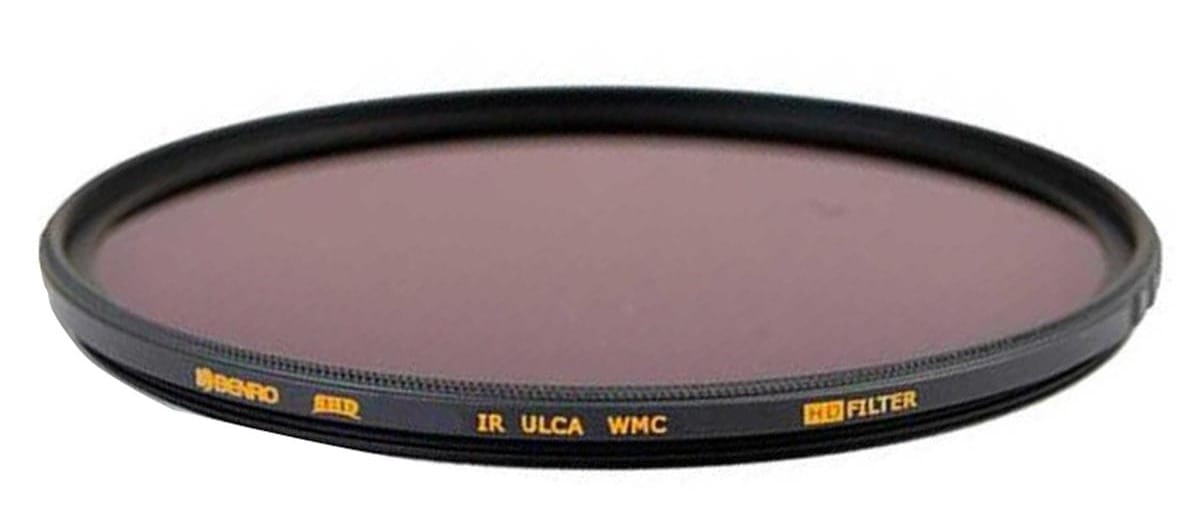
A polarizing filter reduces glare on wet rocks and leaves. It also boosts color saturation. This filter can make the water look clearer and more vibrant.
Start with a variable ND filter. It lets you adjust light reduction without switching filters. For the best results, get a high-quality glass filter.
Camera and Lens Options
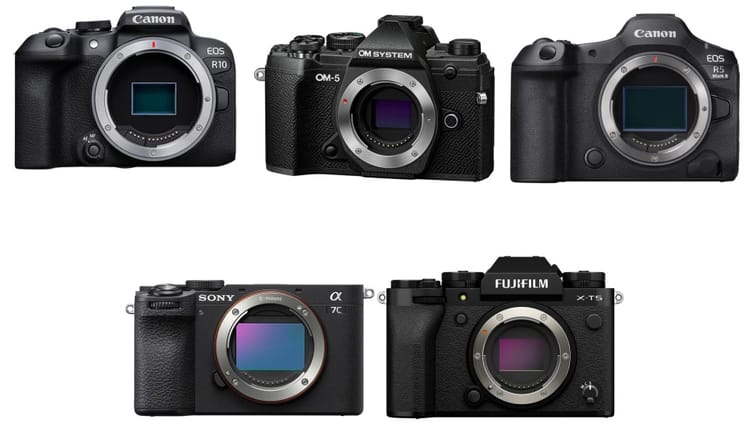
DSLR and mirrorless cameras work well for waterfall photography. They offer manual controls needed for long exposures. Full-frame sensors give better low-light performance, but crop sensors work, too.
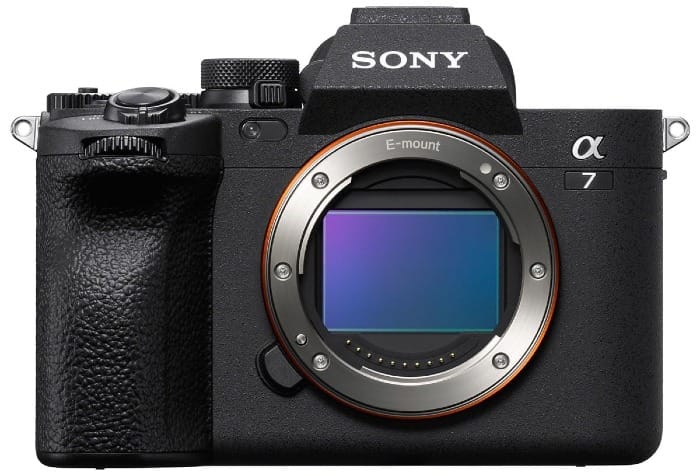
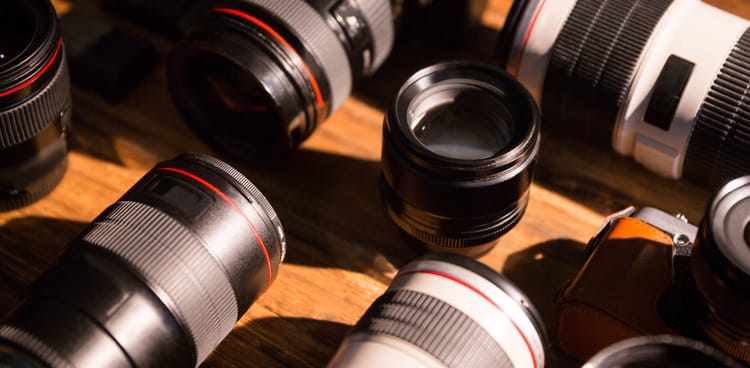
A wide-angle lens captures the whole scene, showing the waterfall in its setting. It's great for big waterfalls or tight spaces. A 16-35mm range is ideal for most waterfall shots.
For distant or hard-to-reach falls, a telephoto lens helps. It lets you zoom in on details. A 70-200mm lens is versatile for various waterfall sizes.
Mastering Exposure for Water Scenes
Capturing stunning waterfall photos requires mastering exposure settings. The right techniques create dreamy, silky water effects while keeping other elements sharp.
Exposure Times and Motion Blur
Long exposure times are key for smooth, flowing water. Use shutter speeds between 1/2 second and 30 seconds. Slower speeds create more blur and a silkier look.
For small streams, try 1/2 to 2 seconds. Larger waterfalls need 2-10 seconds. Very large falls may require 15-30 seconds for the best effect.
Keep the camera steady on a tripod. Use a remote shutter or 2-second timer to avoid camera shake.
Adjust aperture and ISO to balance exposure. A narrow aperture (f/11-f/22) extends depth of field. Low ISO (100-400) reduces noise in long exposures.
Neutral Density Filters in Practice
Neutral density (ND) filters are essential for long exposure waterfall photography. They reduce light entering the lens, allowing longer shutter speeds even in bright conditions.
ND filters come in different strengths:
- 3-stop (ND8): Good for slightly overcast days
- 6-stop (ND64): Versatile for most conditions
- 10-stop (ND1000): Best for very bright scenes
Stack filters for more light reduction. A circular polarizer with an ND filter cuts glare and extends exposure time.
Always focus before attaching dark ND filters. Use live view to compose and check exposure with the filter on.
Controlling the Silky Water Effect
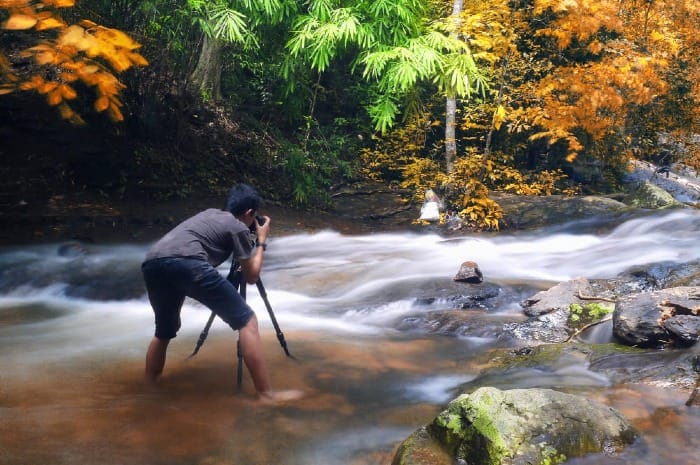
The silky water effect depends on water speed and exposure time. Fast-moving water needs shorter exposures. Slow-moving water requires longer exposures for the same effect.
Experiment with different shutter speeds:
- 1/2 second: Slight blur, maintains some texture
- 2-4 seconds: Smooth flow, some detail visible
- 8+ seconds: Very silky, ethereal look
Shoot close to the water surface for more dramatic effects. Wide-angle lenses emphasize water movement in the foreground.
Consider the entire scene. Balance the water's smoothness with sharp, static elements like rocks or trees for visual interest.
Field Techniques for Long Exposure Waterfalls
Taking great long exposure waterfall shots requires careful positioning, precise focus, and skillful use of natural light. These techniques will help you capture stunning images that showcase the beauty and motion of flowing water.
Positioning and Angles
Finding the right spot is crucial for impressive waterfall photography. Photographers should explore different angles to create unique compositions.
Getting low can make the waterfall appear more dramatic. Standing downstream often provides a pleasing perspective. Side angles can highlight interesting rock formations.
It's important to keep a safe distance from fast-moving water. Using a wide-angle lens allows for capturing more of the scene. Photographers should include foreground elements like rocks or plants to add depth.
Experimenting with portrait and landscape orientations can yield different results. The goal is to find a position that showcases the waterfall's power and beauty.
Manual Focus for Precision
Manual focus is key for sharp long exposure waterfall images. Autofocus can struggle with moving water, leading to blurry photos.
Start by switching the lens to manual focus mode. Use live view on the camera's LCD screen to zoom in on a stationary object near the waterfall. This could be a rock, tree, or part of the shoreline.
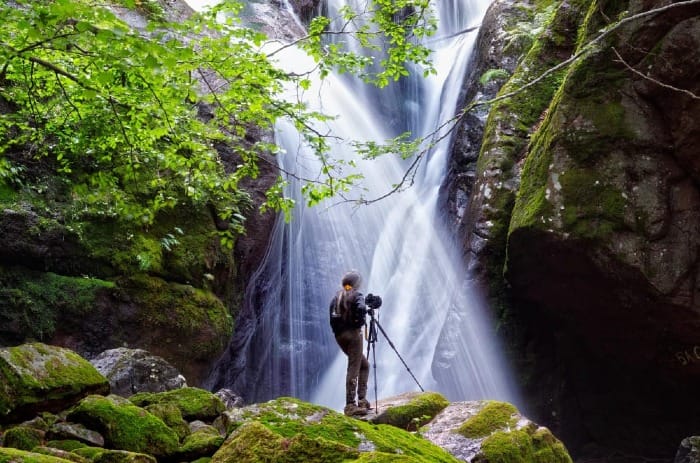
Carefully adjust the focus ring until the chosen element is tack-sharp. Once set, avoid touching the focus ring again. Take a test shot to confirm everything is in focus.
For scenes with varied depths, focus stacking techniques can ensure sharpness throughout the image. This involves taking multiple shots focused at different distances and blending them in post-processing.
Utilizing Natural Light
Light plays a crucial role in waterfall photography. Overcast days often provide the best conditions for long exposures. The soft, diffused light helps prevent harsh shadows and overexposed highlights.
Early morning or late afternoon can offer beautiful golden hour lighting. This warm light can add a magical quality to the scene. Avoid the midday sun, which can create too much contrast.
In bright conditions, neutral density filters are essential. These reduce the amount of light entering the lens, allowing for longer exposures even in daylight.
Photographers should pay attention to how light interacts with water spray and mist. These elements can create interesting effects when backlit. Shooting towards the sun can produce ethereal glowing effects in the water.
Creative Approaches to Waterfall Photos
Waterfall photography offers many opportunities for creative expression. By exploring different techniques, photographers can capture unique and striking images that showcase the beauty of moving water.
Capturing Dynamic Textures
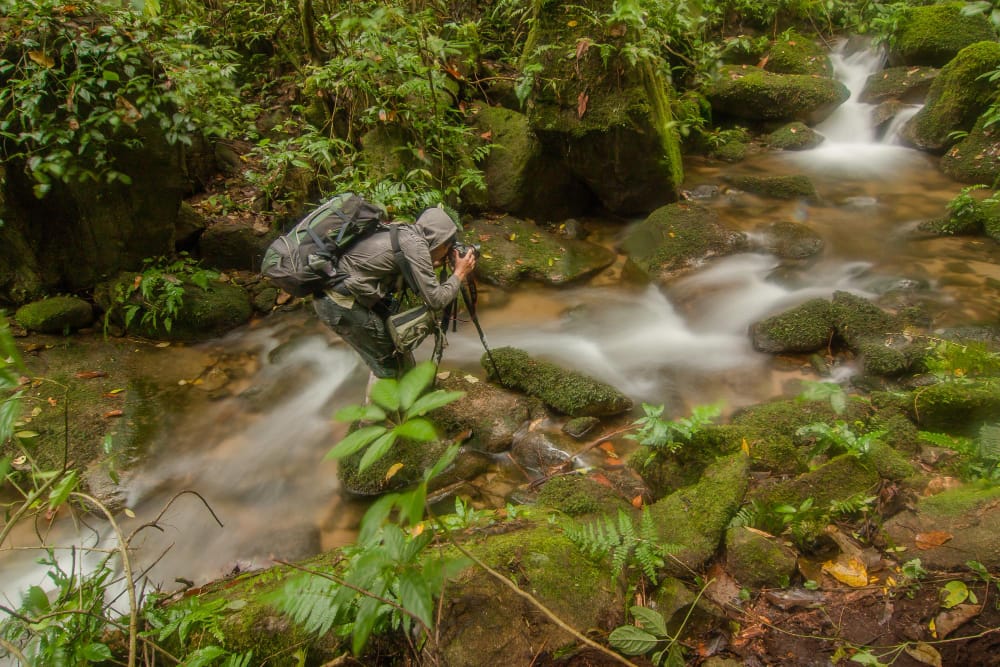
Long exposure photography allows photographers to capture the dynamic textures of waterfalls. Use a slow shutter speed to blur the water, creating a smooth, silky effect. This technique works well for both large and small waterfalls.
Try varying the exposure time to achieve different textures. Shorter exposures of 1/2 to 1 second can preserve some detail in the water, while longer exposures of 5-30 seconds create a misty, ethereal look.
Experiment with different angles and distances to highlight textures in the surrounding rocks and vegetation. Close-up shots can reveal interesting patterns in the water flow.
Innovative Composition Strategies
Think beyond the standard front-on waterfall shot. Get creative with your compositions to make your images stand out.
Try these techniques:
- Use leading lines in the landscape to draw the eye to the falls
- Frame the waterfall with overhanging branches or rock formations
- Capture reflections of the falls in still pools below
- Include interesting foreground elements like colorful leaves or rocks
Look for unique vantage points by climbing to higher ground or getting low to the water. Wide-angle lenses can add drama, while telephoto lenses isolate compelling details.
Experimentation with Shutter Speed
Shutter speed is key in waterfall photography. It controls how motion is captured and can dramatically change the mood of an image.
Fast shutter speeds (1/500 sec or faster) freeze water droplets in mid-air, creating a sense of power and energy. This works well for turbulent waterfalls or to capture splashing details.
Very slow shutter speeds (30 seconds or more) can turn flowing water into a smooth, misty effect. This creates a dreamy, peaceful atmosphere.
Try bracketing your shots with different shutter speeds to see how it affects the final image. Use neutral density filters in bright conditions to allow for longer exposures without overexposing the image.
Advanced Techniques and Tips
Long exposure waterfall photography requires skill and practice. These advanced methods will help improve your shots and overcome common challenges.
Achieving Optimal Sharpness
To get sharp waterfall photos, use a sturdy tripod and remote shutter release. This cuts down on camera shake.
Pick an aperture between f/8 and f/11 for the best balance of sharpness and depth of field.
Focus on a third of the way into the scene. This keeps both foreground and background elements sharp.
Use live view mode to zoom in and check focus. Adjust manually if needed.
Long Exposure Challenges and Solutions
Water spray on the lens is a common issue. Bring a microfiber cloth to wipe the lens between shots.
A lens hood can help keep spray off. For heavy spray, try an umbrella or clear filter.
Wind can shake your camera during long exposures. Use faster shutter speeds or wait for calmer conditions.
Bright light makes long exposures tricky. Use neutral density filters to cut light and allow slower shutter speeds.
Expert Post-Processing Advice
Start by adjusting the white balance to remove color casts from long exposures.
Use the dehaze tool to cut through the mist and add contrast to the scene.
Selectively sharpen the rocks and surroundings, but avoid over-sharpening the water.
Blend multiple exposures to balance bright skies with darker foregrounds.
Add a subtle vignette to draw attention to the waterfall.
Try black and white conversions to emphasize textures and shapes in the water flow.
Thank you for visiting our site and being part of this journey with us! We rely on the generous support of visitors like you to continue providing high-quality. Your donation, no matter the size, helps us maintain the website and create more valuable resources for everyone.

