Mastering Manual Focus: Essential Techniques for Sharp Photography
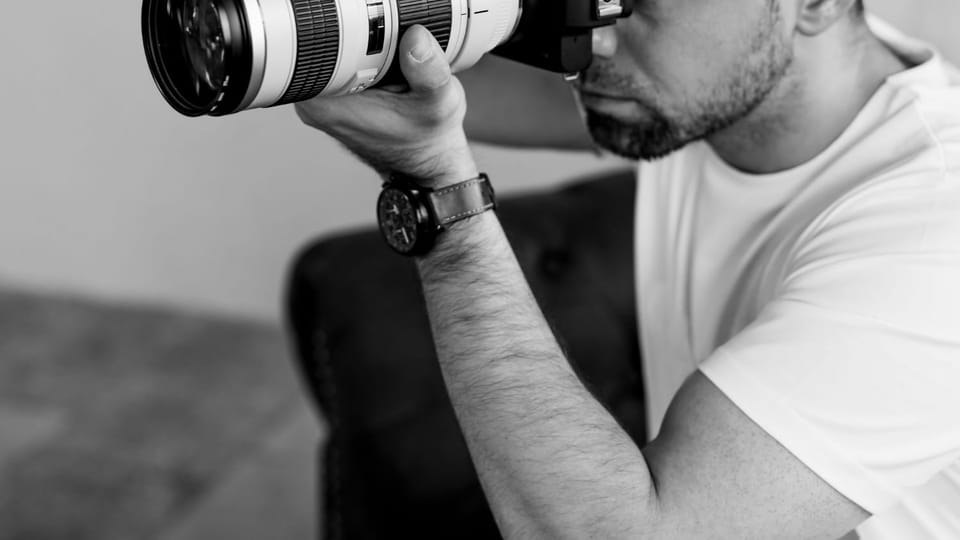
Manual focus is a powerful tool for photographers looking to take control of their images. While modern cameras offer impressive autofocus systems, mastering manual focus can elevate your photography to new levels. Manual focus allows photographers to precisely adjust their lenses to achieve the desired sharpness on a subject, resulting in images with impeccable clarity and artistic intent.
Learning to use manual focus takes practice and patience. It requires a keen eye for detail and an understanding of your camera's focus mechanisms. Many photographers find that manual focus is especially useful in challenging lighting conditions, macro photography, or when shooting through obstacles like fences or glass.
By developing this skill, photographers can capture sharp images in situations where autofocus might struggle. Manual focus also encourages a more thoughtful approach to composition, as it requires the photographer to carefully consider each element of the frame. With time and practice, using manual focus can become second nature, allowing for quick and precise adjustments even in fast-paced shooting scenarios.
Understanding Manual Focus
Manual focus gives photographers control over image sharpness. It lets them choose exactly where to focus in a scene. This skill opens up creative options and helps in tricky lighting.
Manual Focus vs. Autofocus
Manual focus requires the photographer to adjust the focus by hand. Autofocus uses sensors to set focus automatically.
Manual focus works well for still subjects. It shines in low light when autofocus may struggle. Autofocus is faster for moving subjects in good light.
Some cameras offer a hybrid approach. They use autofocus to get close, then let photographers fine-tune manually.
Advantages of Manual Focusing
Manual focus gives more control over the point of focus. This helps for creative shots like portraits with blurred backgrounds.
It's useful for macro photography. Tiny movements matter at close range. Manual adjustments allow for precise focus on small details.
Manual focus also works well for landscapes. Photographers can set focus to maximize sharpness throughout the scene.
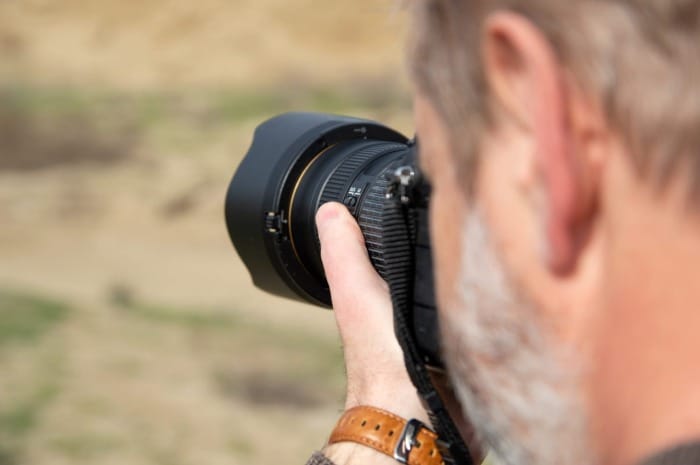
Focus Points and Depth of Field
Focus points are specific areas where the image is the sharpest. In manual mode, photographers choose these points themselves.
Depth of field refers to how much of the image is in focus. A shallow depth of field blurs the background. This effect is easier to control with manual focus.
Focal length affects the depth of field, too. Longer lenses create a shallower depth of field. This makes precise manual focusing even more important.
Manual focus lets photographers set the exact point of focus. This level of control is key for achieving the desired depth of field in an image.
Mastering the Focus Ring
The focus ring is a crucial tool for achieving sharp, precise images. It allows photographers to fine-tune focus manually, especially in challenging situations where autofocus may struggle.
Adjusting Focus on Prime Lenses
Prime lenses often have smooth, well-damped focus rings that offer precise control. To use the focus ring on a prime lens:
- Identify the ring's location on the lens barrel
- Turn clockwise to focus closer
- Turn counterclockwise to focus farther away
Many prime lenses have distance markings on the focus ring. These help estimate subject distance and set hyperfocal distance for landscape photography.
Practice rotating the ring slowly to make small focus adjustments. This technique is useful for macro photography and portraits where exact focus is critical.
Manual Focus with Zoom Lenses
Zoom lenses present unique challenges for manual focusing. Their focus rings may be less precise than prime lenses. To master manual focus on zoom lenses:
- Set the zoom to your desired focal length before focusing
- Use a wider aperture to make focus changes more obvious
- Look for focus confirmation indicators in your viewfinder
Some zoom lenses have a push-pull design for zooming and focusing. These require extra care to avoid accidentally changing focus while zooming.
Focusing Techniques for Sharp Images
To achieve tack-sharp focus:
- Use live view magnification to check critical focus
- Enable focus peaking if your camera offers it
- Try the "rock and roll" technique: slowly turn the focus ring back and forth until you find the sharpest point
For moving subjects, pre-focus on a spot where you expect the subject to be. This works well for sports and wildlife photography.
In low light, use your camera's AF assist beam or a flashlight to illuminate the subject before focusing manually. This helps you see details more clearly.
Creative Composition Through Manual Focus
Manual focus gives photographers more control over their images. It allows for unique artistic choices and precise subject emphasis. By mastering manual focus techniques, you can create striking visuals that stand out.
Selective Focus in Portraiture
Selective focus is a powerful tool in portrait photography. It draws attention to specific features of the subject. To use this technique:
- Choose a wide aperture like f/1.8 or f/2.8
- Focus on the eyes or another key feature
- Let the background blur naturally
This approach creates a soft, dreamy effect. It makes the subject pop against a blurred backdrop. Manual focus allows for precise control over which parts of the face remain sharp.

Achieving Creative Effects with Aperture
Aperture choice greatly impacts the final image. Wide apertures create a shallow depth of field. This effect can:
• Isolate subjects from busy backgrounds
• Create beautiful bokeh (blurred light points)
• Add a sense of depth to flat scenes
Narrow apertures keep more of the scene in focus. This works well for landscapes or group shots. Manual focus lets you fine-tune the focus point for each aperture setting.
Composing with Shallow Depth of Field
Shallow depth of field can transform ordinary scenes into artistic images. It works by:
- Blurring distracting elements
- Guiding the viewer's eye to the main subject
- Creating a sense of depth and dimension
To compose with shallow depth of field:
- Use a wide aperture (low f-number)
- Get close to your subject
- Increase distance between subject and background
Manual focus helps you nail the focus on the exact spot you want. This precision is key when working with very thin planes of focus.
Focus Aids and Tools
Modern cameras offer several helpful features to achieve sharp manual focus. These tools enhance precision and make critical focusing easier, especially in challenging situations.
Using Live View for Precise Manual Focus
Live view mode transforms the camera's LCD screen into a large viewfinder. This feature allows photographers to zoom in on specific areas of the frame for precise manual focusing. Magnification in live view can enlarge the image up to 10x or more, revealing fine details.
To use live view effectively:
- Enable live view mode on your camera
- Choose the area you want to focus on
- Use the magnification button to zoom in
- Adjust focus using the lens ring
This method works well for still subjects and landscapes. It's particularly useful in low-light situations where the optical viewfinder might struggle.
Harnessing Focus Peaking in Digital Cameras
Focus peaking is a powerful tool found in many mirrorless cameras and some DSLRs. It highlights the edges of in-focus areas with a bright color, making it easy to see which parts of the image are sharp.
To use focus peaking:
- Enable the feature in your camera's menu
- Choose a highlight color that contrasts with your subject
- Adjust focus until the desired areas show the colored outline
Focus peaking works well for portraits, macro photography, and video work. It's especially helpful when shooting with wide apertures where the depth of field is very shallow.
Tripods and Stabilization for Critical Focus
A stable camera is crucial for achieving tack-sharp focus, especially when using manual focus techniques. Tripods provide a solid base for your camera, eliminating camera shake and allowing for precise adjustments.
Key benefits of using a tripod:
- Reduces camera movement during focusing
- Allows for slower shutter speeds without blur
- Enables consistent framing for multiple shots
When using a tripod, engage your camera's mirror lock-up feature if available. This minimizes vibrations caused by the mirror flipping up. For even more stability, use a remote shutter release or your camera's self-timer function.
Techniques for Manual Focus Photography
Manual focus techniques give photographers precise control over their images. These methods work well for different types of photography and subjects.
Zone Focusing for Street and Candid Shots
Zone focusing helps capture fleeting moments in street photography. Set the focus to a specific distance and use a small aperture for a wide depth of field. This lets you shoot quickly without adjusting focus.
For example, focus 10 feet away at f/8. Everything from about 7 to 15 feet will be sharp. As subjects enter this zone, snap the photo.
Practice "shooting from the hip" by holding the camera at waist level. This technique is less noticeable and helps capture candid shots.
Zone focusing works great for capturing the decisive moment. Be ready as interesting scenes unfold on the street.
Using Hyperfocal Distance for Landscapes
Hyperfocal distance maximizes sharpness in landscape photos. Focus at this distance to get everything from half that distance to infinity in focus.
Use this simple method:
- Set aperture to f/11 or f/16
- Focus about 1/3 into the scene
- Check the depth of field preview
Mastering hyperfocal distance takes practice. It ensures sharp foregrounds and backgrounds in scenic shots.
Apps and charts can help calculate the exact hyperfocal distance. But with experience, you'll estimate it easily.
Challenges and Tips in Macro Photography
Macro photography demands precise manual focus. The depth of field is extremely shallow when shooting up close.
Tips for sharp macro photos:
- Use a tripod to keep the camera steady
- Focus on the most important part of the subject
- Take multiple shots, adjusting the focus slightly each time
Focusing rails help fine-tune focus for macro work. They let you move the camera in tiny increments.
Live view magnification helps nail focus on small details. Zoom in on the LCD to check critical focus before shooting.
Try focus stacking for greater depth of field. Take several photos focused at different points, then blend them in software.
Practicing Your Manual Focus Skills
Manual focusing takes time to master. Regular practice helps photographers develop speed and accuracy. It also enhances creative control over images.
Exercises to Enhance Precision and Speed
Start by focusing on stationary objects. Pick a subject with clear edges or patterns. Try to focus as quickly and accurately as possible.
Repeat this exercise with different subjects and distances. This builds muscle memory and improves speed.
Next, practice with moving subjects. Track a person walking or a car driving by. Try to keep them in focus as they move.
Use your camera's focus assist features. Many cameras highlight in-focus areas. This feedback speeds up learning.
Try zone focusing. Pre-focus at a set distance. This technique works well for street photography.
Developing an Intuitive Sense of Focusing
Look for visual cues that indicate sharp focus. These include crisp edges and fine details.
Practice estimating distances. This skill helps you focus faster in various situations.
Pay attention to depth of field. Learn how the aperture affects the range of sharp focus.
Try focusing without looking through the viewfinder. This builds muscle memory and spatial awareness.
Use focus peaking if your camera has it. It highlights in-focus edges, making manual focus easier.
Incorporating Manual Focus into Your Workflow
Start by using manual focus for still life or landscape shots. These subjects allow more time to focus correctly.
Gradually introduce manual focus in faster-paced situations. Try it for portraits or event photography.
Use manual focus for creative effects. It allows precise control over which parts of the image are sharp.
Combine autofocus and manual focus. Use autofocus to get close, then fine-tune manually.
Practice regularly to keep your skills sharp. Even a few minutes a day can make a big difference.
Optimizing Manual Focus for Different Lighting Conditions
Lighting plays a crucial role in photography. It affects how you adjust manual focus for the best results. The right techniques can help you capture sharp images in various light conditions.
Night Photography with Manual Focus
Night photography requires special care when focusing manually. In dark settings, it's hard to see through the viewfinder. To overcome this, photographers can use focus peaking or magnification features on their cameras.
Using a wider aperture helps gather more light. This makes it easier to see and focus. A tripod is essential for steady shots in low light.
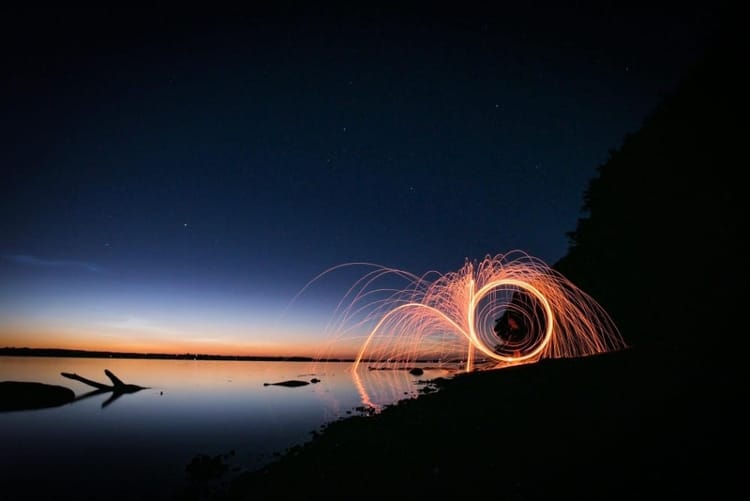
For starry skies, focusing on a bright star or distant light can help. Some photographers use the infinity focus mark on their lenses for sharp night landscapes.
Adapting Focus for Bright Environments
Bright light can make manual focusing easier, but it has its challenges. Glare and reflections can interfere with clear vision through the viewfinder.
Using a lens hood helps reduce glare. Photographers might need to shield the viewfinder with their hand for a clearer view.
In very bright conditions, stopping down the aperture can help. A smaller aperture increases the depth of field, giving more room for error in focus.
Live View mode can be useful in bright light. It allows for precise focus adjustments on the camera's screen.
Handling Low Light Settings
Low light conditions often challenge autofocus systems. Manual focus gives photographers more control in these situations.
Using a fast lens with a wide aperture helps gather more light. This makes it easier to see and focus accurately.
Focus assist features like peaking or magnification are valuable in dim light. They highlight in-focus areas, making precise adjustments easier.
For moving subjects in low light, pre-focusing on a spot where the subject will be can work well. This technique is useful for street photography at night.
Conclusion: Mastering Manual Focus for Creative Control
Mastering manual focus is more than just a technical skill—it’s a gateway to creative freedom and precision in photography. While autofocus systems have advanced significantly, manual focus empowers photographers to take full control of their images, enabling them to achieve impeccable sharpness and artistic intent in challenging scenarios like low light, macro photography, or through obstacles.
By understanding the mechanics of manual focus, such as using focus peaking, live view magnification, and mastering the focus ring, photographers can elevate their craft. Manual focusing not only sharpens technical skills but also fosters a more thoughtful approach to composition and storytelling.
Whether you’re capturing the delicate details of a flower petal, isolating a subject with a selective focus in portraiture, or achieving maximum sharpness in landscapes through hyperfocal distance, manual focus opens up endless possibilities. With practice and patience, it becomes second nature, allowing photographers to adapt seamlessly to any shooting condition.
In an era where technology often dictates photographic outcomes, manual focus serves as a reminder of the artistry behind the lens. By embracing this skill, you can create images that stand out for their precision, creativity, and personal touch—ensuring your photography truly reflects your vision.
Thank you for visiting our site and being part of this journey with us! We rely on the generous support of visitors like you to continue providing high-quality. Your donation, no matter the size, helps us maintain the website and create more valuable resources for everyone.

