
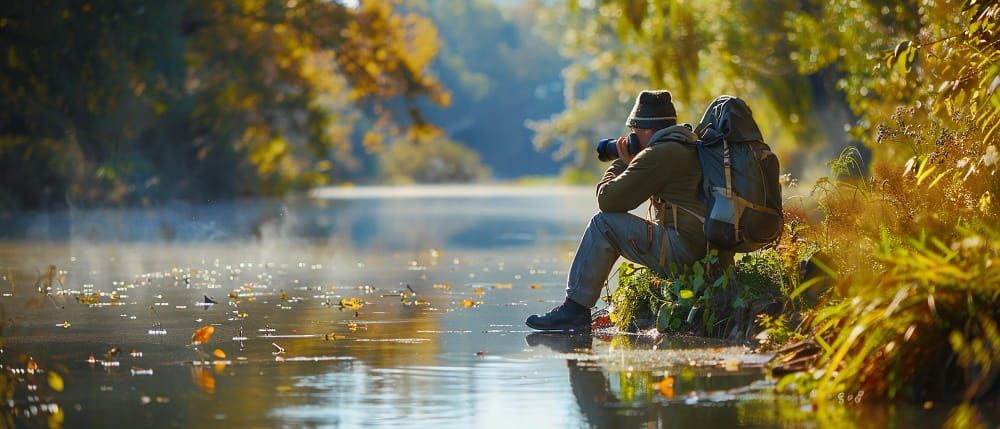
Nature photography lets you capture the beauty of the outdoors. It blends skills from landscape and wildlife photography, making it fun but tricky for beginners.
You can improve your nature photos with some simple tips. Learning your camera settings, choosing the right gear, and practicing good composition will help you take better pictures. These skills make a big difference in the quality of your shots.
Getting out in nature is key. Try different times of day and seasons to find unique lighting and scenes. With practice and patience, you'll soon be taking amazing nature photos you're proud to share.
Understanding the Basics of Nature Photography
Nature photography captures the beauty of the outdoors. It takes skill to get great shots. Learning a few key areas will help you improve quickly.
Embracing Natural Light
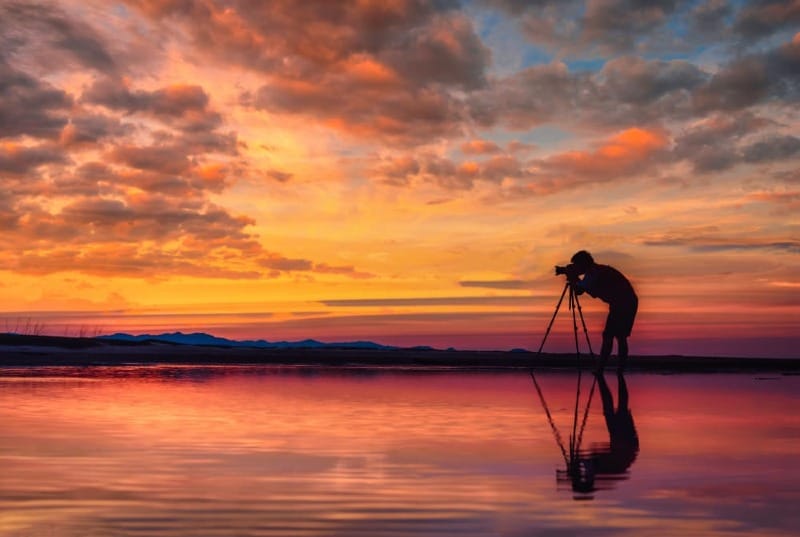
Natural light is key in nature photography. The golden hours after sunrise and before sunset offer warm, soft light. This light creates a magical glow in landscapes and wildlife. Midday sun can be harsh, but it's good for showing textures in close-ups.
Cloudy days give even, diffused light. This works well for forest scenes and waterfalls. It reduces harsh shadows and bright spots.
Pay attention to how light changes through the day. Notice how it affects colors and shadows. Try shooting the same scene at different times to see the effects.
Exploring Composition Techniques
Good composition makes photos more eye-catching. The rule of thirds is a helpful starting point. Imagine a grid over your image with two horizontal and two vertical lines. Place key elements along these lines or at their intersections.
Leading lines guide the viewer's eye through the photo. Use paths, rivers, or fallen trees to create depth. Framing adds interest by using natural elements to surround your subject.
For wildlife shots, leave space for the animal to "look into". This creates a sense of movement and direction in your image.
Try different angles to find unique views. Get low to the ground or climb up high for a new perspective.
Mastering Camera Settings
Understanding your camera's settings is crucial. The aperture controls the depth of field. A wide aperture (small f-number) blurs the background, while a narrow one keeps more in focus.

Shutter speed affects motion blur. Fast speeds freeze action, while slow ones create a sense of movement. For waterfalls, try a slow shutter speed to get a smooth, silky effect.
ISO changes your camera's light sensitivity. Keep it low in bright conditions for the best quality. Raise it in low light, but be aware it can add noise to your images.
Learn to use manual mode. It gives you full control over your settings. Start in aperture or shutter priority modes to get comfortable adjusting one setting at a time.
Equipment Selection for Optimal Results
Picking the right gear is key for great nature photos. Your choices can make a big difference in image quality and what you can capture.
Choosing the Right Camera Gear
Start with a good camera body. DSLRs and mirrorless cameras work well for nature shots. Look for weather-sealing to protect against rain and dust. High ISO performance helps in low light. Fast autofocus is helpful for wildlife.
Consider a camera with in-body stabilization. This helps reduce blur from camera shake.

Pack spare batteries and memory cards. Nature shoots can last all day. You don't want to run out of power or storage.
The Role of Lenses in Nature Photography
Lenses are crucial for nature photography. A versatile zoom lens is a good start. It lets you frame wide landscapes and zoom in on distant subjects.
To capture detailed images of flowers or insects, employ a macro lens, which enables you to focus closely on small subjects.
Prime lenses offer great image quality and wide apertures. They're ideal for low-light shots or blurring backgrounds.
Long telephoto lenses help you photograph shy animals from afar. They can bring faraway subjects up close in your frame.
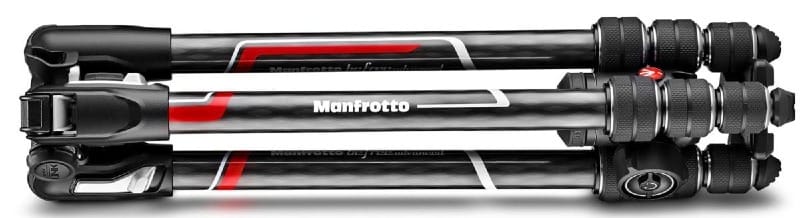
Supporting Your Shots with Tripods and Other Accessories
A sturdy tripod is essential. It keeps your camera steady for sharp shots, even in low light. Look for one that's light enough to carry but stable enough for your gear.
Filters can enhance your photos. Polarizing filters reduce glare and boost colors. Neutral density filters let you use slow shutter speeds, even in bright light.
A remote shutter release helps avoid camera shake. It's useful for long exposures or when you can't touch the camera.
Consider a rain cover to protect your gear in wet conditions. Nature doesn't always cooperate with the weather.
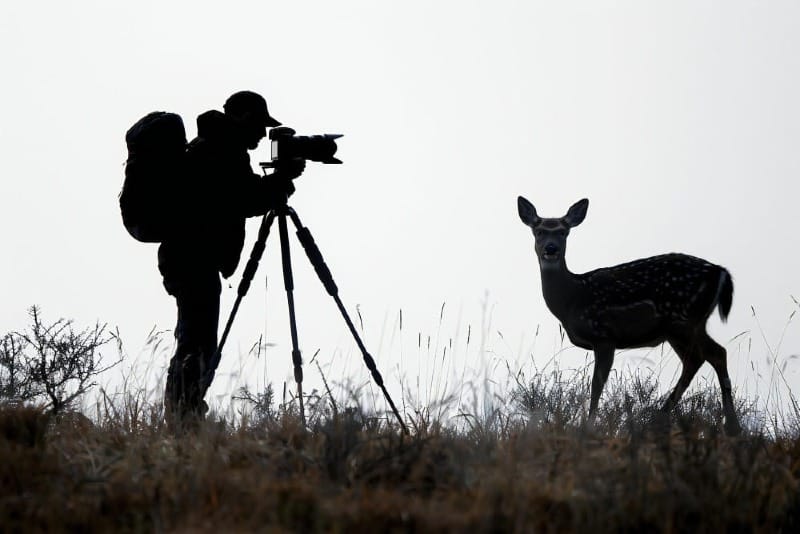
Techniques for Capturing Wildlife
Wildlife photography requires skill and strategy. Two key techniques can help you take stunning animal photos: timing your shots perfectly and creating appealing backgrounds.
The Art of Timing and Patience
Capturing great wildlife shots takes time. You need to wait for the right moment when animals are active or showing interesting behavior. Get to know your subject's habits. Learn when they feed, rest, or move around. This helps you predict good photo chances.
Be ready to wait. Animals don't pose on command. Set up early and stay quiet. Use a tripod to keep your camera steady during long waits. When action happens, be quick. Animals move fast. Set your camera to a fast shutter speed to freeze motion.
Practice tracking moving subjects. Follow the animal with your lens before taking the shot. This helps you catch sharp images of animals in action.
Getting the Background Right
A good background makes wildlife stand out. Look for clean, simple settings. Blurry backgrounds work well to highlight your subject. Use a wide aperture (low f-number) to blur the background.
Pay attention to colors. A background that contrasts with your subject can make it pop. Avoid busy backgrounds that distract from the animal. Move around to find the best angle. Even small shifts can improve your background.
Try to place the animal against a distant background. This creates a nice depth effect. Watch out for branches or objects that seem to stick out of the animal in your photo. These can ruin a good shot.
Landscape Photography: Painting with Nature
Landscape photography allows you to capture nature's beauty in stunning images. It combines technical skills with artistic vision to create impactful photos.
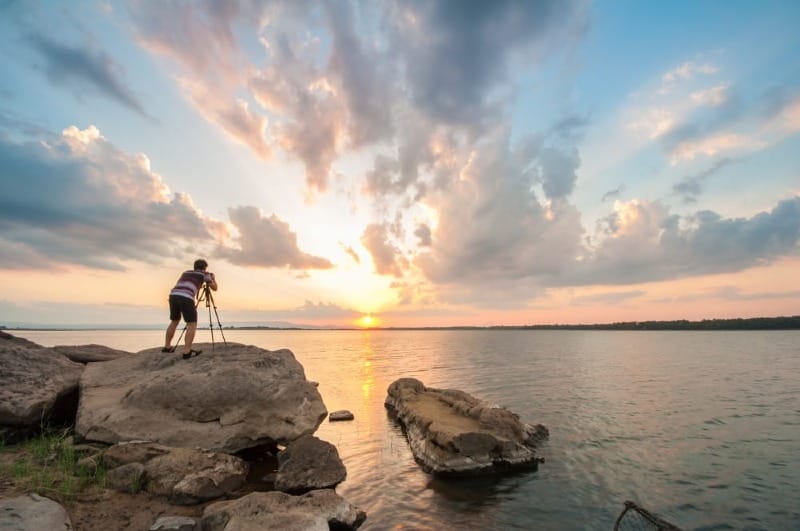
Utilizing the Golden Hours
The golden hours occur just after sunrise and before sunset. During these times, the light is soft and warm, perfect for landscape shots.
Plan to arrive at your location early. This gives you time to set up and find the best angles. Use a tripod to keep your camera steady in low light.
Experiment with different compositions. Try including foreground elements to add depth. A tree, rock, or flower can create interest in the foreground.
Pay attention to the sky. Clouds often take on beautiful colors during golden hour. Use them to add drama to your images.
Incorporating Depth of Field and Perspective
Depth of field controls how much of your image is in focus. For landscapes, you often want everything sharp from foreground to background.
Use a small aperture (high f-number) to increase depth of field. This keeps more of the scene in focus. A typical range is f/8 to f/16.
Perspective affects how elements in your photo relate to each other. Get low to make foreground objects seem larger. This creates a sense of scale.
Use leading lines to draw the viewer's eye through the image. Rivers, roads, or fences can guide attention to your main subject.
Try different focal lengths. Wide-angle lenses capture expansive scenes. Telephoto lenses compress distance, making far-off objects appear closer together.
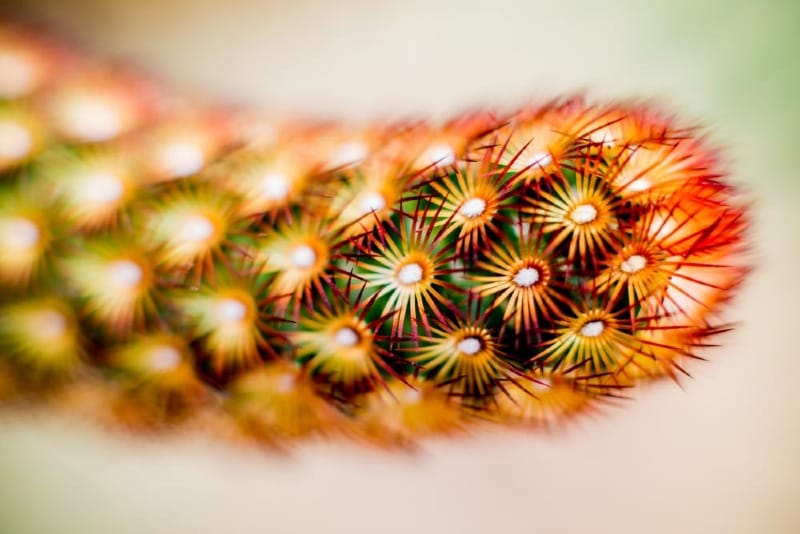
The Beauty of Macro Photography
Macro photography reveals tiny details in nature that are often missed by the naked eye. It brings small subjects into sharp focus, creating stunning images.
Focus on Detail with Macro Lenses
Macro lenses are key for capturing small subjects up close. They let you get very near to tiny objects while keeping them in focus.
When using a macro lens, pick your subject carefully. Look for interesting textures, colors, or patterns in small items like flowers or insects.
Try different angles to find the best view of your subject. Move around it to see how light and shadows change the image.
Practice is important with macro photography. Take lots of shots to learn what works best. Experiment with different settings on your camera to see how they affect your photos.
Achieving a Blurred Background for Enhanced Focus
A blurred background makes your main subject stand out more. This effect is called bokeh.
To get a blurry background, use a wide aperture on your lens. This means using a low f-number like f/2.8 or f/4.
Approach your subject closely, ensuring there's distance between it and the background. This technique enhances the blur effect.
Try using a longer focal length lens. It will compress the background, making it look more blurred.
Play with different backgrounds to see how they affect your image. Bright colors or patterns can add interest to your photo even when blurred.
Preparing for the Outdoor Shoot
Getting ready for nature photography takes planning and know-how. The right prep work can make a big difference in your photos.
Scouting and Selecting the Best Locations
Pick spots with interesting views or wildlife. Look for places with water, mountains, or unique plants. Visit areas at different times of day to see how the light changes.
Check online maps and nature guides to find good spots. Talk to local photographers or park rangers for tips. They often know hidden gems.
Make a list of a few backup locations. Weather can change fast outdoors. Having options helps if your first choice doesn't work out.
Understanding the Importance of Preparation
Pack the right gear for your shoot. Bring extra batteries, memory cards, and lenses. A tripod helps with steady shots in low light.
Check the weather forecast. Dress in layers and pack rain gear if needed. Bring water and snacks to stay comfortable.
Learn about the area's rules and wildlife. Some parks have limits on where you can go. Know how to stay safe around animals.
Practice using your camera settings before you go. Being familiar with your gear saves time in the field. You'll be ready to catch fleeting moments in nature.
Post-Processing to Perfect Your Photos
Post-processing is a key step in nature photography. It lets you bring out the best in your images after the shoot.
Start by shooting in RAW format. RAW files give you more flexibility when editing. They contain more data than JPEGs, allowing for better adjustments.

Use editing software like Lightroom or Photoshop to enhance your photos. Adjust exposure, contrast, and color balance to make your images pop.
Crop your photos to improve composition. Remove distracting elements and focus on the main subject.
Experiment with different editing techniques:
- Boost colors to make wildlife photos more vibrant
- Adjust shadows and highlights to reveal hidden details
- Use selective editing to draw attention to specific areas
Be careful not to overdo it. Aim for natural-looking results that stay true to the scene you captured.
Try different editing styles to find what works best for you. Practice regularly to improve your skills.
Remember, post-processing is a tool to enhance your photos, not fix poor-quality shots. Focus on getting the best possible image in-camera first.
Advanced Composition and Techniques
Improving your nature photography skills involves mastering key compositional elements and camera techniques. These methods will help you create more impactful and visually appealing images.
Mastering the Rule of Thirds
The rule of thirds is a basic but powerful composition tool. Imagine your photo divided into a 3x3 grid. Place important elements along these lines or at their intersections.
For landscapes, try putting the horizon on the top or bottom third line. This creates a more balanced and pleasing image than centering it.
When photographing animals, position their eyes on an intersection point. This draws the viewer's attention to the subject's gaze.
Practice using the rule of thirds until it becomes second nature. Many cameras have a grid overlay option to help you visualize this technique while shooting.
Using Leading Lines and Framing to Guide the Viewer
Leading lines draw the eye through your photo. In nature, look for paths, rivers, or fallen trees that create natural lines.
Use these elements to lead toward your main subject. This adds depth and helps viewers explore the image.
Framing uses objects in the foreground to create a border around your subject. Tree branches, rock formations, or archways can act as natural frames.
This technique highlights your main subject and adds layers to your composition. It can also hide distracting elements at the edges of your frame.
Choosing Aperture Priority for Creative Control
Aperture priority mode lets you control the depth of field while the camera sets the shutter speed. This gives you more creative freedom in nature photography.
Use a wide aperture (small f-number) to blur the background in wildlife shots. This makes your subject stand out against a soft, dreamy backdrop.
For landscapes, use a narrow aperture (large f-number) to keep everything in focus. This ensures sharpness from the foreground to the distant horizon.
Experiment with different apertures to see how they affect your images. Each scene may call for a different approach to achieve your creative vision.
Conclusion
Nature photography lets you capture the beauty of the outdoors. With practice, you can improve your skills and take stunning photos.
Remember to learn your camera's settings. This will help you adjust for different lighting and scenes.
Try new angles and perspectives when shooting. Get low to the ground or climb up high for unique views.
Be patient when photographing wildlife. Animals move on their own schedule, so take your time.
Experiment with different times of the day. Early morning and late afternoon often have the best light.
Keep practicing, and don't get discouraged. Every photo is a chance to learn and grow as a photographer.