Outdoor Portrait Lighting Tips: Mastering Natural Illumination for Stunning Photos
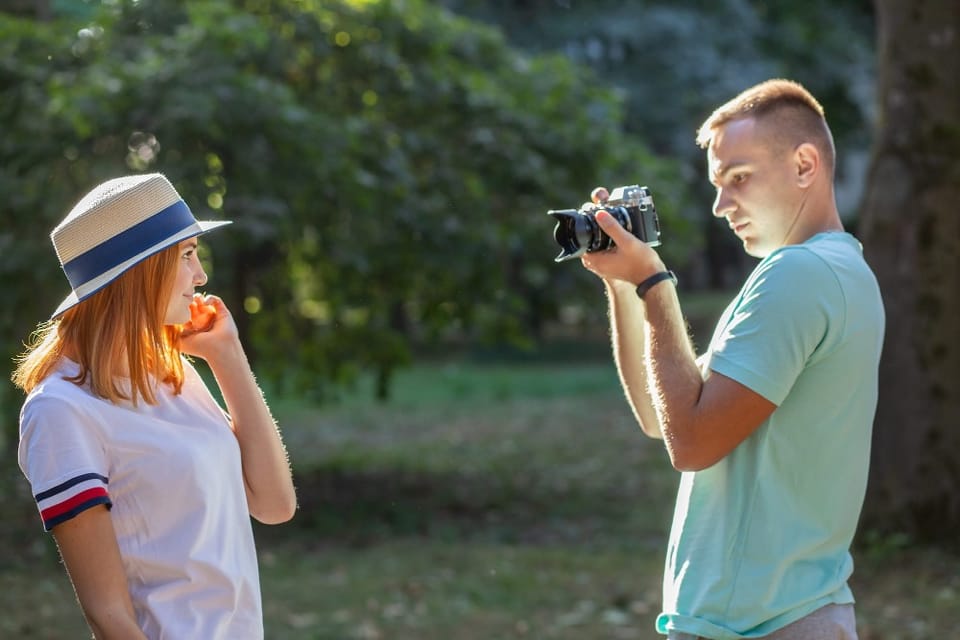
Outdoor portrait photography can be challenging, but with the right lighting techniques, you can capture stunning images. The key is to work with natural light to create soft, flattering effects on your subject's face.

Soft light illuminates features beautifully without harsh shadows, creating a gentle, dreamy atmosphere in outdoor portraits. This type of light is often found during the golden hours - shortly after sunrise or before sunset. During these times, the sun's rays diffuse through the atmosphere, casting a warm glow that enhances skin tones and minimizes imperfections.
For more control over lighting, photographers can use reflectors to redirect sunlight back onto the subject's face. This technique allows for adjustment of light intensity, angles, and contrast, giving more flexibility in creating the desired look. By mastering these outdoor lighting techniques, photographers can elevate their portrait work and produce images that truly capture their subjects in the best light.
Understanding Natural Light
Natural light is a powerful tool for outdoor portrait photography. It can create stunning effects and enhance the subject's features when used correctly.
Harnessing the Golden Hour
The golden hour offers warm, soft light that flatters subjects. This period occurs just after sunrise and before sunset. During this time, the sun's low angle creates a gentle glow and long shadows.
Golden hour light wraps around subjects, reducing harsh contrasts. It adds a warm, golden tint to skin tones, making them appear more vibrant. Photographers can position subjects facing the sun for even illumination or use backlighting for a dreamy effect.
To make the most of golden hour:
- Plan shoots for 30 minutes after sunrise or before sunset
- Use reflectors to bounce light and fill shadows
- Experiment with different angles to the sun
Managing Sunlight and Shadow
Midday sun can create harsh shadows and unflattering highlights. To manage these conditions:
- Find open shade under trees or buildings
- Use diffusers to soften direct sunlight
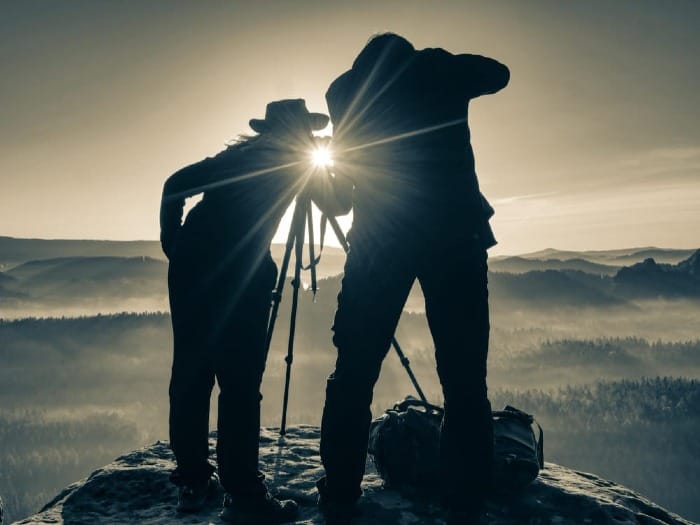
- Position subjects with their backs to the sun
Broad lighting can help reduce shadows on the face. This technique places the light source closer to the camera, illuminating the wider side of the subject's face.
For more dramatic portraits, use the sun to create intentional shadows. This can add depth and dimension to images.
Advantages of Overcast Days
Overcast days provide soft, diffused light ideal for portraits. Cloud cover acts as a giant softbox, spreading light evenly and reducing harsh shadows.
Benefits of shooting on overcast days include:
- Even skin tones with minimal hotspots
- Reduced squinting from subjects
- Greater flexibility in shooting locations and times
On cloudy days, photographers can use reflectors to add light to the subject's face. This helps create subtle highlights and brings out the eyes.
Overcast conditions allow for longer shooting times without worrying about changing light. This can be especially helpful when working with large groups or inexperienced models.
Equipment Essentials
The right gear can make or break your outdoor portrait shots. Good lenses, light modifiers, and artificial lighting tools are key for stunning results.
Choosing the Right Lens
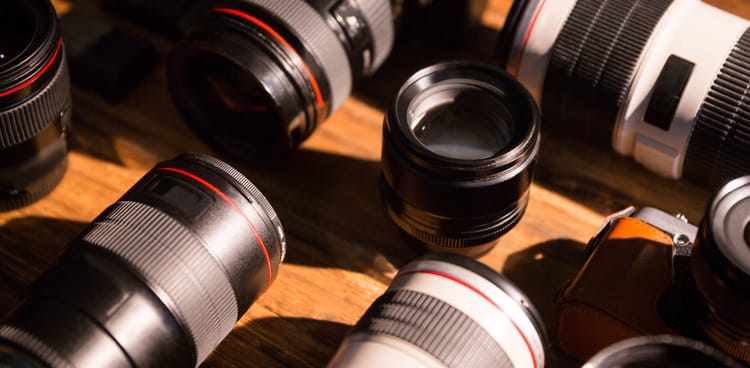
Lens choice impacts the look and feel of outdoor portraits. Wide-angle lenses (24-35mm) capture more background but can distort facial features. Telephoto lenses (85-200mm) compress perspective and blur backgrounds nicely.
Fixed focal length lenses, like 50mm or 85mm, offer sharp images and wide apertures. This allows for a shallow depth of field, making subjects pop against blurred backgrounds.
For versatility, a 24-70mm zoom works well. It covers wide to medium telephoto ranges without changing lenses.
Utilizing Reflectors and Diffusers
Reflectors and diffusers help control natural light. A 5-in-1 reflector is very useful. It includes:
- Silver side: Brightens shadows
- Gold side: Adds warm tones
- White side: Softens light
- Black side: Absorbs light
- Translucent panel: Diffuses harsh sunlight
Position reflectors to bounce light onto shadowy areas of the face. Use diffusers to soften direct sunlight on bright days.
These tools are lightweight and portable, making them ideal for outdoor shoots.
Artificial Lighting Tools
Artificial lights extend shooting hours and enhance natural light. Speedlights are popular for their portability. Models like the Nikon SB-5000 offer powerful output in a compact size.
Softboxes diffuse flash for softer, more flattering light. They come in various sizes for different effects.
Light modifiers like grids or snoots help control light direction. This is useful for creating dramatic looks or highlighting specific features.
For more power, consider battery-powered studio strobes. They offer stronger output for overpowering sunlight.
Camera Settings for Outdoor Portraits
Getting the right
camera settings is crucial for stunning outdoor portraits. The key is balancing exposure, focus, and white balance to capture natural-looking images with flattering light.
Mastering Exposure
Shooting in Manual mode gives you full control over exposure. Start with a low ISO, around 100-400, to minimize noise. Set your aperture between f/2.8 and f/5.6 for a pleasing background blur.
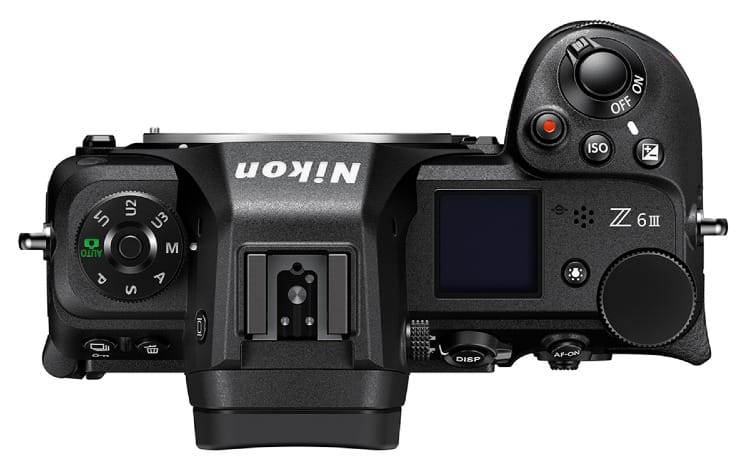
For shutter speed, use at least 1/200th of a second to freeze motion. Adjust based on available light and desired effects. In bright sun, you might need 1/500th or faster.
Use your camera's light meter to check exposure. Spot metering can help in tricky lighting. Take a test shot and review the histogram to ensure proper exposure.
Achieving the Perfect Focus
Select a single focus point for portraits. Place it on the subject's nearest eye for tack-sharp results. Use Aperture Priority or Manual mode to control depth of field.
For groups, increase your f-stop to f/8 or higher to keep everyone in focus. A focal length of 50-135mm works well for portraits, compressing facial features attractively.
Continuous autofocus can help with moving subjects. For static poses, single-shot autofocus is reliable. Double-check focus before taking the final shot.
Adjusting White Balance
Proper white balance ensures natural skin tones. Auto white balance often works well outdoors. For more control, use a preset like "Daylight" or "Cloudy".
Custom white balance gives the most accurate results. Use a gray card or white object to set a reference point. This is especially helpful in mixed lighting conditions.
Shoot in RAW format to easily adjust the white balance in post-processing. This flexibility allows you to fine-tune color temperature for the perfect look.
Composition and Posing
Good composition and posing are key to creating striking outdoor portraits. These elements work together to draw attention to your subject and create visually pleasing images.
Background Considerations
When shooting outdoor portraits, the background plays a crucial role. Look for clean, uncluttered backgrounds that won't distract from your subject. Natural elements like trees, walls, or the sky can make great backdrops.
Use a wide aperture to create a shallow depth of field. This technique blurs the background, making your subject stand out. The result is a pleasing bokeh effect that adds depth to your images.
Consider the color of the background, too. Choose one that complements your subject's clothing and skin tone. Avoid backgrounds with bright, contrasting colors that might pull focus away from your subject.
Effective Use of Foreground
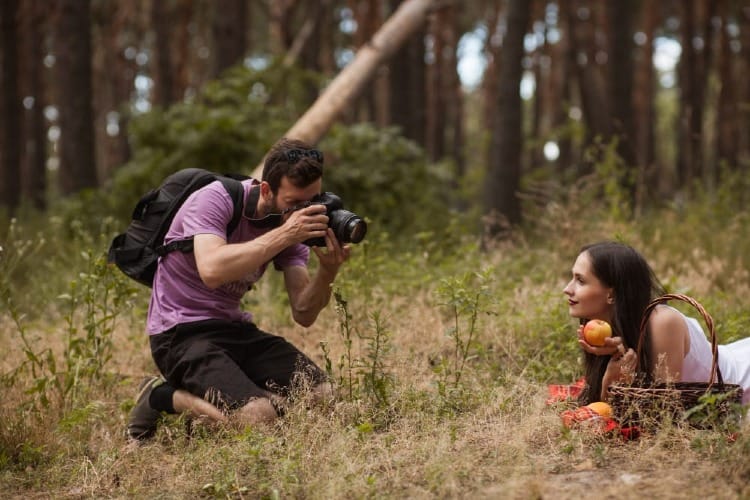
The foreground can add depth and interest to your outdoor portraits. Look for elements like flowers, leaves, or grass to frame your subject. These can create a sense of depth and draw the viewer's eye to the main subject.
Try shooting through foreground elements to create a dreamy, soft-focus effect. This technique can add a layer of visual interest to your portraits.
Be careful not to let foreground elements obstruct your subject's face or important features. The goal is to enhance the portrait, not detract from it.
Directing the Subject
Guiding your subject's pose is crucial for creating natural-looking outdoor portraits. Start with a relaxed stance and make small adjustments to refine the pose.
Encourage your subject to lean slightly towards the camera. This creates a more engaging and intimate feel in the portrait.
Pay attention to hand placement. Hands can look awkward if not positioned well. Have your subject place their hands in pockets, on hips, or engaged in a natural action.
Direct your subject's gaze. They can look directly at the camera for a strong connection with the viewer or off to the side for a more contemplative mood.
Remember to keep your subject comfortable. A relaxed subject will result in more natural-looking portraits.
Lighting Techniques in Practice
Mastering outdoor portrait lighting involves hands-on application of key techniques. Photographers can create stunning images by balancing natural light with artificial sources and adjusting their approach based on conditions.
Utilizing Fill Light
Fill light helps soften shadows and add detail to portraits. In bright sunlight, use a reflector to bounce light onto the subject's face. Silver reflectors work well for a crisp look, while gold adds warmth. For a softer effect, try a white reflector.
In open shade, a flash or LED panel can provide fill light. Set the power to about 1-2 stops below the ambient light for a natural look. This technique prevents dark eye sockets and adds a catch light to the eyes.
Experiment with fill light placement. Holding it close creates softer light, while moving it farther away produces more defined shadows.
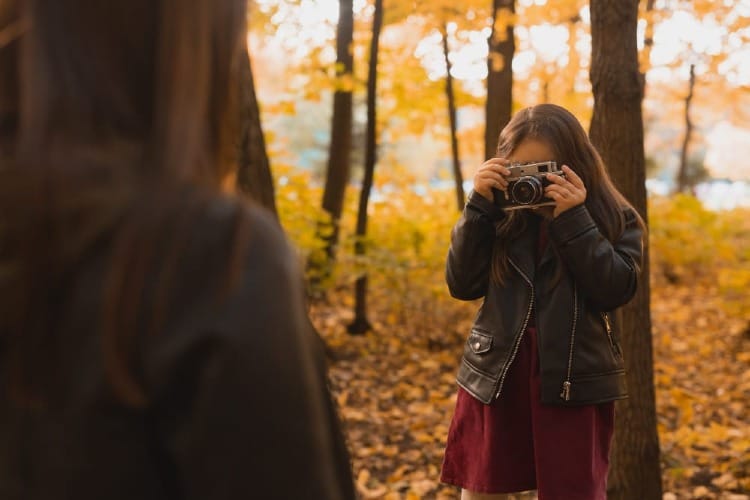
Experimenting with Angles and Positioning
The angle of light greatly impacts portrait mood and quality. Side lighting can create dramatic Rembrandt-style portraits with one side of the face illuminated. This works well during golden hour.
For flattering results, position the subject so the sun is behind them. This creates a natural hair light and rim light effect. Use fill light or a reflector to illuminate the face.
Try different camera angles, too. Shooting from slightly above eye level can be flattering for most subjects. Low angles can create powerful, imposing portraits.
Controlling Hard and Soft Light
Outdoor light quality varies throughout the day. The harsh midday sun creates hard light with strong shadows. Soften this by moving to an open shade or using a diffuser.
For soft light portraits:
- Shoot during overcast days
- Use shade from buildings or trees
- Hold a large diffuser between the sun and the subject
To embrace hard light:
- Create dramatic side-lit portraits
- Use strong shadows creatively
- Increase contrast in post-processing
Adjust camera settings to control light. Use a fast shutter speed to freeze motion in bright conditions. In low light, open the aperture for a shallow depth of field.
Post-Processing Outdoor Portraits
After capturing outdoor portraits, editing enhances their visual appeal. Post-processing allows photographers to refine exposure, colors, and details. These steps bring out the best in natural light portraits.
Editing for Consistent Exposure
Start by adjusting the overall exposure of the image. Use the histogram as a guide to ensure proper tonal range. Brighten shadows and tone down highlights for a balanced look.
Adjust the white balance to correct any color casts from natural light. This ensures skin tones appear natural and true to life.
For uneven lighting, use local adjustments. Brushes or graduated filters can selectively brighten or darken areas of the portrait. This technique helps create a more balanced exposure across the entire image.
Enhancing Color and Contrast
Color grading adds mood and style to outdoor portraits. Adjust saturation and vibrance to make colors pop without appearing unnatural.
Use the HSL (Hue, Saturation, Luminance) panel to fine-tune specific colors. This is particularly useful for enhancing skin tones and background elements.
Increase contrast to add depth to the image. The Clarity slider can bring out texture in clothing and hair. Be careful not to overdo it, as too much clarity can age skin.
Split toning can add warmth to highlights and coolness to shadows, creating a pleasing color balance.
Refining Image Details
Sharpening brings out fine details in the portrait. Apply sharpening selectively to eyes, hair, and clothing while avoiding skin areas.
Use noise reduction to smooth out any graininess, especially in shadow areas. This is crucial for images shot in low light conditions.
Remove distractions with spot healing or clone tools. This might include blemishes on skin or stray hairs.
Apply subtle vignetting to draw attention to the subject's face. This technique gently darkens the edges of the frame.
For a polished look, use dodge and burn techniques to enhance facial features. This adds dimension and depth to the portrait.
Location Scouting and Timing
Finding the right spot and time for outdoor portraits is key. The location sets the mood, while timing affects the light quality.
Identifying Ideal Settings
Scouting locations is crucial for great outdoor portraits. Look for spots with natural beauty and variety. Parks, beaches, and urban areas offer different backdrops.
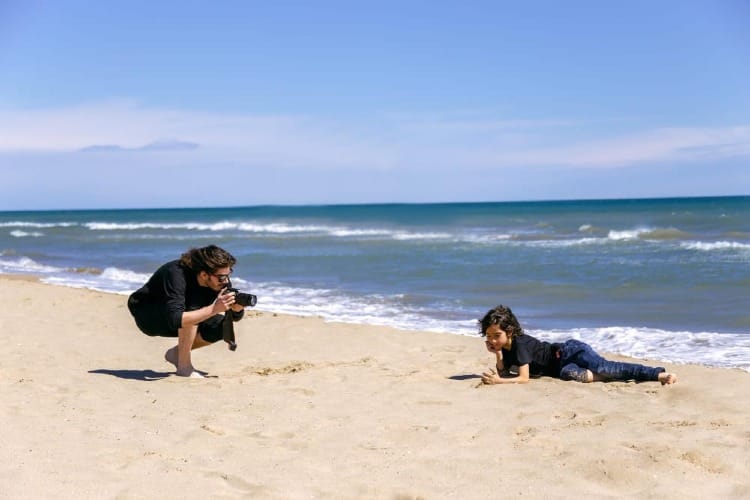
Consider the family's style and interests when choosing a location. A rustic farm might suit one family, while a modern cityscape fits another.
Check for distracting elements like trash cans or busy roads. Seek out areas with clean backgrounds and interesting textures.
Observe how light interacts with the environment. Look for spots with open shade or dappled light for soft, flattering portraits.
Considering the Time of Day and Season
The time of day greatly impacts outdoor portrait lighting. Early morning and late afternoon offer golden hour light, perfect for warm, glowing portraits.
Midday sun can be harsh, creating unflattering shadows. If shooting at noon, find shaded areas or use diffusers to soften the light.
Seasons affect both light and scenery. Spring brings fresh blooms, while fall offers rich colors. Winter can provide clean, snowy backdrops.
Weather also plays a role. Overcast days create soft, even light, ideal for portraits. Rainy days can offer unique opportunities for moody shots.
Plan shoots around sunset or sunrise for dramatic lighting effects. Use apps to track sun position and plan your shoot accordingly.
Conclusion
In conclusion, outdoor portrait photography offers a unique opportunity to capture stunning, natural images by leveraging the beauty of natural light. By understanding and mastering techniques such as working with golden hour lighting, managing shadows, and utilizing tools like reflectors and diffusers, photographers can create soft, flattering portraits that highlight their subjects' best features. Overcast days, thoughtful composition, and the right equipment further enhance the creative possibilities, allowing for flexibility and control in various conditions.
Ultimately, successful outdoor portraits require a combination of technical skill, artistic vision, and careful planning. Whether it’s choosing the perfect location, timing the shoot to align with ideal lighting conditions, or refining images through post-processing, each step contributes to creating memorable and impactful photographs. With practice and attention to detail, photographers can elevate their craft and produce portraits that truly resonate with viewers.

