Smartphone night photography: Mastering low-light shots
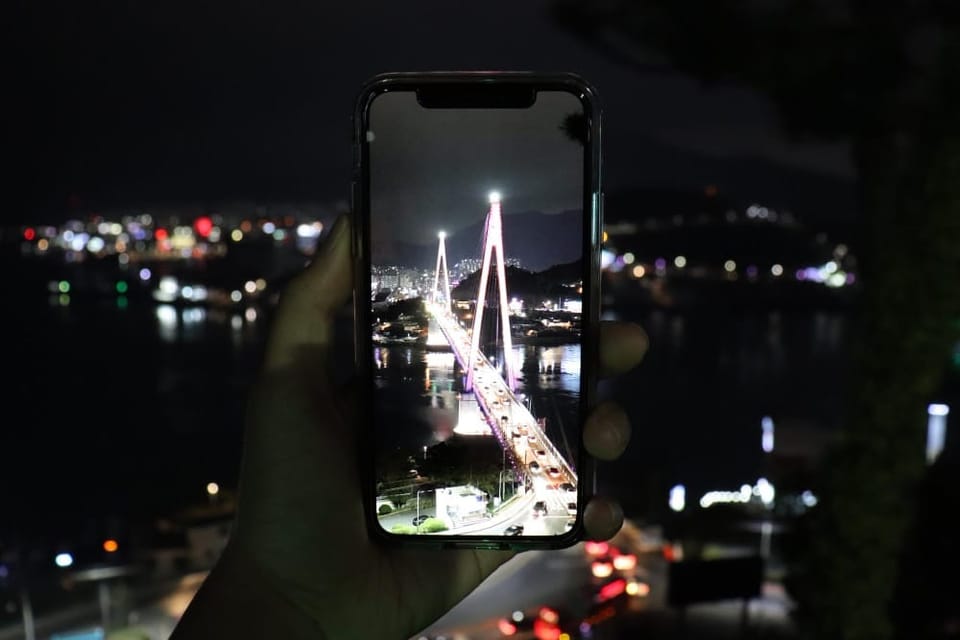
Taking great photos at night used to be a challenge reserved for professional photographers with high-end cameras. But modern smartphones have changed the game. Today's phones can capture stunning nighttime images that rival those from dedicated cameras.
The latest smartphones use advanced night mode features to produce bright, clear photos even in very low light. These modes combine multiple exposures and use artificial intelligence to enhance details and reduce noise. The results can be impressive, allowing anyone to capture beautiful nighttime cityscapes, starry skies, or dimly lit indoor scenes.
To get the best nighttime photos with a smartphone, it helps to understand a few key techniques. Using a tripod or stable surface can reduce blur from camera shake. Focusing on light sources or bright areas can help the camera find the right exposure. Experimenting with different night mode settings can produce unique and creative results.
Understanding Night Photography Fundamentals
Night photography requires mastering a few key camera settings. These settings control how much light reaches the sensor and how the camera processes that light. Getting them right leads to crisp, well-exposed night shots.
The Role of Exposure
Exposure in night photography is crucial. It determines how bright or dark an image appears. In low light, cameras need more time to collect enough light for a good picture.
To get the right exposure, photographers adjust three main settings:
- Aperture (how wide the lens opens)
- Shutter speed (how long the shutter stays open)
- ISO (how sensitive the sensor is to light)
Night mode features on smartphones help by automatically adjusting these settings. They aim to capture more light without making the image too grainy.
For manual control, start with a wide aperture and slow shutter speed. This lets in more light. Then, adjust ISO as needed. It's a balancing act to get a bright enough image without too much noise.
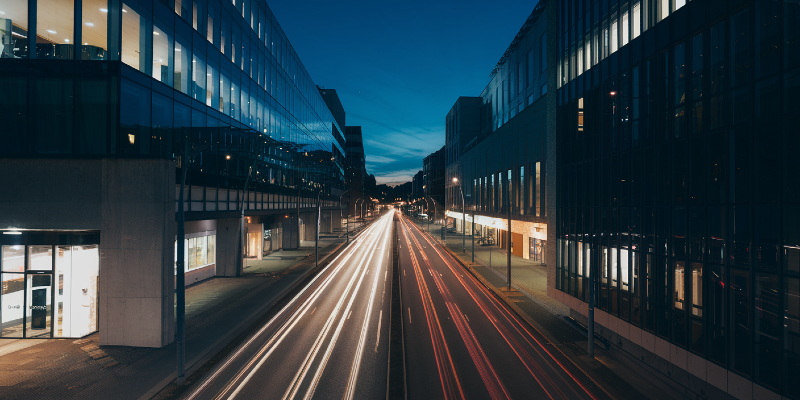
Understanding ISO in Low-Light Conditions
ISO measures how sensitive a camera's sensor is to light. Higher ISO values make the sensor more sensitive, which is helpful in dark scenes.
In night photography, photographers often need to use high ISO settings. This allows them to capture images in very low light. But there's a trade-off:
- Low ISO (e.g., 100-400): Less sensitive, less noise, but needs more light
- High ISO (e.g., 1600-6400): More sensitive, more noise, works in darker scenes
As ISO increases, so does image noise. This appears as grainy specks in the photo. Modern cameras handle high ISO better than older ones, but it's still a concern.
To minimize noise, use the lowest ISO that still gives a good exposure. Smartphone night modes often use special techniques to reduce noise at high ISO settings.
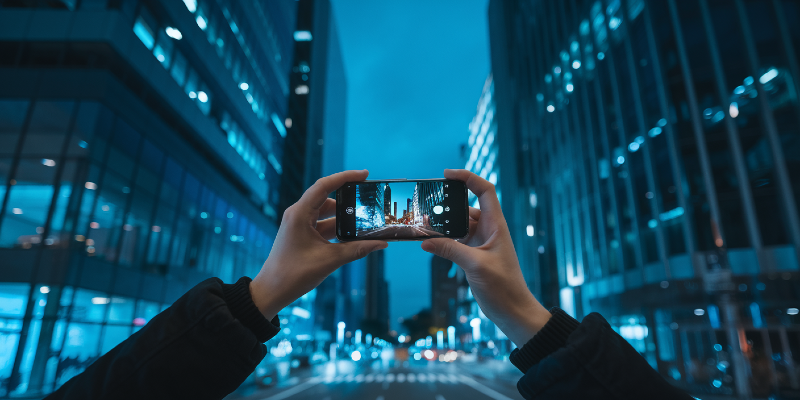
Shutter Speed and Its Impact on Night Shots
Shutter speed is how long the camera's sensor is exposed to light. In night photography, slower shutter speeds are common. They allow more time to capture light in dark scenes.
Key points about shutter speed for night shots:
- Slow speeds (e.g., 1/15 sec or longer) let in more light
- Fast speeds (e.g., 1/60 sec or faster) freeze motion but let in less light
Slow shutter speeds can create interesting effects:
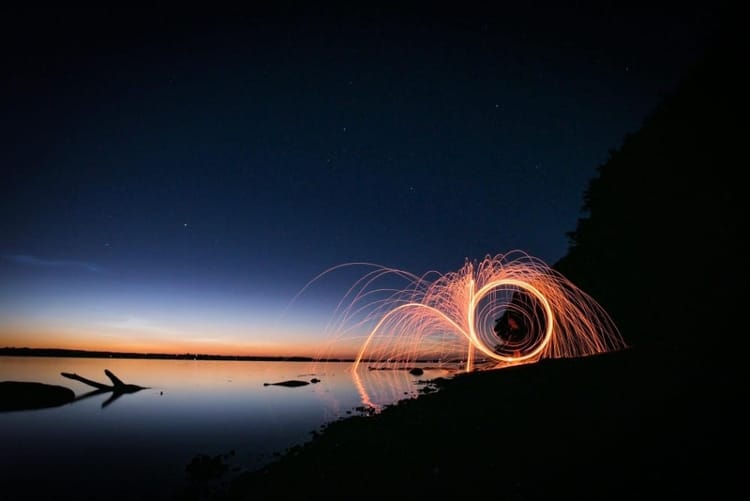
- Light trails from moving cars
- Smooth water in rivers or waterfalls
- Star trails in the night sky
But slow speeds also increase the risk of camera shake. Using a tripod or stabilizing your smartphone is important for sharp images. Some cameras and phones have image stabilization to help with handheld shots at slower speeds.
Camera Hardware for Nighttime Photography
Smartphone cameras have special features to take great photos at night. The lens and image stabilization are key parts.
Camera Lens Characteristics
A good lens is vital for night photos. Smartphone cameras use wide apertures to let in more light. An f/1.8 or f/1.6 aperture is common on high-end phones. This helps capture brighter images in the dark.
Lens coatings reduce glare from street lights. Some phones have multiple lenses for different shots. A telephoto lens can be used for night mode on many new phones.
The size of the image sensor matters too. Bigger sensors catch more light. This leads to clearer night photos with less noise.
Importance of Optical Image Stabilization
Optical image stabilization (OIS) is crucial for night shots. It keeps the camera steady when you hold it. This lets the phone use slower shutter speeds without blur.
OIS works by moving lens elements to counter hand shake. Many flagship phones now include OIS in their main and zoom cameras. This helps in low light when longer exposure times are needed.
Some phones combine OIS with electronic stabilization for even steadier shots. This dual system can make a big difference in image quality at night.
Advanced Shooting Techniques
Night photography with smartphones requires special skills. These methods help capture stunning images in low light conditions.
Mastering Long Exposure Shots
Long exposure shots create amazing effects at night. Set your phone on a steady surface or use a tripod. Many phones have a built-in long exposure mode. If not, download a camera app with manual controls.
Adjust the shutter speed to 1-30 seconds. This lets more light reach the sensor. For light trails from cars, use 10-15 seconds. For star trails, try 30 seconds or more.
Use a timer or remote shutter to avoid camera shake. Focus manually on your subject. Lower the ISO to reduce noise. Experiment with different settings to get the best results.
Utilizing Multiple Exposures
Multiple exposures combine several shots into one image. This technique improves detail and reduces noise in night photos. Many phones have a dedicated night mode that does this automatically.
For manual control, take several shots of the same scene. Vary the exposure settings slightly. Later, blend these images using a photo editing app.
Night mode uses advanced techniques to merge multiple exposures. It creates brighter, clearer photos without a flash. This works well for static scenes like cityscapes or landscapes.
Capturing Silhouettes and Shadows
Silhouettes and shadows add drama to night photos. For silhouettes, place your subject in front of a bright background. This could be city lights or the sunset sky.
Expose for the bright area. This darkens the subject, creating a silhouette. Use the phone's exposure compensation to adjust if needed.
For interesting shadows, look for strong light sources. Street lamps or car headlights work well. Position your subject to cast long shadows. Play with angles to create unique shapes.
Use HDR mode to capture both bright and dark areas. This helps balance the exposure in high-contrast night scenes.
Night Mode and Smartphone Specific Features
Modern smartphones come with special settings to help you take great photos at night. These features let you capture clear, bright images even when it's dark outside.
Leveraging Built-In Night Modes
Many phones have a night mode feature that turns on automatically in low light. This mode uses longer exposure times and special software to make night shots brighter and clearer.
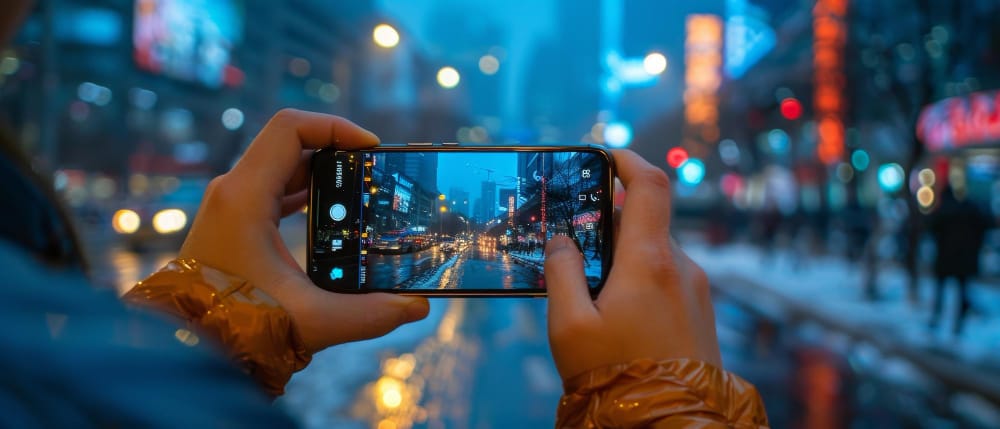
To use night mode, just open your camera app and look for a moon icon. Tap it to turn on night mode. Some phones might call it "Night Sight" or "Night Shot."
When using night mode, try to hold your phone steady. This helps the camera take a clear picture. You can also use a tripod for even sharper images.
Exploring Pro Camera Capabilities
Some phones have pro or manual camera modes. These give you more control over your night shots.
In pro mode, you can change settings like ISO, shutter speed, and focus. This lets you fine-tune your night photos.
To use pro mode:
- Open your camera app
- Look for "Pro" or "Manual" mode
- Adjust the settings to fit the scene
For night shots, try using a higher ISO and slower shutter speed. This helps capture more light. But be careful - too high ISO can make your photo look grainy.
Many top smartphones now offer great night mode features. Brands like Apple, Google, and Samsung are known for their strong low-light photo skills.
Smartphone Support Gear for Night Photography
Taking steady shots at night can be tricky. The right gear helps capture crisp, clear low-light photos with your phone. Two key tools make a big difference.
Using a Tripod for Steady Shots
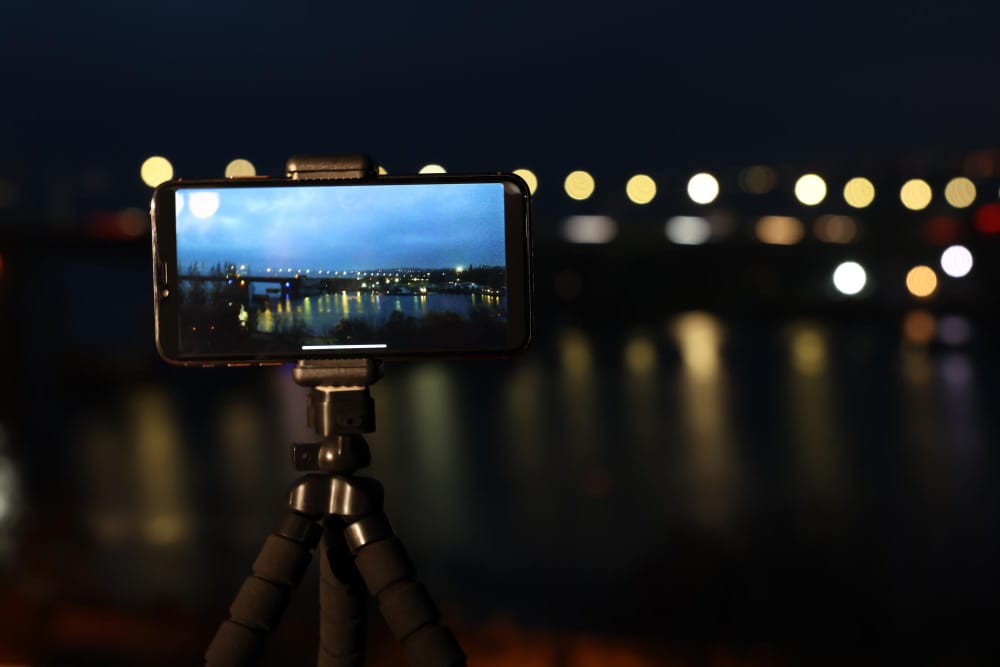
A tripod is essential for night photography with a smartphone. It keeps the camera still during long exposures. This prevents blur from hand shake. Many compact tripods work well with phones.
Look for a tripod with flexible legs. This lets you set up on uneven surfaces. A ball head allows easy adjustment of the phone angle. Make sure the tripod can hold your phone's weight.
Some tripods come with a Bluetooth remote. This helps avoid camera shake when pressing the shutter. For extra stability, use your phone's timer feature with the tripod.
Gimbals and Other Stabilizing Tools
A gimbal takes stabilization further. It uses motors to keep your phone level and smooth out movement. This is great for night video or panning shots.
Gimbals often have built-in controls. These let you adjust zoom and focus without touching the phone. Some even have tracking features for moving subjects.
For a simpler option, try a handheld stabilizer. These use weights to reduce shake. They're cheaper than gimbals but still improve steady shots. Pop sockets and phone grips can also help steady your grip for handheld night photos.
Post-Processing for Night Photography
After capturing night photos, editing can enhance their quality and impact. Post-processing helps reduce noise, improve contrast, and bring out details hidden in the shadows.
Enhancing Images with Adobe Lightroom
Adobe Lightroom offers powerful tools for night photo editing. Start by adjusting exposure to brighten dark areas. Use the Shadows slider to reveal details in dark spots.
Next, tackle noise reduction. The Luminance and Color noise sliders help smooth out grainy areas. Be careful not to overdo it, as too much noise reduction can make the image look artificial.
Boost contrast with the Clarity slider. This adds depth to the image. For colors, adjust the White Balance to correct any unnatural tints. The Vibrance slider can make colors pop without looking oversaturated.
Lastly, use the Dehaze tool to cut through any fog or haze in the image. This can dramatically improve the clarity of night scenes.
Using Snapseed for On-the-Go Edits
Snapseed is a versatile mobile app for quick edits. It offers many tools similar to desktop software.
Start with the Tune Image tool to adjust brightness, contrast, and saturation. The Details tool helps sharpen the image and reduce noise.
For creative effects, try the HDR tool. It can bring out hidden details in both highlights and shadows. The Selective tool allows you to adjust specific areas of the photo.
Snapseed's Curves tool is great for fine-tuning contrast. It gives precise control over the image's tonal range.
Remember to use the Healing tool to remove any unwanted spots or blemishes in the night sky. This can clean up the final image significantly.
Optimizing Camera Settings for Low Light
Getting great night photos with your smartphone requires adjusting key camera settings. The right tweaks can make a big difference in low-light image quality.
Adjusting White Balance for Night Scenes
White balance affects how colors look in your photos. At night, auto white balance often gives images a yellow or orange tint. To fix this:
Set white balance manually to "daylight" or "cloudy" for more natural colors.
Use the eyedropper tool to pick a neutral gray or white area in the scene.
Try different presets like "tungsten" for city lights or "fluorescent" for neon signs.
Night mode features on many phones can help balance colors automatically in low light.
Manual Control for Precise Photography
Manual mode gives you full control over settings for low-light images. Key adjustments include:
ISO: Keep it as low as possible to reduce noise. Start at 100-400.
Shutter speed: Use longer exposures of 1-4 seconds to let in more light.
Aperture: Set to the widest (lowest f-number) your phone allows.
Focus: Tap to focus on the main subject. Use manual focus for tricky scenes.
Shoot in RAW format if available. This preserves more data for editing later.
Use a tripod or prop your phone to avoid blur from camera shake during long exposures.
Notable Smartphone Models for Night Photography
Several smartphones excel at night photography thanks to advanced camera hardware and software. Here are some standout models:
Huawei P60 Pro The Huawei P60 Pro features a powerful camera system optimized for low-light shots. Its large sensor and advanced AI algorithms help capture clear, bright images even in very dark conditions.
iPhone 15 Pro Max Apple's flagship offers impressive night mode capabilities. It uses clever computational photography to combine multiple exposures, resulting in detailed and well-lit nighttime photos.
Vivo X70 Pro+ This model boasts a quad-camera setup with Zeiss optics. Its night mode uses AI to enhance details and reduce noise in low-light scenes.
Xiaomi Mi 11 Ultra Xiaomi's top offering includes a large 1/1.12-inch sensor that excels in low light. Its night mode produces bright, colorful images with minimal noise.
Samsung Galaxy S23 Ultra Samsung's latest Ultra model features a 200MP main camera. It uses pixel binning and advanced night mode processing to capture sharp, well-exposed night shots.
These smartphones leverage both hardware improvements and sophisticated computational photography techniques to push the boundaries of night photography. They enable users to capture high-quality images in challenging lighting conditions that were once impossible with phone cameras.
Top Frequently Asked Questions (FAQs) About Smartphone Night Photography
- What is smartphone night photography, and how does it work? Smartphone night photography involves capturing high-quality images in low-light conditions using advanced features like night mode, which combines multiple exposures and AI to enhance brightness and reduce noise.
- How can I take better night photos with my smartphone? Use a tripod or stable surface to reduce blur, experiment with night mode settings, focus on light sources, and adjust exposure settings manually for creative results.
- What are the key camera settings for night photography? Adjust the aperture (widest possible), shutter speed (slower for more light), and ISO (balanced to avoid noise). Manual control or night mode can optimize these settings automatically.
- Why is a tripod important for smartphone night photography? A tripod ensures stability during long exposures, preventing blur caused by hand movement, which is crucial for sharp and clear night photos.
- What are some advanced techniques for smartphone night photography? Techniques include mastering long exposure shots, utilizing multiple exposures for better detail, and creatively capturing silhouettes and shadows in low-light scenes.
- How can I edit my night photos to make them look better? Use apps like Adobe Lightroom or Snapseed to adjust brightness, contrast, noise reduction, and color balance. Features like HDR and selective editing tools can enhance details and clarity.
Thank you for visiting our site and being part of this journey with us! We rely on the generous support of visitors like you to continue providing high-quality. Your donation, no matter the size, helps us maintain the website and create more valuable resources for everyone.

