What is the Golden Hour for Photography: The Perfect Time to Capture Stunning Natural Light
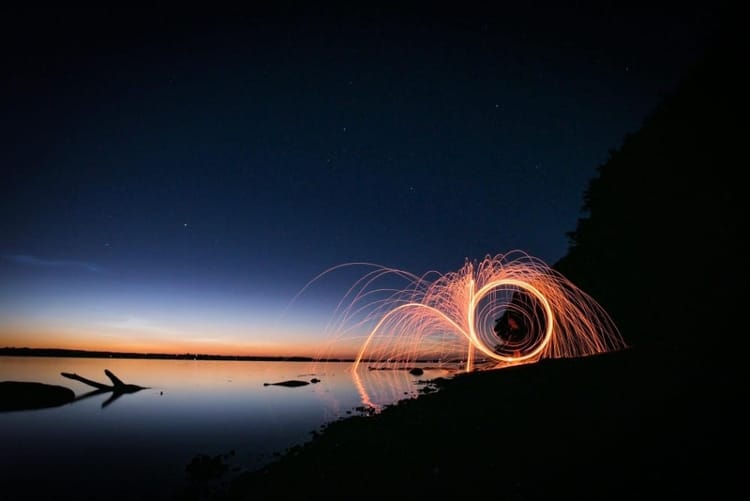
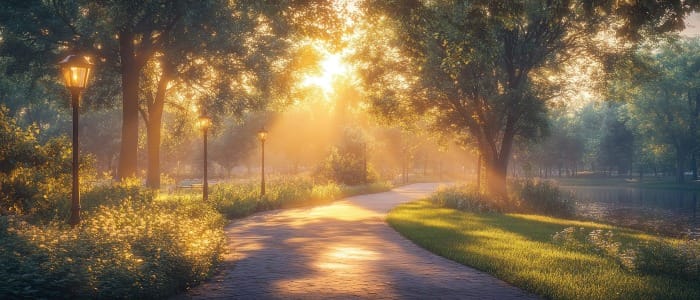
The soft, warm glow of sunlight during golden hour creates stunning photo opportunities you won't find at any other time of day. The golden hour occurs twice daily - shortly after sunrise and just before sunset, when the sun sits between 4 degrees below and 6 degrees above the horizon, producing uniquely gentle and reddish light.
This magical time transforms ordinary scenes into extraordinary images. The low angle of the sun casts longer shadows and bathes everything in rich, warm tones that make your subjects glow. Your photos gain depth and dimension that's hard to achieve during other daylight hours.
Time is precious during the golden hour since it typically lasts less than 60 minutes. You'll want to arrive at your location early and be ready to shoot, as the lighting conditions change quickly. The effort of planning around these brief windows pays off in photos with perfect natural lighting that needs minimal editing.
Understanding Golden Hour in Photography
Golden hour produces magical lighting conditions that transform ordinary scenes into extraordinary photos. The warm, soft illumination creates perfect conditions for landscape, portrait, and nature photography.
Defining the Golden Hour
Golden hour happens twice daily - during the first hour after sunrise and the last hour before sunset. During these times, the sun sits low on the horizon at around 6 degrees or less. This position creates long shadows and bathes everything in a warm, golden glow.
You'll notice the light appears much softer and more diffused compared to the midday sun. This gentle illumination reduces harsh shadows and makes it easier to capture well-exposed images.
The exact timing varies based on your location and season. In summer, golden hour might start as early as 5:00 AM or as late as 8:30 PM. During winter, it often occurs closer to normal working hours.
The Physics of Golden Hour Light
When the sun sits low on the horizon, its light travels through more atmosphere to reach the earth. This longer path filters out blue wavelengths while allowing red and gold tones to pass through.
The scattered light creates a softer, more directional quality that photographers love. You'll see:
- Reduced contrast between highlights and shadows
- Warm color temperatures between 2000-4000K
- Long, dramatic shadows that add depth
- Beautiful rim lighting on subjects
The scattered rays also produce better catch lights in subjects' eyes and add a natural glow to skin tones in portraits.
Importance of Golden Hour for Photographers
The golden hour creates ideal lighting conditions that help photographers capture stunning images with warm tones and soft shadows. This special time of day offers unique advantages that can enhance both technical quality and artistic expression.
Quality of Light
During golden hour, the sun's position creates a soft, warm glow that flatters your subjects. The low angle reduces harsh shadows and bright highlights, making it easier to capture well-exposed photos.
The warm light adds a natural golden color to your images without using filters. Skin tones look more appealing and natural during this time.
The gentle light reduces the dynamic range of your scene, letting you capture more detail in both bright and dark areas. This makes it easier to work with difficult lighting situations.
Creative Potential
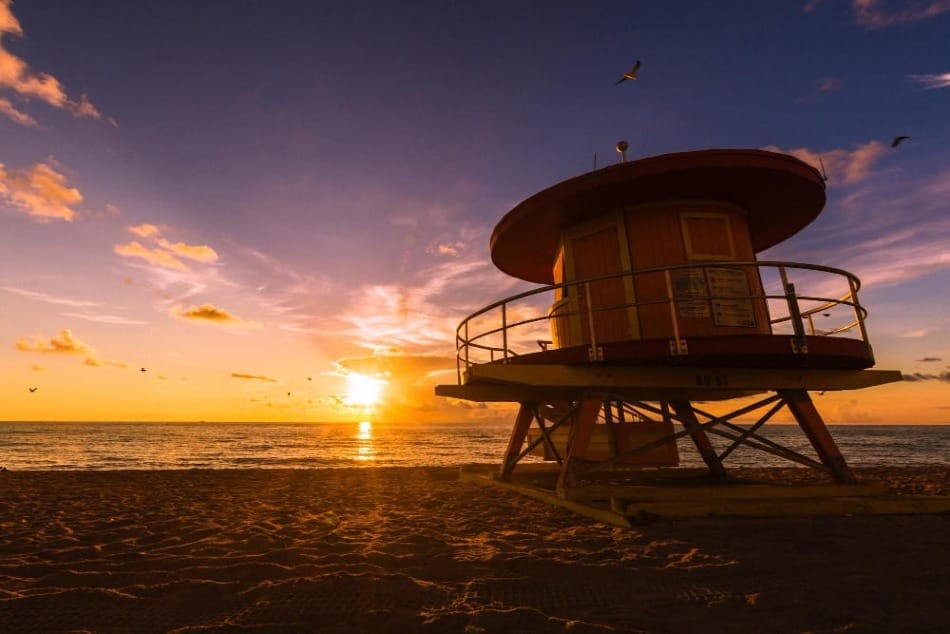
Golden hour gives you many options for creative photography techniques. You can use backlighting to create striking silhouettes against the colorful sky.
The low sun position lets you play with long shadows to add depth and drama to your compositions. These shadows can become interesting elements in landscape and architectural photos.
The warm color temperature adds mood and atmosphere to your images. This natural lighting creates a cozy, inviting feel that works well for portraits and outdoor scenes.
You can position your subjects to catch rim lighting, where the sun creates a beautiful golden outline around their edges.
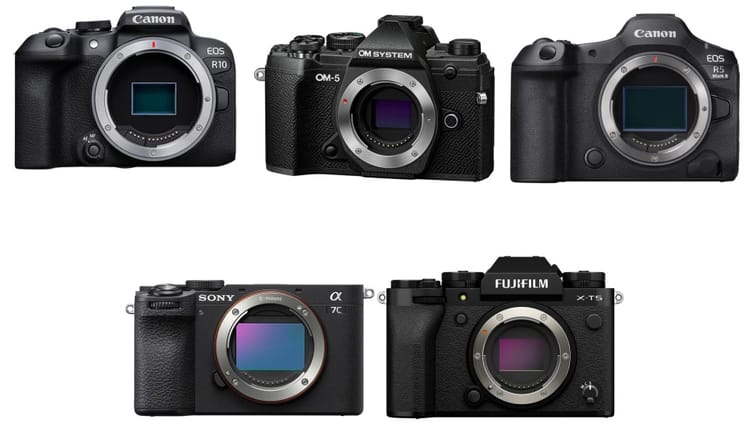
Camera Settings for Golden Hour
The right camera settings help you capture the warm, soft light of the golden hour. Getting proper exposure and camera settings makes a big difference in photo quality.
Managing Exposure
Start in manual mode to have full control over your exposure settings. Check your camera's histogram to avoid overexposed highlights or underexposed shadows.
Use exposure compensation if needed - try -0.3 to -0.7 stops to preserve detail in bright areas of your scene.
Take test shots and adjust settings as needed since light changes quickly during golden hour. Your camera's light meter may get confused by the angled sunlight.
Optimizing ISO, Shutter Speed, and Aperture
Keep your ISO low at 100-200 to minimize noise since golden hour provides plenty of natural light.
Use these settings as a starting point:
- Aperture: f/4 to f/8 for landscapes
- Shutter speed: 1/100 or faster for sharp shots
- White balance: Warm/sunny setting or 5500-6500K
For portraits, try:
- Wide aperture (f/1.8 to f/2.8) for soft backgrounds
- Shutter speed at least 1/200 to freeze motion
- Spot metering on your subject's face
Pro tip: Bracketing your exposures helps ensure you get the perfect shot as light conditions change rapidly.
Composition Techniques During Golden Hour
Golden hour creates perfect conditions for dramatic photography with its soft, warm light and long shadows. The low sun angle gives you unique ways to compose striking images.
Incorporating Warm Tones and Shadows
Long shadows act as natural leading lines in your compositions. Position your subject where shadow lines point toward them to draw the viewer's eye.
Use the rule of thirds to place shadows along grid lines. This creates a visual balance between light and dark areas.
The warm, golden light works best when you position your subject to catch these tones directly. Look for reflective surfaces like water or glass that amplify the golden colors.
Utilizing Backlight and Rim Light
Position yourself with the sun behind your subject to create a glowing outline effect called rim light. This technique makes subjects stand out dramatically against darker backgrounds.
Lens flare can add creative effects when shooting toward the sun. Block part of the sun with your subject to reduce overwhelming flare while maintaining the backlit glow.
Try shooting through objects like leaves or grass. The backlighting will make them glow and create natural frames around your main subject.
Adjust your exposure settings to preserve both the bright rim light and shadow details. Spot metering on your subject helps prevent silhouettes unless that's your goal.
Genre-Specific Golden Hour Photography
Different types of photography benefit from golden hour light in unique ways. The soft illumination creates ideal conditions for both portraits and landscapes.
Portrait Photography at Golden Hour
Golden hour light makes skin glow with a warm, natural radiance. Your subjects will look their best in this flattering light that minimizes unflattering shadows and blemishes.
Position your subject facing the sun for an even, front-lit glow. Or place them with the sun behind them for dramatic rim lighting and silhouettes.
Use wide apertures like f/1.8 or f/2.8 to create a dreamy background blur while keeping your subject sharp. The low sun angle helps separate your subject from the background.
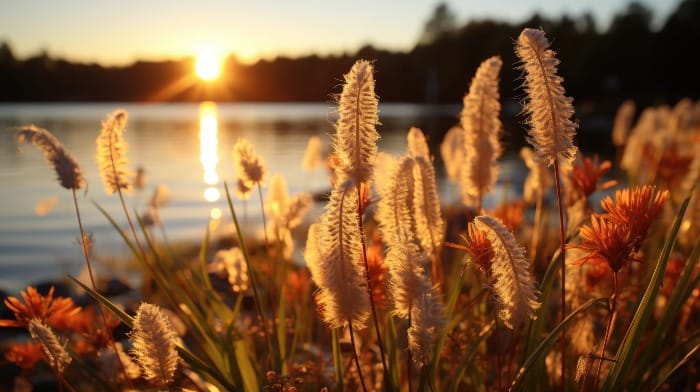
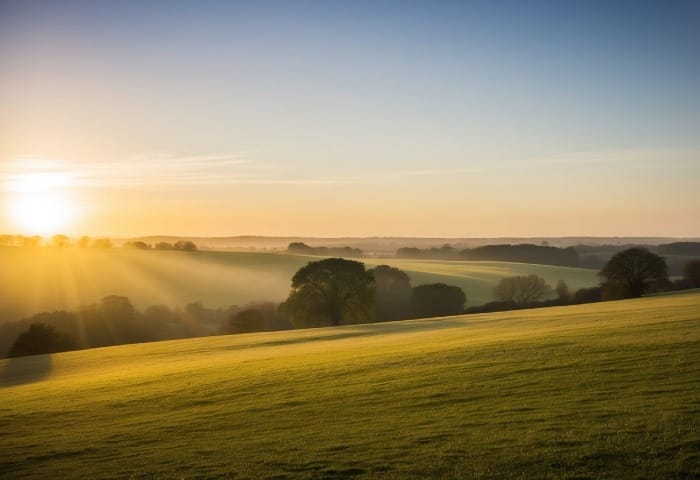
Landscape Photography with Golden Hour Light
Long shadows add depth and texture to landscape scenes during golden hour. Hills, trees, and rocks cast dramatic lines across your frame.
The warm light brings out rich colors in natural features. Mountains and rock formations take on golden hues, while vegetation appears more vibrant.
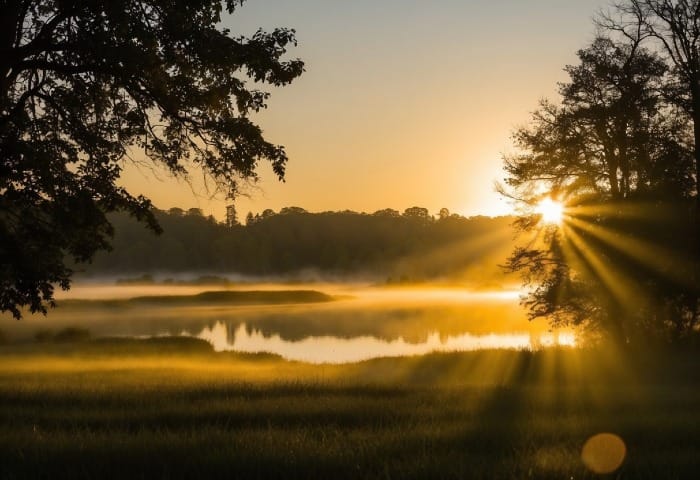
Try shooting directly into the sun for stunning sunburst effects. Use a small aperture like f/16 to create sharp light rays.
Frame your shots to include interesting foreground elements. The raking light will highlight textures in grass, sand, or water that might go unnoticed at other times.
Planning and Timing for Golden Hour Shoots
Getting perfect golden hour photos requires preparation and careful attention to timing. The right tools and knowledge help you maximize these fleeting moments of magical light.
Utilizing Apps and Calculators
Several free apps make finding golden hour simple. Download "Golden Hour" or "PhotoPills" to get precise timing for your location. These apps tell you exactly when the perfect light begins and ends.
Set alerts 30 minutes before golden hour starts. This gives you time to arrive at your location and set up your equipment.
Most golden hour calculators show two daily opportunities: one hour after sunrise and one hour before sunset. Pick the time that works best for your schedule and subject.
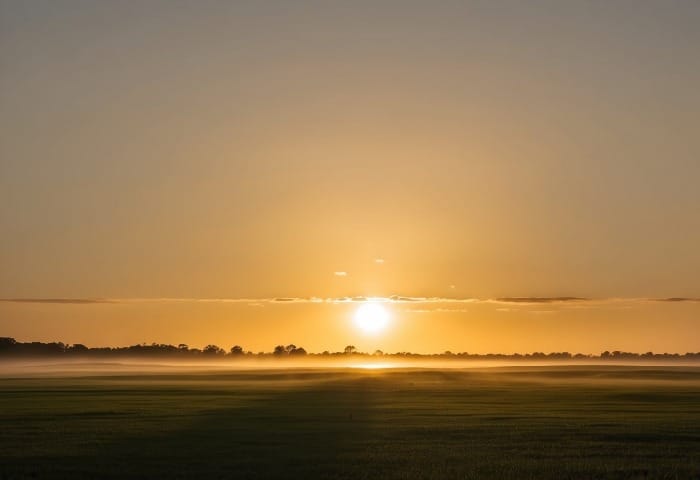
Recognizing Golden Hour Conditions
Look for soft, warm light with long shadows. The sun should be low on the horizon, creating an orange or golden glow.
The ideal shooting window lasts 30-60 minutes. Watch for these signs:
- Long, dramatic shadows
- Warm color temperature
- Soft, diffused sunlight
- Red or orange tint in the sky
Clear skies work best for golden hour shots. Some clouds can add drama, but overcast conditions reduce the golden effect.
Position your subjects facing the sun to capture the warm glow on their faces. Move quickly - the perfect light changes fast.
Post-Processing Golden Hour Photographs
Good editing makes golden hour photos stand out by bringing out the warm tones and balancing light. A few key adjustments can enhance the natural beauty while keeping the authentic golden hour look.
Enhancing Warmth and Light in Editing
Start by adjusting the temperature slider in your editing software to emphasize the warm golden tones. Aim for a subtle boost that keeps the natural feel without making colors look artificial.
Use the exposure and highlights controls to balance bright areas, especially around the sun. Pull back harsh highlights while lifting shadows slightly to preserve detail.
The vibrance tool helps enhance orange and yellow tones without oversaturating other colors. Keep adjustments moderate - golden hour photos already have beautiful natural warmth.
Adjusting White Balance and Contrast
Set white balance between 5500-7500K to maintain the warm golden atmosphere. The exact setting depends on your specific lighting conditions and creative vision.
Fine-tune contrast to make subjects pop while keeping soft, dreamy light. Avoid heavy contrast that could eliminate the gentle glow characteristic of golden hour.
Add subtle clarity to bring out textures without creating an artificial HDR look. A light touch helps maintain the natural, ethereal quality of golden hour light.
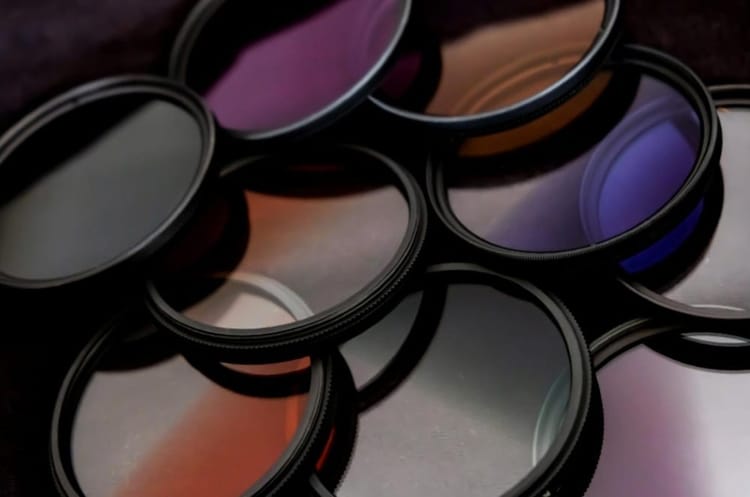
Consider using graduated filters in areas where the sky meets the ground to balance exposure differences. This helps retain both highlight and shadow detail.
Advanced Techniques and Considerations
Golden hour offers unique lighting conditions that create opportunities for stunning photos when you master key techniques and prepare for common challenges.
Experimenting with Direct and Indirect Light
Front lighting creates warm, rich tones when your subject faces the sun. Try positioning people or objects to catch the golden rays directly for a natural glow.
Backlighting produces dramatic silhouettes and rim lighting effects. Position yourself between the sun and your subject to capture these striking results.
Different Light Techniques:
- Use diffused light through trees or clouds for soft, even illumination
- Create starbursts by shooting at f/16 or higher with the sun partially blocked
- Bounce indirect sunlight off buildings or reflectors for fill light
Overcoming Challenges of Golden Hour Photography
The rapidly changing light requires quick adjustments to camera settings. Check your exposure frequently and bracket important shots.
Essential Tips:
- Arrive 30 minutes early to scout locations and set up equipment
- Use spot metering to handle high contrast scenes
- Keep a lens hood handy to prevent unwanted lens flare
Watch for overexposure in bright areas. The low sun can still create harsh highlights that need careful exposure control.
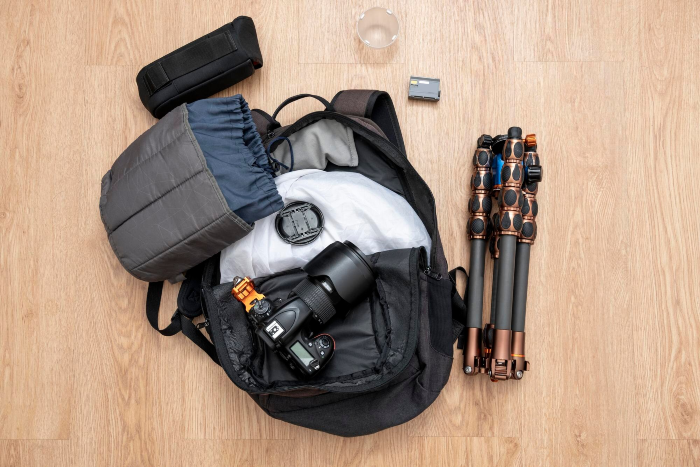
Pack basic gear like a tripod and neutral density filters. These tools help manage longer exposure times as light levels drop.
Maximizing Golden Hour Opportunities
The soft, warm sunlight during golden hour creates perfect conditions for stunning outdoor photos with natural rim lighting and lens flares.
Adapting to Changing Conditions
Check sunrise and sunset times for your location before each shoot. Golden hour typically lasts 20-40 minutes, so arrive early to set up your gear.
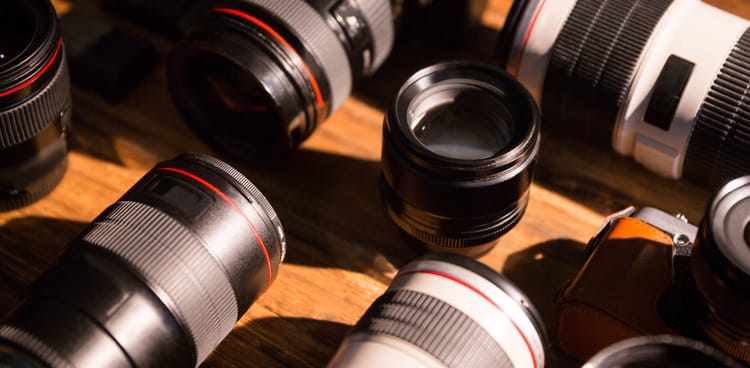
Pack versatile lenses that work well in different lighting conditions. A zoom lens lets you quickly adjust as the light changes.
Monitor weather forecasts carefully. Clouds can shorten or eliminate golden hour, while partly cloudy skies can create dramatic light diffusion.
Leveraging Natural Elements for Dramatic Effect
Position your subject with the sun behind them to create rim lighting. This adds a glowing outline that makes subjects stand out.
Use trees, buildings, or other objects to partially block the sun. This creates sun flares and directional light patterns you can use creatively.
Try shooting through leaves or grass. The backlit elements add depth and interesting bokeh effects to your images.
Move around to find different angles. The low sun angle during golden hour lets you experiment with shadows and highlight patterns.
Conclusion
The golden hour gives you a perfect chance to take amazing photos. The soft, warm light creates beautiful colors and gentle shadows that make your pictures look magical.
You can find the golden hour twice each day - right after sunrise and just before sunset. Planning your photo shoots during these times will help you get better results.
Take time to practice with different camera settings and angles during golden hour. Try both wide shots of landscapes and close-ups of subjects. The warm sunlight makes everything look better.
Your photos will benefit from the natural lighting conditions during this special time. The sun's position creates long shadows and soft light that flatters every subject.
Remember to check the sunrise and sunset times before you head out to shoot. Getting to your location early helps you set up and make the most of this beautiful light.
Pro tip: Keep your camera gear ready and practice your techniques. The golden hour doesn't last long, but the photos you take during this time can be truly special.